
Related Manuals for Hoover WindTunnel U5458910


Summary of Contents for Hoover WindTunnel U5458910
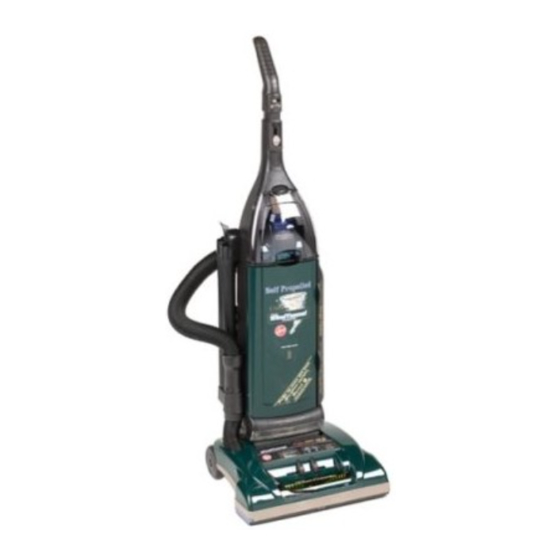
- Page 1 WindTunnel by HOOVER Congratulations on your purchase! ® This WindTunnel ™ vacuum cleaner uses HOOVER HEPA Filtration ® Type “Y” filter bags This product was designed for easy assembly (See page 3) www.hoover.com ™...
-
Page 2: Table Of Contents
• Do not use outdoors or on wet surfaces. • Close supervision is necessary when any appliance is used by or near children. Do not allow vacuum cleaner to be used as a toy or to run unattended at any time. -
Page 3: Assembling Cleaner
This cleaner was inspected and packaged carefully before being shipped from the factory. If you should happen to need assistance during assembly or operation, Visit us online at www.hoover.com to find the service outlet nearest you (click on the “Service” button) OR Call 1-800-944-9200 for an automated referral of authorized service outlet locations (U.S. - Page 4 Remove bag door on cleaner body by pushing down at top of door and pulling door outward. Switch (A) above bag door should be in OFF position. Place nuts in recessed areas on front of handle. Hold each nut in place while tightening each bolt securely with a Phillips screw driver.
-
Page 5: Polarized Plug
STEP III Position tools 1-14 Place smaller unridged end of wand into bottom of rack. Snap wand into clip. Repeat with other wand. Open tool cover. 2. How to use Cleaner description Polarized plug To reduce the risk of electric shock, this appliance has a polarized plug (one blade is wider than the other). -
Page 6: Carpet Height Adjustment
Transporting cleaner To move your cleaner from room to room, put handle in upright position, tilt cleaner back on rear wheels and push forward. Embedded DirtFINDER™ feature (some models only) With red and green lights (A), the ‘Dirt FINDER’ system alerts the user to areas of carpet that may need more cleaning attention. -
Page 7: Cleaning Lightweight Flexible Rugs
2-10 Cleaning lightweight flexible rugs Stand on one end of rug and move cleaner toward other end or edge. Before reaching edge, push down on handle. This will lift up the nozzle (front of cleaner) as shown and will prevent rug from clinging to cleaner. Continue to lift up nozzle so that when you have reached the edge, it is completely off the rug. -
Page 8: Filter Bag
Filtration Type Y disposable filter bags. It is imperative that you use only genuine HOOVER filter bags distrib- uted by The Hoover Company to assure that your cleaner operates at peak performance. HOOVER bags can be identified by these trade- marks —... -
Page 9: Cleaning Filters
Hand wash filter in cold water with mild detergent, then air dry. Reposition dry filter and grill. Should you want to replace this filter, ask for HOOVER part No. 38765019. Removing and installing filter Grasp filter bag collar (A) and pull collar from tube (B). -
Page 10: Headlight Replacement
Headlight replacement What to buy This cleaner uses a 12 volt, wedge base type 912 bulb, Hoover part No. 27313101. Removing lens Disconnect cleaner from electrical outlet. Using a screwdriver, remove the two screws as shown and lift off lens. -
Page 11: Lubrication
Your cleaner requires either a 13” or 15” agitator. When purchasing a new agitator, ask for one of the fol- lowing: 13” - HOOVER part No. 48414110 15” - HOOVER part No. 48414115 3-17 Installing groomers Lift off both old edge groomers and slide new edge groomers into posi- tion as shown. -
Page 12: If You Have A Problem
The Hoover Company on-line at www.hoover.com This warranty does not cover pick up, delivery, or house calls; however, if you mail your appliance to a Hoover Factory Service Center for warranty service, transportation will be paid one way. While this warranty gives you specific legal rights, you may also have other rights which vary from state to state.
Need help?
Do you have a question about the WindTunnel U5458910 and is the answer not in the manual?
Questions and answers