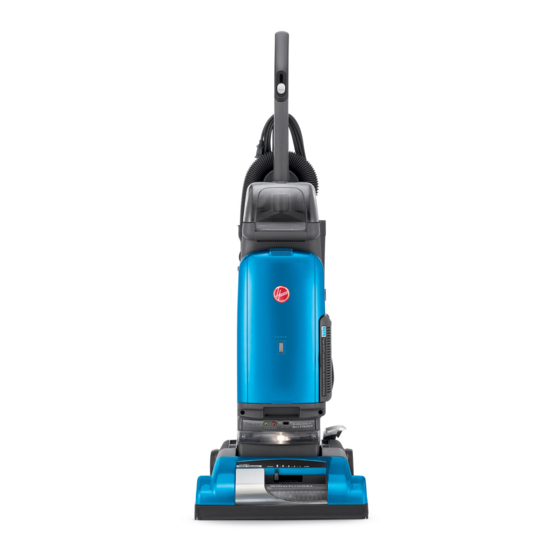
Hoover U5491-900 Owner's Manual
Hide thumbs
Also See for U5491-900:
- Owner's manual (26 pages) ,
- User manual (416 pages) ,
- Owner's manual (26 pages)
Table of Contents
Advertisement
Available languages
Available languages
Quick Links
Advertisement
Table of Contents

Subscribe to Our Youtube Channel
Summary of Contents for Hoover U5491-900
- Page 1 Owner'sManual Operating and Servicing Instructions www.hoover.com ® Please review this manual before operating your Hoover® product. ©2008 Healthy Gain Investments, Ltd. All rights reserved. #56511 C66-R2. 7108...
-
Page 2: How To Use
2. How to use Cleaner description Operate cleaner only at voltage specified on data plate on bottom of cleaner. The assembled cleaner will Took like the drawing. 1. Handle 2. ON/OFF switch 3. Cord hooks: wrap cord around hooks for storage. -
Page 3: Headlight Replacement
Excessiveforce is not required. Belt replacement How to replace Disconnect cleaner The belt on your Hoover cleaner causes the agitator to rotate and is important for the from electrical effective operation of the cleaner. The belt outlet. - Page 4 brush roll Replacing agitator Installing new belt Insert agitator With lettering on outside of belt through belt and place belt in belt and positioned as shown in box on guide (C) on agita- tor. (D), slide new belt over motor pulley Should the agitator {B).
-
Page 5: Thermal Protector
(see "Service" section). Service Do not send your cleaner to Hoover, lnc., To obtain approved HOOVER service and Company in Olenwillow for service, this will genuine HOOVER parts, locate the nearest HooverSales and Service Center or Authorized only result in delay. -
Page 6: Manual Del Usuario
Manual del usuario Instrucciones de funcionamiento y mantenimiento www.hoover, com ® Por favor, lea este manual antes de hater funcionar su producto Hoover®. ©2008 Healthy Gain Investments, Ltd. Todos los derechos reservados. N ° 56511C66-R2.7/08... - Page 7 ......Si neeesita ayuda: Visite nuestro sitio web en hoover.com. Siga el enlace de] centro de servicio para encontrar centro de servicio m_s cercano o ]lame al 1-800-944-9200 para que le indiquen...
- Page 8 • No use este aparato con un cordon o enchufe dafiado. Si el aparatono est_ funcionando adecuadamente, se dej6 caer, se daft& se dej6 a la intemperie,o se dejO caerdentro del agua, ]levelo a un Centro de ventas y de servicio de Hoover o a un Concesionafio autofizado de servido de garantia de Hoover (Depot).
-
Page 9: Ensamblaje De La Aspiradora
1. Ensamblaje de la aspiradora Contenido de la caja PASO I Para colocar el soporte y el mango aspiradora de la toma de corriente el_ctriea. Abra la tapa de en la accesorios Deseonectela secci6n del mango (A]. Conecte el soporte de la manguera a la secci6n del mango... - Page 10 Posici6n del Posiciones Ajuste de la altura de la mango alfombra Para obtener el m_ximo rendimiento de Para facilitar el La limpieza de las deslizamiento de la alfombras de pared limpieza, se recomiendan 1assiguientes perilla, d mango debe a pared y de firea se posiciones, segfln la altura de la all'umbra: realiza en la boquilla estar en posici6n...
-
Page 11: Mantenimiento
Hoover (Depot), minofistas pdndpales, asegurarfin una limpieza continuamente eficaz. Centros de servlcio de ffibrica de Hoover o a tray,s de The Hoover Company, en ]nternet Bolsa de filtro en www.hoover.com. Cufindo reemplazarla comprar Verifique la bolsa de filtro peri6dicamente. Se... -
Page 12: Cambio De La Bolsa De Filtro
Cierre la puerta. Si desea reemplazar el filtro, solicite la pieza Desconeetela aspiradora de la toma de n* 40110004 de HOOVER. eorriente el_ctrica. E1 filtro seeundario (A}, que se encuentra No haga funeionar esta aspiradora sin el detr_s de la rejilla, en e] rondo del filtro seeundario o fnal en su lugar.


Need help?
Do you have a question about the U5491-900 and is the answer not in the manual?
Questions and answers