Stairmaster SC916 Assembly Manual
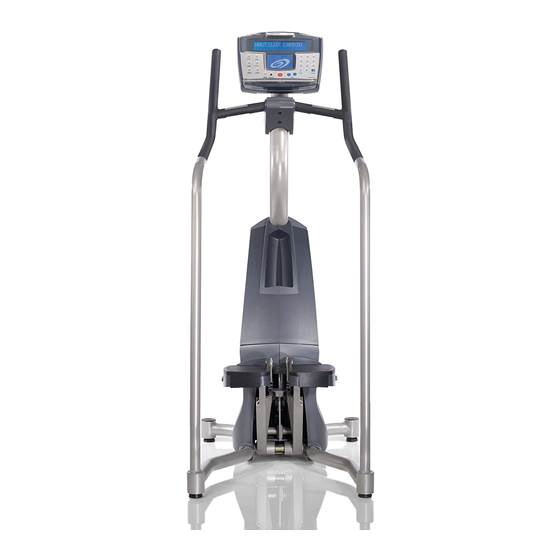
Stair climber
Hide thumbs
Also See for SC916:
- Owner's manual (47 pages) ,
- Assembly manual (16 pages) ,
- Owner's manual (49 pages)

Subscribe to Our Youtube Channel
Related Manuals for Stairmaster SC916


Summary of Contents for Stairmaster SC916
- Page 1 SC 916 StairClimber Assembly Manual Nautilus Bowflex Schwinn Fitness StairMaster Universal Nautilus Institute ® ® ® ® ® ® PN 001-7201 - 040208A...
-
Page 2: Table Of Contents
Table of Contents Model SC916 Specifications ............................2 Safety Warnings ................................3 Safety Warning Labels ............................4 Before You Start ................................5 Assembly ..................................6 Contact Information ..............................15 Product Specifications Model SC 916 Specifications Dimensions: 27” W x 43” L x 68” H (68 cm x 109 cm x 173cm) -
Page 3: Safety Warnings
Contact your doctor before using the machine again. • Examine this machine for loose parts or signs of wear. Pay special attention to the pedals. Contact Nautilus Customer Service for repair information. Use only genuine StairMaster replacement parts ® ®... -
Page 4: Safety Warning Labels
Location: Affixed to the lower front of the left side cover (see Figure 1). Caution Label Serial number Figure 1 Label 2: General exercise warning label. Location: Affixed to the mast below the console (see Figure 2). SC916 MANUAL BURNER CALORIE INTERVALS BURNER HR ZONE MORE... -
Page 5: Before You Start
Before You Start Commercial Series SC 916 StairClimber. We Locate the area where you will assemble and use your StairMaster ® recommend you install it on a hard, level surface. Allow an assembly area of at least 36” (0.91 m) on each side and behind the machine. -
Page 6: Assembly
Assembly Step 1: Removing Box Tools • Box knife or Strap Cutters • Claw hammer 1-1 Use the box knife to cut and remove the plastic banding straps from around the pallet and carton (see Figure 1) . Use extreme Caution when using shears or a razor knife. - Page 7 Assembly Step 3: Removing Console/Upper Mast Tools • Box knife 3-1 Using the box knife, open the top of the box holding the Console/Upper mast weldment (see Figure 4). 3-2 Bend the box center flap inward. Carefully lift the console/upper mast weldment out of the box and place to the side (see Figure 5).
- Page 8 Assembly Step 4: Removing the Main SC 916 Body 4-1 Pull the lower body of the SC916 forward, and with the assistance of another person lift the machine off the shipping pallet and on to the floor (see Figure 6).
- Page 9 Step 6: Removing Console Tools • Phillips screwdriver 6-1 Remove the 4 Phillips screws attaching the SC916 Console to the upper mast weldment previously placed to the side in Step 3 (see Figures 9 and 10 ). 6-2 Remove CHR and J6 Polar HR cables from the back of the console connected to the PC board (see Figure 11).
- Page 10 Step 7: Routing Main Cables 7-1 Route the Main cable located at the top of the lower mast through the bottom of the upper mast weldment Top of Upper Mast and exit out the console plate (see Figure 12). 7-2 Secure the Main cable with the CHR and Polar cables to the console plate.
- Page 11 Assembly Step 9: Attaching handrails Tools • 5/32" or 4mm T-handle NOTE: This Step requires 2 people to complete Steps 9-1 through 10-2. 9-1 With the assistance of another person, tip the SC 916 forward and hold in place while completing Steps Figure 15 9-2 throught 9-5.
- Page 12 Assembly Step 10: Replacing the Leg Levelers 10-1 Replace the 2 leg levelers previously removed in Step 9 and 2 lock washers (see Figure 19). 10-2 Return the SC 916 to its upright position. Step 11: Attaching the Console Tools Figure 19 •...
- Page 13 Assembly Step 13: Final Check Failure to visually check and test assembly before use can cause damage to the equipment. It can also cause serious injury to users and bystanders. 13-1 Tighten all hardware. 13-2 Read all warnings on machine. Refer to the Owner’s Manual for: •...
-
Page 14: Contact Information
Contact Information UNITED STATES OFFICES INTERNATIONAL OFFICES For technical assistance and a list of distributors in your E-mail: customerservice@nautilus.com area, please call or fax one of the following numbers. TECHNICAL/CUSTOMER SERVICE INTERNATIONAL CUSTOMER SERVICE Phone: 800-NAUTILUS (800-628-8458) Nautilus International S.A. Fax: (877) 686-6466 Rue Jean Prouvé... - Page 15 © 2008 . Nautilus, Inc. All rights reserved. Nautilus, the Nautilus Logo, Bowflex, Bowflex Logo, StairMaster, StairMaster Logo, Universal and Nautilus Institute are either registered trademarks or trademarks of Nautilus, Inc. Schwinn is a registered trademark. All other trademarks are owned by their respective companies.
Need help?
Do you have a question about the SC916 and is the answer not in the manual?
Questions and answers