Table of Contents
Advertisement
Quick Links
Advertisement
Table of Contents

Subscribe to Our Youtube Channel
Related Manuals for Hammond Hammond XLK-3


Summary of Contents for Hammond Hammond XLK-3
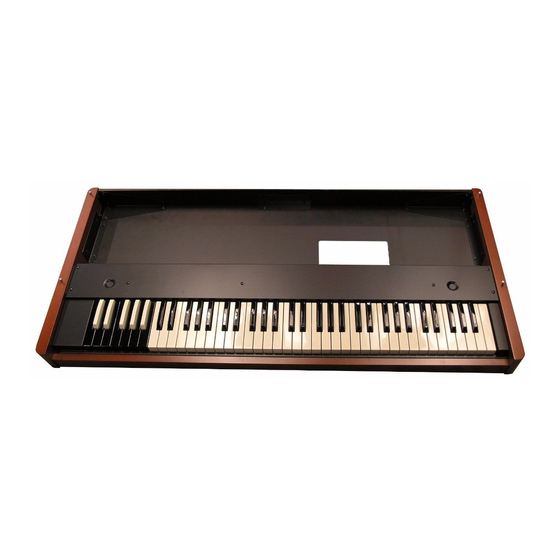
- Page 1 Model Thank you, and congratulations on your choice of a Hammond XLK-3. The XLK-3 is the lower keyboard unit for Hammond XK-3/3C. In order to get the most out of this instrument for many years to come, first take the time to read this manual in full.
-
Page 2: Important Safety Notice
IMPORTANT SAFETY NOTICE DETAILED SAFETY INSTRUCTIONS: All the safety and operation instructions should be read before the appliance is operated. Retain Instructions: The safety and operation instructions should be retained for future reference. Heed Warnings: All warnings on the appliance and in the operation instructions should be adhered to. This symbol indicates information that, if ignored or applied incorrectly, CAUTION creates the possibility of death or serious personal injury. - Page 3 This symbol indicates information that, if ignored or applied incorrectly, ATTENTION creates the possibility of personal injury or property damage. Heat: Do Not Pull the Cord: The appliance should be situated away from Be sure to grasp the AC adaptor when unplugging heat sources such as rediators, heat registers, it from a wall outlet.
-
Page 4: How To Assemble
HOW TO ASSEMBLE Operate carefully to avoid pinching your fingers or dropping anything on your feet. Use a Hammond ST-XLK3 or any other stable stand with 4 legs. Do not use any singe-column type or X-frame type stand. SIDE VIEW Mount the XLK-3 on the keyboard stand. - Page 5 HOW TO HOOK-UP Fix the cables by using cable clamps as the need arises. Place the cable labels as the need arises. Owner’s Manual...
-
Page 6: How To Set Up
HOW TO SET UP After a little while, the PLAY screen will be displayed and the LED on the XLK-3 will automatically light on. Turn on the power of XK-3/3C. Select the page D using the [PAGE] button. Touch the [MENU/EXIT] button. Touch the [2]MIDI button. - Page 7 PLAYING THE XLK-3 When you hook up the XLK-3 to the XK-3/3C The XK-3/3C can recall the Combination Preset for and set up as shown on Page 6, the manual on the the LOWER Part (including the PEDAL), indepen- XK-3/3C operates as the UPPER part, and that of dently of the UPPER Part in the same BANK.
- Page 8 USING THE CU-1 LESLIE SWITCH The CU-1 “Half-Moon” shaped Leslie Switch to this keyboard can be attached. This switch controls the Leslie speed (slow, fast, stop) like on the B-3 / C-3. Attaching the body of the CU-1 Operate it similar to the figure left. CU-1 can be used for various instruments.
-
Page 9: Troubleshooting
TROUBLE SHOOTING In such cases as follows: The XLK-3 does not turn on when the XK-3/3C is switched on. The 8-pin cable used is not right. >> Use only a 8-pin cable supplied with the XLK-3. XLK-3 is powered through the 8-pin cable. The Manual Bass does not function on the XLK-3 manual. -
Page 10: Midi Implementation
MIDI IMPLEMENTATION [Hammond MIDI Keyboard] Date: 16-Mar-2007 MIDI Implementation Chart Version: 2.0 Model: XLK-3, XLK-B3 Function Transmitted Recognized Remarks Basic Default Channel Changed Default Mode Messages Altered ***** Note 36 - 96 Number : True Voice ***** Note ON O *1 *1 When the turn on with Velocity Note OFF... -
Page 11: Specifications
Website: www.hammondsuzuki.com Technical materials are available and can be obtained by mailing a request to the appropriate address listed above marked ATTENTION: SERVICE DEPARTMENT. Manufacturer: SUZUKI MUSICAL INSTRUMENT MFG. CO., Ltd. 25-12, Ryoke 2 Chome Hamamatsu 430-0852 (Shizuoka) JAPAN Owner’s Manual... - Page 12 Printed in Japan 00457-40102 V2.01-090707...
Need help?
Do you have a question about the Hammond XLK-3 and is the answer not in the manual?
Questions and answers