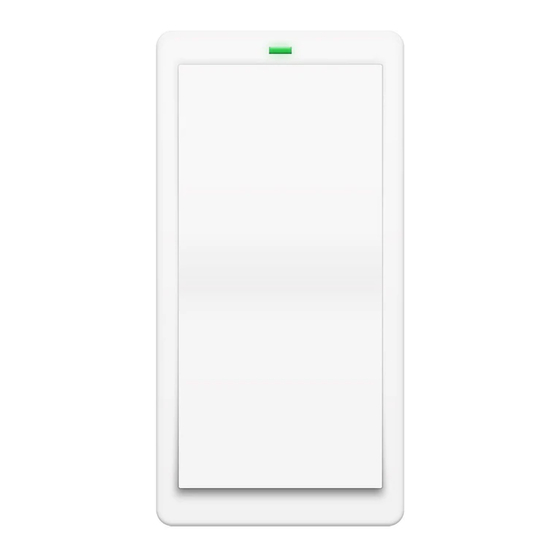
Summary of Contents for INSTEON Mini Remote 2342-242
- Page 1 Mini Remote ® INSTEON Remote Control Switch (formerly RemoteLinc 2) Owners Manual 2342-242, 2444A3 (US) 2342-442 (EU) 2342-542 (AUS/NZ) Page 1 of 16 2342-242/2444A3, 2342-442, 2342-542 Rev: 1/21/2014 7:24 AM...
-
Page 2: Table Of Contents
About Mini Remote ............................. 3 Features & Benefits ............................ 4 What’s in the Box? ............................. 4 Required Accessories ..........................4 Optional Accessories ..........................5 Getting Started ............................6 Scenes ................................6 Add Mini Remote Button to a Scene as a Controller ................. 6 Remove Mini Remote Button from a Scene as a Controller .............. -
Page 3: About Mini Remote
About Mini Remote Mini Remote is the smallest and most versatile INSTEON Remote Control in the world. The 1 Scene Controller can easily be reconfigured to give you toggle control of up to 2 scenes and/or devices. Mini Remote can be:... -
Page 4: Features & Benefits
USB power adapter. • If the INSTEON device you intend to control does not receive RF signals (i.e., power line only), you will need at least one dual-band INSTEON device to convert the RF signals to power line signals. -
Page 5: Optional Accessories
Optional Accessories Wall Mount Bracket (2444B4) • Wall mount your Mini Remote anywhere • Gang two or more together for more control • Can be installed adjacent to existing wired-in switches • Mini Remote can easily be removed for portability or recharging •... -
Page 6: Getting Started
Remove Mini Remote Button from a Scene as a Controller If you are no longer going to use an INSTEON responder that is a scene responder of Mini Remote, it is very important that you remove its scene membership. Otherwise, Mini Remote will retry every scene command repetitively, thus creating delays and shortening battery life. -
Page 7: Using Mini Remote
1) Tap the Mini Remote switch (top or bottom paddle) - if in 2 scene mode, tap the top of the paddle for scene 1 or the bottom for scene 2 The responder will respond 2) Press & hold the Mini Remote’s Set button until it beeps Mini Remote’s LED will blink green 3) Press &... -
Page 8: Led Behavior
LED Behavior Mini Remote has a two-color LED (Green & Red) which momentarily indicates whether an on or an off is being sent. LED State Meaning Blink Green (Once) On Sent Blink Red (Once) Off Sent Blink Red (for a few One or more scene members did not acknowledge (note: scene members seconds) may still have heard the scene command and adjusted their settings) -
Page 9: Remove Multiple Responders From A Scene (Multi-Unlink)
Remove Multiple Responders from a Scene (Multi-Unlink) 1) Tap the Mini Remote paddle (top or bottom) – if in 2 scene mode, tap the top of the paddle for scene 1 or the bottom for scene 2 2) Press & Hold Set Button for 3 seconds - until you hear a beep Mini Remote’s LED will blink green 3) Press &... -
Page 10: Turn Led Off (Or Back On)
Flash Pattern Configuration Red every tap 1 Scene Green every tap 2 Scene Non-Toggle (Always On) Alternating Green / Red 2 Scene Toggle Turn LED Off (or Back On) 1) Press & Hold Set Button for 3 seconds - until you hear a beep Mini Remote’s LED will blink green 2) Press &... -
Page 11: Beeper Behavior
Keypad Configuration Setup Mode Factory Reset The factory reset procedure clears all settings from Mini Remote including INSTEON scenes. 1) If possible, unlink (remove) all scene responders prior to performing factory reset 2) Turn Mini Remote off (slide power switch to left) 3) Press &... -
Page 12: Specifications
6) Release Set Button Mini Remote will double-beep and its LED will turn off Specifications General Product Name Mini Remote Wireless Switch (formerly RemoteLinc 2) Brand INSTEON Manufacturer Product Number 2342-242, 2444A3 (US) 2342-442 (EU) 2342-542 (AUS/NZ) 813922011616 813922012606 813922012972... -
Page 13: Troubleshooting
Mini Remote (hopper) Mini Remote won’t add a scene responder Make sure phases are bridged, add additional The INSTEON signal may not be INSTEON devices and/or move around existing getting to the “vicinity” of responder INSTEON devices Page 13 of 16... - Page 14 Other electrical devices, such as computers, televisions, or power strips, may be absorbing the INSTEON signal Ramp Rate may be Extremely Slow Mini Remote will not turn a Responder On (it may turn...
-
Page 15: Certification And Warranty
1) Electromagnetic Compatibility Directive 2004/108/EC 2) Hazardous Substance Directive 2005/95/EC Technical data and copies of the original Declaration of Conformity are available and can be obtained from INSTEON; 16542 Millikan Ave, Irvine, CA, USA. User Information for Consumer Products Covered by EU Directive 2002/96/EC on Waste Electric and Electronic Equipment (WEEE) This document contains important information for users with regards to the proper disposal and recycling of INSTEON products. -
Page 16: Limited Warranty
Seller’s liability with respect to this product. For repair or replacement during the warranty period, call the INSTEON Gold Support Line at 866-243-8022 with the Model # and Revision # of the device to receive an RMA# and send...


Need help?
Do you have a question about the Mini Remote 2342-242 and is the answer not in the manual?
Questions and answers