
Related Manuals for StarTech.com SVID2USB2NS


Summary of Contents for StarTech.com SVID2USB2NS
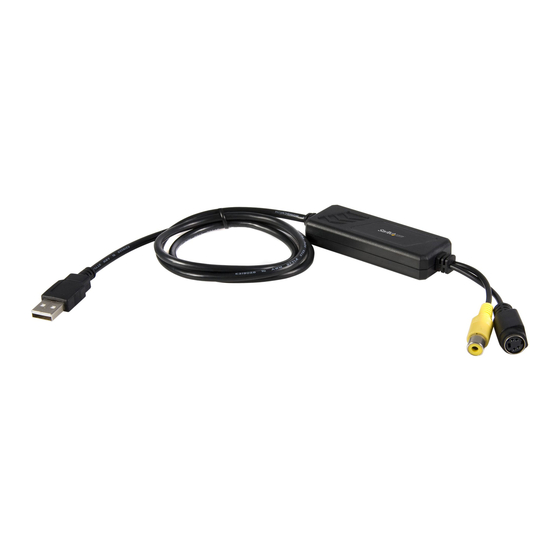
- Page 1 SVID2USB2NS Instruction Manual USB 2.0 Video Capture Cable USB 2.0 to Composite / S-Video Video Capture Cable...
- Page 2 StarTech.com. Where they occur these references are for illustrative purposes only and do not represent an endorsement of a product or service by StarTech.com, or an en- dorsement of the product(s) to which this manual applies by the third-party company in question.
-
Page 3: Table Of Contents
Table of Contents Introduction ..............1 Packaging Contents..............1 System Requirements ..............1 Installation ............... 1 Driver Installation .................2 Application Installation ..............3 Hardware Installation ..............4 Operation ................. 5 Option ..................6 General ..................6 Encoder Property ..............6 Troubleshooting .............. 8 Specifi cations ..............11 Technical Support ............ -
Page 4: Introduction
Introduction Packaging Contents • 1 x SVID2USB2NS video capture cable • 1 x User Manual • 1 x Driver CD System Requirements • USB 2.0 equipped computer • Pentium 4 - 1GHz or above or equivalent AMD processor • 128MB of RAM ®... -
Page 5: Driver Installation
Driver Installation Do not connect SVID2USB2NS adapter to computer USB port before driver installation! Please make sure your computer has USB2.0 port correctly ® installed and functioning !! ( Please update your Windows ® to at least SP2, or Windows 2000 to SP4, and updating the USB 2.0 host controller drivers before installation to make sure the... -
Page 6: Application Installation
Application Installation Please insert “Multimedia Installation Kit” CD-ROM into your CD- ROM drive; AutoRun will play; (if AutoRun does not run, please go to “My Computer” and double click the CD-ROM drive). From the menu, please select the “GrabBeeX-light” product. Please select “Application Software”... -
Page 7: Hardware Installation
Record Files : Click to see your record fi les Snapshot : Click to see your capture still image fi les Hardware Installation After the computer restarts, please plug the SVID2USB2NS device into the computer’s USB 2.0 port; System will now detect the new device and install it automatically. -
Page 8: Operation
Operation Starting : Please click the “GrabBee” icon. After starting the applica- tion, you can see video window as below. Video Window : Please move mouse cursor into Video window and right click, function menu will appear as below. Resolution : There are 4 resolution video preview you can select, NTSC mode : 352x240, 640x480, 720x480, Full screen PAL mode : 352x288, 640x480, 720x576, Full screen... -
Page 9: Option
Option General Lists your hard disk space information. Snapshot default storage path : The location to saved captured im- age fi les. Clip default storage path : Location to saved recorded video fi les. Video Format : Choose your correct video format input. Set Recording Time : Sets Recording Time length. - Page 10 Profi le : Video Size, Frame Rate, Video Quality, Video Bitrate setting; Information column will display your setting Note: File format ‘MP4’ will not appear as a selectable option under Windows Vista. Schedule Record : Set One-time schedule here. Input your Start and Stop time, Date, Video Source, and File Name.
-
Page 11: Troubleshooting
Full Screen mode : Double click inside your video window to switch back and forth between full screen and previous screen size. Troubleshooting Q1 : Why can’t my system detect the SVID2USB2NS? A1 : (a) Check that you’ve enabled USB 2.0 in the motherboard BIOS setup. - Page 12 Q3 : Why is the resolution always in 320x240 under preview mode? A3 : It’s because you plugged the SVID2USB2NS in a USB 1.1 port, or perhaps even though your USB port is 2.0, it may not have upgraded to USB 2.0 drivers. Please make sure your USB port is USB 2.0, and have already upgraded the USB 2.0 host driver available from...
- Page 13 Use a hard disk drive with speed of more than 7200 rotation per minute Disable Power Management in BIOS. Disable Power Saving mode of monitor. Close unnecessary/unused programs in your system. Defrag your hard disk. Try not to run any other program(s) during recording. Q8 : I can preview video but when recording, the system crashed/ hanged.
-
Page 14: Specifi Cations
Specifi cations Video Input 1x RCA composite, 1x S-Video Audio Input None Video System NTSC, PAL, SECAM MPEG (720x480@NTSC, 720x576@PAL), MPEG4 Video Format (320x240), AVI (352x288, 352x240, 320x240) Still Image Format JPG, BMP, TIFF 25 FPS @ 720x576 (PAL), 30 Performance FPS @ 720x480 (NTSC) 5VDC, 350mA (max) through... -
Page 15: Technical Support
Technical Support StarTech.com’s lifetime technical support is an integral part of our com- mit-ment to provide industry-leading solutions. If you ever need help with your product, visit www.startech.com/support and access our com- prehensive selection of online tools, documentation, and downloads. - Page 16 StarTech.com has been making “hard-to-fi nd easy” since 1985, providing high quality solutions to a diverse IT and A/V customer base that spans many channels, including government, education and industrial facilities to name just a few. We offer an unmatched...
Need help?
Do you have a question about the SVID2USB2NS and is the answer not in the manual?
Questions and answers