
Related Manuals for Zektor HDS4.2


Summary of Contents for Zektor HDS4.2
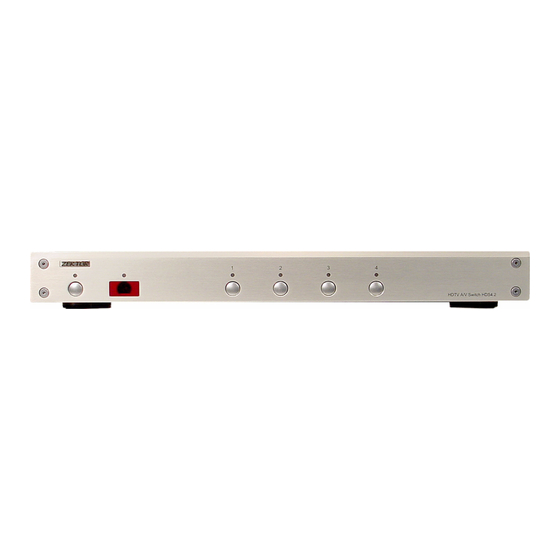
- Page 1 ZEKTOR HDS4.2 Component Video / Audio Switch Owner’s Manual www.zektor.com Rev: 4 03/11/04...
-
Page 2: Important Safety Instructions
Important Safety Instructions! Read all instructions for prior to installation of your product. Retain this User's Manual for future reference. Adhere to all safety and operation instructions. Before cleaning this product, unplug from the wall outlet. Do not use liquid cleaning products. Use a damp cloth for cleaning. - Page 3 A HDS4.2 Overview A Description of the HDS4.2 The HDS4.2 is a 4 input, Audio / HDTV Video switch. It supplies two HDTV Component Video out- puts. Output 1 (labelled: OUT1) is a passive non-buffered output, and Output 2 (labelled: OUT2) is a buffered version of OUT1.
-
Page 4: Front Panel Operations
Press any one of the four channel switches to switch the HDS4.2 to the selected channel. If the HDS4.2’s power is turned off, selecting any one of the four inputs will cause the HDS4.2 to power on and switch to the selected channel. - Page 5 Remote operations of the HDS4.2 are accomplished through the use of just about any remote con- trol. A remote control is not supplied with the HDS4.2, yet the versatile programming modes of the HDS4.2 allows the HDS4.2 to work with virtually any remote control. The next section "Program- ming your Remote Control"...
-
Page 6: Programming Your Remote Control
The simplest way to begin using the HDS4.2, is to program your Universal Remote control to act like the remote used to control a Yamaha VCR. Once this is done you will be able to immediately start using your HDS4.2. -
Page 7: Using Alternate Component Keys On Your Remote
See the next section. Or teach the HDS4.2 a new set of codes, See: "Learning New Remote Codes" on page 9. -
Page 8: Searching For A Component Code In Your Remote
Assuming you do not have a remote listed in this user manual you will have to follow your remote control’s programming sequences to find a compatible component that the HDS4.2 understands, or you can go to the section "Learning New Remote Codes" on page 9, to teach the HDS4.2 new keys for individual commands. -
Page 9: Learning New Remote Codes
HDS4.2 functions to other keys on your remote, the HDS4.2 can be taught to use new keys. To teach the HDS4.2 to respond to new keys, you need to have the remote control(s) you want to use ready, and setup in the manner you want it to be used. - Page 10 4 The Power indicator blinks slowly, and input 2 is selected. ZEKTOR Press the key on your remote that you want to use as the new key for S ELECT BLINK 5 The Power indicator blinks slowly, and input 3 is selected.
-
Page 11: Remote Control Learning Caveats
When programming the HDS4.2, if the IR indicator light blinks, and the HDS4.2 moves on to the next step, then the remote controller’s key code has been accepted. If the IR indicator does not blink, it indicates the HDS4.2 does not understand that particular manufactures code and you will... -
Page 12: Bright / Dim / Auto-Dimming Modes
Setting the Display intensity modes of the HDS4.2 The front panel display of the HDS4.2 can be set to Bright, Dim or an Auto-dimming mode where the display brightens for 4 seconds after any function is selected and then auto-dims. -
Page 13: Setting Power On Defaults
(by plugging the AC wall adapter back in), it will power up in a user settable default mode. This is useful in situations where the HDS4.2 is externally switched by a power strip. The factory default settings for initial power on are: •... - Page 14 There are many ways to program the HDS4.2’s remote capabilities. Most learning modes require the HDS4.2 to be in standby mode before learning can begin. If the remote used to control the HDS4.2 were to be lost, and the HDS4.2 were programmed to power on during initial power up (as described in "Setting Power On Defaults"...
-
Page 15: Typical Applications
Projection TV is used only for home theater viewing. The projection TV has been connected to the buffered output (OUT2), this setup assumes the pro- jection TV is located further from the HDS4.2 than the smaller TV, therefore the buffered output is used to drive the longer cables. - Page 16 Because of the length of cables used to drive the projection TV, the OUT2 outputs are still used to drive the projector. Since the smaller TV is no longer present, the HDS4.2’s passive component outputs of OUT1 (Pr, Pb, Y) need termination. This is accomplished by using the supplied 75 ohm RCA terminators,...
- Page 17 Typical Applications (Cont.) Example 3 Progressive Scan DVD Player Game Console with component video output and optical digital audio output with component video output and optical digital audio output HDTV Cable with component video ouput, coaxial digital audio output and analog audio output OUT1 OUT2 RPTV...
-
Page 19: Warranty Information
ZEKTOR, LLC warrants this product against defects in material and workmanship under normal use and service for one year from the original date of purchase. ZEKTOR, at its option, shall repair or replace the defective unit covered by this warranty. -
Page 20: Customer Service Contact Information
Customer Service Contact Information: ZEKTOR, LLC 12675 Danielson Court Suite 401 Poway, CA 92064 Phone: (858) 748-8250 Email: customerservice@zektor.com...
Need help?
Do you have a question about the HDS4.2 and is the answer not in the manual?
Questions and answers