Table of Contents
Advertisement
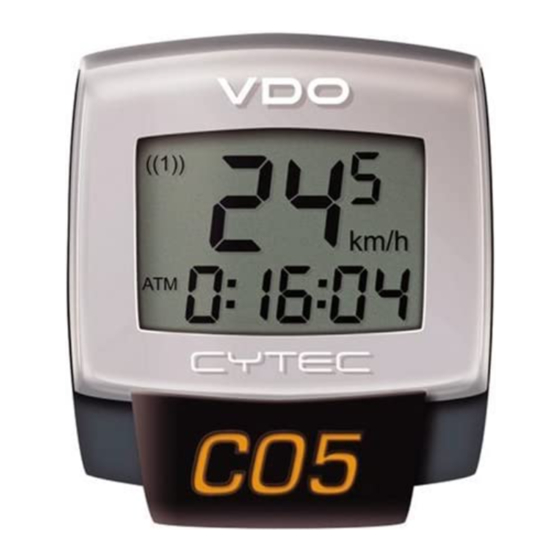
CYCLECOMPUTING
BEDIENUNGSANLEITUNG
NÁVOD K MONTÁŽI A OBSLUZE
INSTRUCTION MANUAL
INSTRUKCJA OBSLUGI LICZNIKA
MANUEL D´INSTALLATION ET D´UTILISATION
INSTALLATIONS OG BETJENINGSVEJLEDNING
MANUALE D´INSTALLAZIONE E FUNZIONAMENTO
BRUKSANVISNING
INSTALACION Y OPERACIÓN MANUAL
BRUKSANVISNING
HANDLEIDING
ASENNUS JA KÄYTTÖOHJEKIRJA
C05
Advertisement
Table of Contents

Related Manuals for VDO Cyclecomputing C05


Summary of Contents for VDO Cyclecomputing C05
- Page 1 CYCLECOMPUTING BEDIENUNGSANLEITUNG NÁVOD K MONTÁŽI A OBSLUZE INSTRUCTION MANUAL INSTRUKCJA OBSLUGI LICZNIKA MANUEL D´INSTALLATION ET D´UTILISATION INSTALLATIONS OG BETJENINGSVEJLEDNING MANUALE D´INSTALLAZIONE E FUNZIONAMENTO BRUKSANVISNING INSTALACION Y OPERACIÓN MANUAL BRUKSANVISNING HANDLEIDING ASENNUS JA KÄYTTÖOHJEKIRJA...
- Page 2 INSTALLATION AND OPERATION MANUAL - VDO CYTEC C 05 Preface Thank you for buying a VDO CYTEC bicycle computer. The more familiar you get with this model, the more enjoyable your trips are going to be. Please read thoroughly all the information provided in this manual. You are getting important and useful hints for operation to make you fully benefit from all the technical features of your VDO CYTEC bicycle computer.
- Page 3 Warning: Before tightening the handlebar holder, make sure to adjust the position of the computer head (inclination) when the LCD-display is best visible for you. Only when you find the best position tighten the screw. screw screw...
- Page 4 1.2 Mounting the speed transmitter The sensor should be mounted on the same side of the fork as the holder is on the handlebar. For mounting put the included rubber shim under the sensor and use the cable ties. Watch out: Do not tighten the cable ties yet! Accurately position the spoke magnet and the sensor first, then tighten the cable ties.
- Page 5 1.3 Mounting the spoke magnet Distance between magnet and sensor should be approx. 1-5 mm. In case this distance is not achievable 1-5mm 1-5mm in the current positioning, slide the sensor and the magnet on the fork or spoke accordingly.
- Page 6 1.4 Installing battery into computer head To save battery power, your VDO CYTEC C 05 comes with the battery not yet fitted. Prior to initial use you have to install the battery first. Insert battery with positive (+) end on top. Watch out: Once the battery is properly fitted, the computer immediately changes into set-up mode (see also chapter 5).
- Page 7 1.5 Function Indicator Your VDO CYTEC C05 features a function indicator ((1)). When you are done mounting the computer, ((1)) flashes at the first rotation of the wheel. When the wheel-size is properly entered, actual speed is displayed as well.(see chapter 5).
- Page 8 LOCK UNLOCK 2.CLICK 1.LOCK 1.PRESS 2.UNLOCK...
- Page 9 3. Information features of your VDO CYTEC C 05 Your VDO CYTEC C 05 provides you with following information: KMH-MPH current speed indicated in either KMH or MPH, featuring automatic conversion into MPH trip counter, counts your trip distance up to 999,99 km or miles. trip timer, keeps track of the actual riding time featuring automatic start/stop function, up to 9:59:59 (hrs:min:sec) clock with 24 h display mode.
- Page 10 This button / key has several functions. All functions of the button / key are outlined in the chart below. Your display Button / Key to Length of pushing What is going on? indicates following be pushed the button / key information DST-ODO-CLK-ATM push MODE key brief (0.1 sec) next information from DST or ODO or ATM...
- Page 11 5.1 Programming (setting up) your wheelsize In order for the VDO CYTEC C 05 to indicate your actual speed and your trip distance, the correct wheelsize has to be entered. Wheelsize is the outer circumference of the wheel including the tire. following default is entered wheelsize = WS = 2124 mm Watch out: Above default is automatically applied after a battery change.
- Page 12 Watch out: In case you have selected MPH readout you must enter your wheelsize in mm. WS in mm...
- Page 13 5.3 Entering your wheelsize / entering odometer After initially installing the battery or after a battery change, your VDO CYTEC C 05 automatically switches into set-up mode for wheelsize and odometer. Start with Step 3. You might as well enter the set-up mode for wheelsize and odometer at any time by proceeding as follows: Step 1: Call ODO information in your display.
- Page 14 Step 5: Not pressing the MODE button with in 2 seconds will make the last digit (2124) flash and change the value (4-5-6-7...) Once the correct digit (7) comes up, press the mode button. Now the third digit flashes and changes its value (2127). Once the correct digit (5) comes up, press the mode button. Next to flash is the second digit (2157).
- Page 15 Set ODOMETER Press to Stop switch to next Press sec. to start Press to select Press to Stop Press to switch switch to next Press to Stop Press to Stop switch to next switch to next Return to main Display Press to Stop Press to Stop switch to next...
- Page 16 5.4 Setting the clock CLK Your VDO CYTEC C 05 features a clock with hour and minute display in 24 h mode To access the clock set-up mode proceed as follows: Press 5sec. Press 5sec. Press 5sec. Step 1: call in the CLK information into your display to start to start to start...
- Page 17 6. Resetting information to zero The following information may be reset to zero with your VDO CYTEC C 05: DST = trip distance ATM = trip counter Watch out: Both these information are simultaneously reset to zero To reset either DST or ATM, one of these informations has to be displayed. Resetting to zero is done by pressing the MODE button for five seconds straight.
- Page 18 8 . Battery change Tip: Take down your total distance and wheelsize prior to battery change. 8.1 Changing the battery in the computer head see chapter 1.4. Watch out: old batteries require special disposal 9. Troubleshooting This chart outlines possible malfunctions, their causes and solutions. malfunction possible cause solutions...
- Page 19 10. Warranty We warrant VDO CYTEC models (sensor, computer head and handlebar holder) to the original purchaser for five years from date of purchase against defects in material and workmanship. This does not cover the batteries, cables and defects resulting from normal wear and tear, improper care, accidents, abuse or alteration.
- Page 20 Contents 1 computer head 1 handlebar holder with sensor, cable and screw 1 rubber shim for sensor mount 1 spoke magnet 5 cable ties 1 battery 3 V Type CR 2032 1 installation and operation manual The CYTEC tin box easily holds a mini-tool and a spare tube to carry on with your ride.
Need help?
Do you have a question about the C05 and is the answer not in the manual?
Questions and answers