Table of Contents
Advertisement
Quick Links
Advertisement
Table of Contents

Summary of Contents for Klein + Hummel O110
- Page 1 KLEIN + HUMMEL GmbH Fax: + 49 - (0)711 - 45893 - 35 email: info@klein-hummel.de Zeppelinstr. 12 73760 Ostfildern/Germany h t t p : / / w w w. k l e i n - h u m m e l . d e...
-
Page 2: Safety Instructions
Safety Instructions It is absolutely essential that you read these safety instructions carefully before connecting and using this K+H product. Your safety depends on it. Furthermore, failure to follow these instructions voids the warranty. To ensure safe operation for years to come, keep these instructions in a safe place for future reference. K+H has manufactured this product in accordance with IEC 92 (SEC) 39 standards, then tested and delivered it in safe operating condition. -
Page 3: Table Of Contents
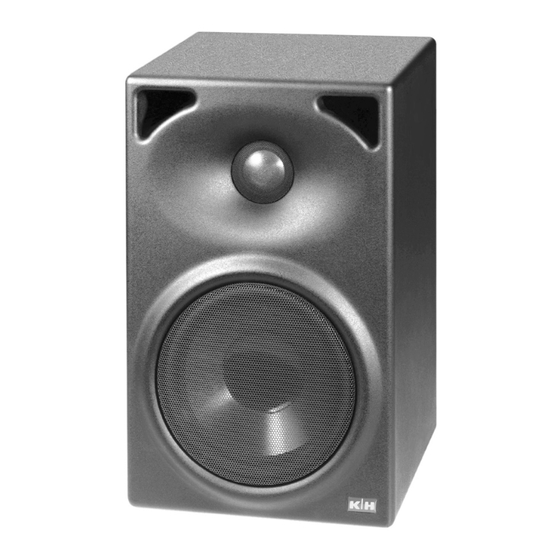
Active Studio Monitor KLEIN + HUMMEL O 110 Installation - Operation Figure 1: Front view of the O 110 Figure 2: Rear panel of the O 110 Table of Contents: Safety Instructions............2 1.6 Mains Power Fuse..........5 Table of Contents............3 1.7 Display Functions..........5 1.7.1 Overload Protection........5 1. -
Page 4: Installation And Operation
1.3 Connection to Mains Current 1. Installation and Operation The amplifier electronics within the O 110 are It is absolutely essential that you read and set up for an AC line voltage of 230 volts, 50 or 60 observe the Safety Instructions on page 2 cycles per second. -
Page 5: Ground Lift
Position 0 = free standing circuit board below the XLR jack. The arrow is Position 1 = placement a short distance pointing to a jumper, which by default bridges the before a wall two pins. If you remove the jumper the signal Position 2 = placement flat against a wall ground is lifted from the chassis ground. -
Page 6: Care Of The Cabinet
electronics. In Figure 5, the arrow points to the spot on the input circuit board where the jumper is located, next to the XLR input jack. 1.8 Care of the Cabinet The cabinet housing of the K+H O 110 active studio monitor comes standard with a charcoal - grey (RAL color 7021) or white (RAL color 9010) colored enamel finish. - Page 7 Figure 8: Frequency Response (free field) Figure 9: THD, 2 nd and 3 rd order distortion @ 95 dB/SPL and 1 m distance Figure 10: Group Delay Figure 11: Cumulative Spectral Decay Plot The loudspeaker’s cumulative spectral decay plot indicates a very clean decay without any major resonances or standing waves being evident.
-
Page 8: Warranty Information
3. Warranty Information All K+H products undergo an extensive procedure of quality control testing before leaving the factory. Before semiconductors are mounted on the circuit board, they are subject to rigorous tests. Every single unit is guaranteed to match its technical specifications within strict predetermined tolerances. -
Page 9: Technical Specifications
4. Technical Specifications O 110 Maximum SPL in half space, 3% THD at 1 m distance 107.7 dB/SPL averaged between 100 Hz and 6 kHz Free field frequency response 58 Hz - 20 kHz ± 2 dB Self generated noise level at 10 cm <... - Page 10 KLEIN + HUMMEL GmbH Fax: + 49 - (0)711 - 45893 - 35 email: info@klein-hummel.de Zeppelinstr. 12 73760 Ostfildern/Germany h t t p : / / w w w. k l e i n - h u m m e l . d e...


Need help?
Do you have a question about the O110 and is the answer not in the manual?
Questions and answers