Table of Contents
Advertisement
INSTALLATIONINSTRUCTIONS
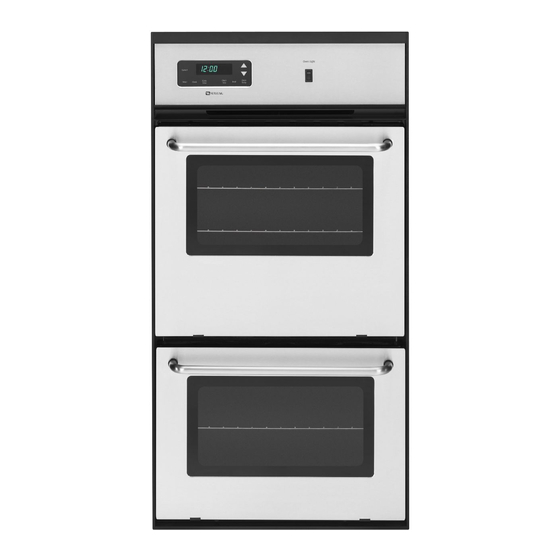
24" (61.0 CM) GAS SINGLE
AND DOUBLEBUILT-INOVEN
Table of Contents
BUILT-IN OVEN SAFETY ................................1
INSTALLATION REQUIREMENTS .................3
Tools and Parts ............................................. 3
Location Requirements.................................3
Electrical Requirements................................4
Gas Supply Requirements............................5
INSTALLATION INSTRUCTIONS ...................6
PrepareBuilt-In Oven....................................6
Make Gas Connection .................................. 6
Install Oven.................................................... 7
Complete Installation....................................8
GAS CONVERSIONS.......................................9
LP Gas Conversion ....................................... 9
Natural Gas Conversion..............................10
BUILT-INOVEN SAFETY
Your safety and the safety of others are very important.
We have provided many important safety messages in this manual and on your appliance. Always read and obey all safety
messages.
This is the safety alert symbol.
This symbol alerts you to potential hazards that can kill or hurt you and others.
All safety messages will follow the safety alert symbol and either the word "DANGER" or "WARNING."
These words mean:
You can be killed or seriously injured if you don't immediately
follow
instructions.
You can be killed or seriously injured if you don't follow
instructions.
All safety messages will tell you what the potential hazard is, tell you how to reduce the chance of injury, and tell you what can
happen if the instructions are not followed.
iMPORTANT:
installer: Leave installation instructions with the homeowner.
Homeowner:
Keep installation instructions for future reference.
W10203509A
Advertisement
Table of Contents

Subscribe to Our Youtube Channel
Related Manuals for Maytag CWG3600AAS13


Summary of Contents for Maytag CWG3600AAS13
- Page 1 INSTALLATIONINSTRUCTIONS 24" (61.0 CM) GAS SINGLE AND DOUBLEBUILT-INOVEN Table of Contents BUILT-IN OVEN SAFETY ........1 INSTALLATION REQUIREMENTS ....3 Tools and Parts ..........3 Location Requirements.........3 Electrical Requirements........4 Gas Supply Requirements......5 INSTALLATION INSTRUCTIONS ....6 PrepareBuilt-In Oven........6 Make Gas Connection ........6 Install Oven............
- Page 2 WARNING: If the information in this manual is not followed exactly, a fire or explosion may result causing property damage, personal injury or death. - Do not store or use gasoline or other flammable vapors and liquids in the vicinity of this or any other appliance.
- Page 3 INSTALLATION REQUIREMENTS Product Dimensions - Single Oven Gather the required tools and parts before starting installation. Read and follow the instructions provided with any tools listed here. Tools needed • Tape measure • Marker or pencil • Phillips screwdriver • Pipe-joint compound resistant to LP gas •...
- Page 4 Product Dimensions - Double Oven Cabinet Side View - Double or Single Oven A. 24" (61 cm) min. cutout depth B. 22%" (57.5 cm) recessed oven depth C. Oven front D. Recessed oven E. Cabinet A. 221/4'' (56.8 cm) max. recessed width B.
- Page 5 A120 volt, 6 0Hz., A Conly, 1 5-amp f used, electrical circuit i s LP gas conversion: required. Atime-delay fuse orcircuit b reaker isalso Conversion must be done by a qualified service technician. recommended. Itisrecommended thataseparate circuit serving o nly thisoven beprovided. No attempt shall be made to convert the appliance from the gas specified on the model/serial rating plate for use with a different Electronic ignition s ystems operate w ithin wide voltage l imits,...
- Page 6 For elevations above 2,000 ft (609.6 m), the burner should be reduced 4% for each 1,000 ft (304.8 m) above sea level (not Gas Pressure Regulator applicable for Canada). The gas pressure regulator supplied with this oven must be used. The inlet pressure to the regulator should be as follows for proper Gas Supply Pressure Testing operation:...
- Page 7 Use a 1%e" combination wrench and an adjustable wrench to Complete connection attach the flexible connector to the adapters. Check that 1. Open the manual shutoff valve in the gas supply line. The connector is not kinked. valve is open when the handle is parallel to the gas pipe. A.
- Page 8 Securely fasten oven to cabinet using the 0.188 x 2.1" screws 4. Replace oven racks. (4 for single oven, 6 for double oven) provided. Insert the 5. Grasp sides of the door and align slots in door with the hinge screws through holes in decorative trim.
- Page 9 GAS CONVERSIONS Gas conversions from Natural gas to LP gas or from LP gas to Natural gas must be done by a qualified installer. To Convert Gas Pressure Regulator 1. Locate gas pressure regulator in bottom compartment. Explosion Hazard Use a new CSA International approved gas supply line.
- Page 10 3. Flip the regulator pin over and snap pin firmly into place. Gcs Conveys on Turn manual shutoff valve to the closed position. Unplug oven or disconnect power........A. Natural gas position A. Tooven B. LP gas position B.
- Page 11 2. Unscrew the hex-shaped regulator cap from the regulator and 4. Screw the hex-shaped regulator cap securely back into place. remove the regulator pin. Do not overtighten. To Convert Oven Bake/Broil Burner 1. Remove racks from inside the broiler cavity. 2.
- Page 12 W10203509A 7/08 © 2008. Whirlpool Corporation. Printed in U.S.A. All rights reserved.
Need help?
Do you have a question about the CWG3600AAS13 and is the answer not in the manual?
Questions and answers