
Related Manuals for Maytag CWG3600AAB


Summary of Contents for Maytag CWG3600AAB
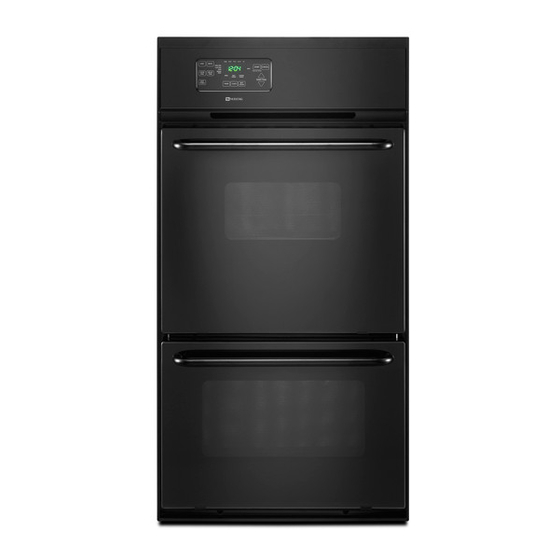
- Page 1 GAS WALL OVEN MODELS CWG4100, CWG4600, CWG3100, CWG3600 USER’S GUIDE KEEP THESE INSTRUCTIONS FOR FUTURE REFERENCE...
-
Page 2: Table Of Contents
• How to Remove Wall Oven for Servicing or Cleaning ....... -
Page 3: For Future Reference
FOR FUTURE REFERENCE Congratulations on your choice of a Maytag oven! As you use your new oven we know you will appreciate the many features that provide excellent performance, ease of cleaning, convenience and dependability. New features have dramatically changed today’s cooking appliances and the way we cook. -
Page 4: Important Safety Instructions
2. Smother fire or flame with a dry chemical, or foam-type extinguisher, or baking soda. Do not use water on a grease fire. 3. If the fire is in the oven, smother it by closing the oven door. General Misuse of appliance doors, such as stepping, leaning... - Page 5 Slide oven rack out to add or remove food, using dry, sturdy pot holders. Always avoid reaching into oven to place or remove food. Do not use oven as a storage area for food or cooking utensils. This instruction is based on safety considerations to prevent potential hazard to user and to the appliance.
-
Page 6: Save These Instructions
Clean oven with caution. If a wet sponge or cloth is used to wipe spills on a hot cooking area, be careful to avoid steam burns. Some cleaners can produce noxious fumes if applied to a hot surface. -
Page 7: Electronic Clock And Oven Control
The display on the control will flash when power is first supplied to the wall oven or if there is a power failure. Once the time-of-day clock has been set (see Setting the Clock, page 6), the display will stop flashing. -
Page 8: Setting The Clock And Timer
• To change the time in increments of 10 minutes, press and hold either pad When the power is first supplied to the oven or if there has been a power failure, the display will flash. Follow above instructions to set the clock. -
Page 9: Using Your Oven
With this type of ignition system, the oven will not operate during a power failure or if the wall oven is disconnected from the wall outlet. No attempt should be made to operate the oven during a power failure. -
Page 10: Oven Racks
Used for some two-rack baking. (highest position) Place food in oven on center of rack. Allow 1 or 2 inches between edge of utensil and oven sides or adjacent utensils. If cooking on two racks, stagger foods on racks. Use rack positions 2 and... -
Page 11: General Baking Tips
• Check the cooking progress at the minimum time recommended in the recipe. If necessary, continue checking at intervals until the food is done. If the oven door is opened too frequently, heat will escape the oven; this can affect baking results and wastes energy. -
Page 12: Baking Chart
Baking Chart You may find these guidelines helpful when comparing the baking times, temperatures and oven rack positions of commonly baked foods. Product & Type Cake Chocolate, two layers Yellow, two layers White, two layers Bundt Cupcakes Sheet Cake Angel Food... -
Page 13: Common Baking Problems And Why They Happen
Slow baking Baking or roasting time too short. Excessive or roasting. Temperature too low. Oven out of calibration. Old oven out of calibration. Incorrect use of aluminum foil. Oven not preheated. Oven door opened too frequently. Too many pans on racks. -
Page 14: Roasting
General Tips Most meats are roasted at 325°F. It is not necessary to preheat the oven. Place the roasting pan on a rack which has been placed in either of the two lowest rack positions. Use tender cuts of meat weighing three pounds or more. -
Page 15: Broiling
It should be approximately half cooked by the time the top is browned. Until you become more familiar with your new oven, use the following chart as a guide when broiling foods. FOOD DONENESS BROIL POSITION TOTAL BROIL TIME... -
Page 16: Programmed Oven Operations
Programmed Oven Operations The Programmed Oven Operations feature can be used to turn off the oven at a specific time or delay the start and then turn off the oven. This feature will not operate unless the clock is functioning and is set to the correct time of day. -
Page 17: To Bake By Time (With Delayed Start)
4. Press the OVEN STOP pad. The words “Set Stop Time” will flash in the display. 5. Enter the time you wish the oven to turn off by pressing the L or M pad. The words “Delay Stop Time: will light in the display. -
Page 18: Maintenance
Do not attempt to open or close the oven door until the door is completely seated on the hinge arms. Never turn on oven unless the door is properly in place. -
Page 19: Oven Light
WARNING: Possible risk may result from abnormal usage, including excessive loading of the oven door and of the risk of tip over, should the appliance not be reinstalled according to the installation instructions. PAGE 17... -
Page 20: Care And Cleaning
CARE AND CLEANING Be sure all parts of the oven are cool before cleaning. After cleaning be sure all parts are replaced correctly. Cleaning Chart Parts & Cleaning Agents Broiler Insert and Pan • Detergent and water. • Plastic scouring pad. -
Page 21: Continuous Cleaning Oven
The oven MUST be on for cleaning to take place – no cleaning will occur when the oven is off. The special catalytic finish must be exposed to hot oven air before soil will begin to gradually reduce in size. -
Page 22: Service Information
To adjust the thermostat: 1. Press the OVEN TEMP pad. 2. Press the L or M pad and select an oven temperature between 500° F and 550° F. 3. Press and hold the OVEN TEMP pad for about four seconds. -
Page 23: Before You Call For Service
The oven thermostat on your new wall oven may be more accurate than the one on your old wall oven. • Was the oven vent covered or blocked on the wall oven surface? • Is your oven level? Food does not broil properly •... - Page 24 MAYTAG For one year from the date of purchase, when this major appliance is operated and maintained according to instructions attached to or furnished with the product, Maytag brand of Whirlpool Corporation or Whirlpool Canada LP (hereafter “Maytag”) will pay for factory specified parts and repair labor to correct defects in materials or workmanship.
Need help?
Do you have a question about the CWG3600AAB and is the answer not in the manual?
Questions and answers