
Related Manuals for GE Monogram ZFGP21HYASS


Summary of Contents for GE Monogram ZFGP21HYASS
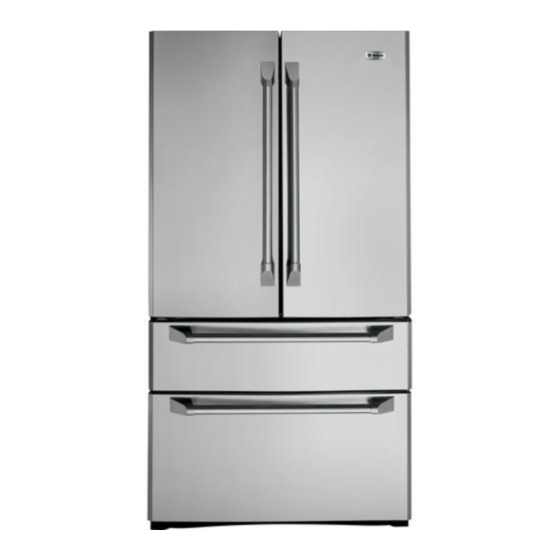
- Page 1 Installation I str cti n Stainless Steel Free-StGnding, Drawer Freezer Refrigerator 31-46515 225DI974PO05 monogram.corn...
-
Page 2: Table Of Contents
Product failure due to improper installation is not • Les r_parations doivent _tre faites par un technicien covered under the GE Appliance Warranty. qualifi& See the Owner's Manual for warranty information. For Monogram local service in your area, call 1.800.444.1845. -
Page 3: Planning Information
The cold water line can enter the opening through the floor 70" rain. or through an adjacent cabinet, as close to the back wall as possible. The water line should be GE SmartConnect'" Refrigerator Tubing or 1/4" O.D.copper Water Supply tubing between the cold water line and water connection location at the rear of the refrigerator. -
Page 4: Installation Instructions
Installation Instructions FLOORI NG TOOLS REOUIRED • Adjustable wrench For proper installation, this refrigerator must be placed on • ]/8" and 5/!5" socket ratchet/driver a level surface of hard material that is at the same height • Phillips head screwdriver as the rest of the flooring. -
Page 5: Step 1, Measure Cabinet Opening
Installation Instructions WARNING [STEP 2 LOCATE ANTI-TIP BRACKET A. Place the anti-tip floor bracket Iocotor template (included inside the anti-tip kit) onto the floor up against the rear wall, within W, and in line with the desired location of the RH side of the refrigerator (see Figure 1). -
Page 6: Step 2, Install Anti-Tip Bracket
Installation Instructions STEP 2A I LOCATE ANTI-TIP FLOOR STEP 2B INSTALL ANTI-TIP BRACKET BRACKET (CONT.} (CONT.} CONCRETEWall and Floor Construction: Figure 2- Acceptable Screw Placement Locations A. Anchors required (not provided): /4each 1//4"x 1 1/2" lag bolts PreferredInstallation- PreferredInstallation- /4each 1/2" O.D.sleeve anchors Wood Concrete B. - Page 7 Installation Instructions [STEP 31 INSTALL THE REFRIGERATOR JSTEP 41 REMOVE THE FREEZER DRAWERS BEFORE MOVING REFRIGERATOR The freezer drawers can be removed, if needed, INDOORS to fit through tight areas. Readthese instructions completely and carefully. IMPORTANT: Doors and passageways TOP DRAWER into the installation location require a 3!"...
-
Page 8: Step/4, Remove The Freezer Drawers
Installation Instructions STEP 4 REMOVE THE FREEZER STEP 5J REMOVE THE FRESH DRAWERS (CONT.) FOOD DOORS BOTTOM DRAWER The top cap must be removed to access hinges. It is best to remove one door at a time. REMOVETHE UPPERBASKET A. Remove 2 screws on top and 2 screws at the back A. -
Page 9: Step 6, Remove The Toekick
Installation Instructions [STEP 6 REMOVE THE TOEKICK STEP 8 REPLACE THE FREEZER DRAWERS (CONT.} If, after removing the freezer drawers and refrigerator door, the refrigerator will still B. Drive the bottom outside screw into the door not fit through a doorway, the toekick on each side until it is all the wag in. - Page 10 Installation Instructions STEP 8 REPLACE THE FREEZER iSTEP8iREPLACE THE FREEZER DRAWERS (CONT.) DRAWERS (CONT.) BOTTOM DRAWER D. Drive the screws fully. (There are 10 screws, 5 on each side.) ATTACH AND SECURE THE DRAWER FRONT TO THE SLIDES A. Pull out the rail assemblies to the full length on each side of the cabinet.
-
Page 11: Step 10, Install Water Line
B. Securelg tape the door shut with masking tape or have a second person support the door. NOTE: The only GE approved plastic tubing issupplied C. Insert the top hinge pin into the hinge hole on inGE SmartConnect '° Refrigerator Tubing kits. Do not top of the refrigerator door. -
Page 12: Step 11 Connect Water Supply
Hold the tubing in ploce ond tighten the fitting. for the neorest Mobe Service Center. If gou are using GE SmartConnect T° t ubing: • Insert the molded end of the tubing into the refrigerotor connection, ot the bock of the refrigerotor, ond tighten the compression nut until it is hond tight. -
Page 13: Step 14, Level Refrigerator
Installation Instructions STEP 14 LEVEL THE REFRIGERATOR [STEP 15J LEVEL THE DOORS Adjust the Rollers If the doors are not evenly aligned at the top, the refrigerator door can be adjusted. The refrigerator can be leveled by adjusting the rollers, •... -
Page 14: Step 16, Install Toekick
Installation Instructions [STEP 16] INSTALL TOEKICK iSTEP 18 i TEMPERATURE CONTROLS • Presstoekick into position and reinstall one screw on • The temperature controls ore preset at 37°F each side. for the refrigerator and O°Ffor the freezer. • Allow 24 hours to stabilize before making adjustments. Toekick Screw IMPORTANT: The ventedtoekick m ust... - Page 15 Notes...
- Page 16 For Monogram ®local service in £our area, call 1.800/444.1845. NOTE: Product improvement is a continuing endeavor at General Electric. Therefore, materials, appearance and specifications are subject to change without notice. GE Consumer & Industrial 31-46515 Appliances General Electric Company 225DI974PO05...
Need help?
Do you have a question about the Monogram ZFGP21HYASS and is the answer not in the manual?
Questions and answers