
Related Manuals for Johnson T7000 PRO


Summary of Contents for Johnson T7000 PRO
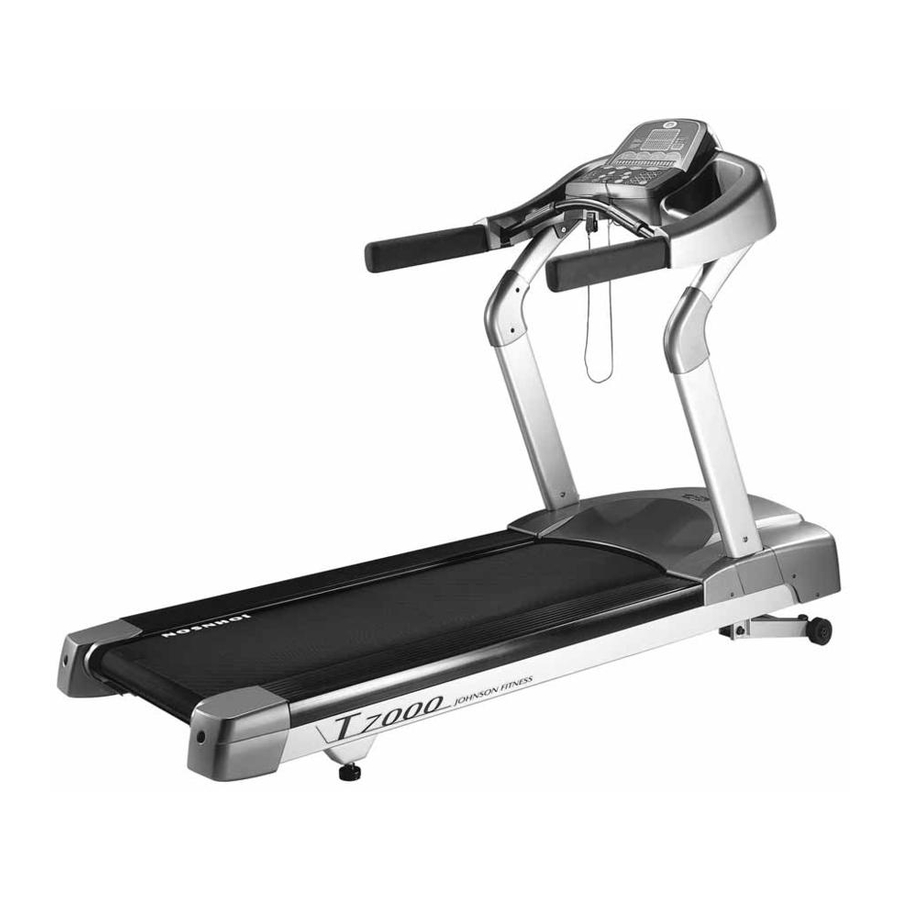
- Page 1 T7000 PRO TREADMILL T7000 PRO No.26, Ching Chuan Rd., Taya Hsiang, Taichung Hsien 428, Taiwan, R.O.C. TEL: +886-4-25667100 FAX: +886-4-25601087 E-mail: sales@johnsonfitness.com OWNER'S MANUAL http://www.johnsonfitness.com Sep. 18, 09’...
-
Page 2: Table Of Contents
• Workout Overviews • Workout Tips • Workout Setup Steps MANAGER’s CUSTOM MODE • The List Of Manager's Custom Mode MAINTENANCE • Recommended Cleaning Tips • Centering The Belt • Tensioning The Belt PRODUCT SPECIFICATIONS • Model T7000 PRO Specifications... -
Page 3: Instruction
• CAUTION: If you experience chest pains, nausea, dizziness or shortness of breath, stop exercising immediately and consult your physician before continuing. When using the T7000 PRO, always follow basic precautions: • Never operate the treadmill if it has a damaged power cord or electrical plug, if it is not working •... -
Page 4: Setup The Treadmill
T7000 PRO on a structurally solid and flat surface a few meters / feet from the wall or any equip- • Be sure the emergency stop pull cord is clipped to the user and in a proper placed position ment (Allow a distance of 21 centimeters, or eight inches, between the treadmill and other units on either side. -
Page 5: Centering The Belt
ADJUSTING THE BELT at the section of MAINTENANCE for details. The T7000 PRO is carefully inspected before it is packaged. Carefully unpack the unit and dispose of the box material. NOTE: In case these parts are missing from the package, ELECTRICAL POWER REQUIREMENT please contact the local authorized Johnson dealers at once. -
Page 6: Assembly Instructions
ASSEMBLY INSTRUCTIONS ASSEMBLY EXPLODED DIAGRAM Please make sure that the power plug is not plugged into the wall outlet while assembling the treadmill. Ensure correct assembly of the T7000 PRO, carefully read and follow these steps: FASTENERS PART NO. DESCRIPTION... - Page 7 T R E A D M I L L T 7 0 0 0 P R O T R E A D M I L L T 7 0 0 0 P R O STEP 2: Secure The Left And Right Console Mast ASSEMBLY STEPS ATTENTION: After installation is completed, the treadmill will need to be calibrated by a.Attach the left console mast by placing it into the console mast support bracket and...
- Page 8 T R E A D M I L L T 7 0 0 0 P R O T R E A D M I L L T 7 0 0 0 P R O STEP 3: Attach The Console To The Console Mast Diagram 2 a.Route the display cable through the right console mast and pull it out of the hole on the side of the console mast near the frame.
- Page 9 T R E A D M I L L T 7 0 0 0 P R O T R E A D M I L L T 7 0 0 0 P R O STEP 5: Calibrate The Treadmill STEP 4: Replace The Motor Cover a.Replace the motor cover on the treadmill using buttonhead cross screws (Z53) to Enter the Manager’s Custom Mode to execute P16 AUTO CHECK.
-
Page 10: Using The Workouts
T R E A D M I L L T 7 0 0 0 P R O T R E A D M I L L T 7 0 0 0 P R O USING THE WORKOUTS CONTROL KEYPAD: The Control Keypad allows the user to set up programs and control 1. -
Page 11: Workout Overviews
T R E A D M I L L T 7 0 0 0 P R O T R E A D M I L L T 7 0 0 0 P R O WORKOUT OVERVIEWS DEFAULT PROMPT PROGRAM DEFAULT PROMPT PROGRAM PROGRAM... -
Page 12: Workout Tips
Use the PROGRAM PLUS™ KEYS to enter the program, or use SPEED keys to scroll to • Johnson Fitness strongly recommends seeing a physician for a complete medical exam desired program. Use the NUMBER keys to enter the values, or use SPEED keys to before undertaking an exercise program. -
Page 13: Manager's Custom Mode
T R E A D M I L L T 7 0 0 0 P R O T R E A D M I L L T 7 0 0 0 P R O MANAGER’s CUSTOM MODE The Manager’s Custom Mode allow the club owner to customize the treadmill for the 4) “SELECT START SPEED”... -
Page 14: The List Of Manager's Custom Mode
T R E A D M I L L T 7 0 0 0 P R O T R E A D M I L L T 7 0 0 0 P R O THE LIST OF MANAGER’s CUSTOM MODE CUSTOM CUSTOM DEFAULT MINIMUM MAXIMUM... -
Page 15: Maintenance
T R E A D M I L L T 7 0 0 0 P R O MAINTENANCE The T7000 PRO is built for use in the light commercial environment - 8 hours a day and 4) To Press QUICK START and speed up the SPEED up to 6.4 kph / 4 mph during the belt seven days a week. -
Page 16: Product Specifications
T R E A D M I L L T 7 0 0 0 P R O PRODUCT SPECIFICATIONS Model T7000 PRO Console Display Screen Workout Profile Window – 10 × 14 green LED dot-matrix display Instruction Center – 19-character red LED alphanumeric display Informational Display –...
Need help?
Do you have a question about the T7000 PRO and is the answer not in the manual?
Questions and answers