Table of Contents
Advertisement
Quick Links
Advertisement
Table of Contents

Related Manuals for Digitus DS-12820


Summary of Contents for Digitus DS-12820
- Page 1 2- / 4-PORT USB DVI KVM WITH USB HUB AND AUDIO User Manual DS-12820 / DS-12840...
-
Page 2: Table Of Contents
Index INTRODUCTION ........................- 1 - ......................- 1 - EATURES ..................... - 2 - HYSICAL IAGRAM ................... - 2 - ACKAGE ONTENTS SPECIFICATIONS ........................5 ........................ 5 ENERAL LED I ....................6 NDICATORS INSTALLATION ........................- 5 - ..................- 5 - YSTEM EQUIREMENTS .................. -
Page 3: Introduction
1 Introduction Thank you for purchasing our 2/4-Port USB DVI KVM with USB 2.0 Hub and Audio. You now have a high quality and durability system to control multiple computers/servers from one console (Mouse, Keyboard, Monitor, Microphone and Speaker). 1.1 Features Controls 2 or 4 computers from a single console (keyboard/mouse) over connection by using standard USB cables. -
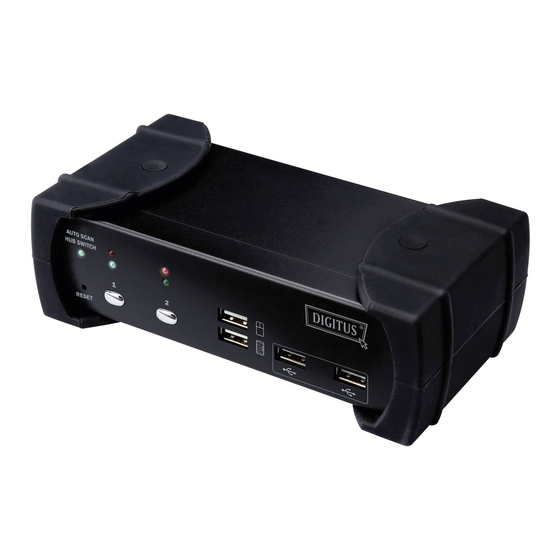
Page 4: Physical Diagram
1.2 Physical Diagram 1.3 Package Content The product you purchased should contain the equipment and accessories shown as follows: 2-Port or 4-Port USB KVM with USB 2.0 Hub and Audio DVI-D cable x 2 pcs USB cable x 2 pcs 3.5mm audio cable x 2 pcs External power adaptor DC 5V 2A User Manual... -
Page 5: Specifications
2 Specifications 2.1 General Specification Number Of Computer Controlled Selection Method Push Button/Hot Key Host Selected LED (RED) LEDs HUB Selected LED (Green) Auto Switch & Auto Scan LED (Green) Compliant with USB Version USB1.0 / USB1.1 / USB2.0 Compliant with HID Version USB HID 1.11 Video 2 x DVI-I female... -
Page 6: Led Indicators
2.2 LED Indicators Host Selected Indicators (RED) ON: Indicates which PC is available and selected. Flash: Indicates which Host PC is selected but is not available Hub Selected Indicators (GREEN) Indicates which PC is connecting with USB Hub downstream ports.. ... -
Page 7: Installation
3 Installation 3.1 System Requirements Computer: PC with 1 spare USB port and 1 DVI port. (if you wish to share speakers and/or microphone, computer must also have available audio ports) Operating system: Windows 98/98SE/2000/ME/XP/Vista/7/2003, Mac OS9/OSX, Linux Kernel 2.3 or later, Solaris 8 or later, Sun Microsystems OS. DVI cable to computer: 1 DVI-I or DVI-D male-to-male cable per computer. -
Page 8: Usb Enumeration Time
Connects USB keyboard/mouse to the console front ports of KVM. Connects all audio cable to each computer, KVM, speaker and micphone if necessary. Connects other USB devices to USB Hub downstream ports if necessary. Connects the monitor DVI cable to the monitor output port of KVM. Apply DC 5V power adaptor to power this KVM Switch. -
Page 9: Notice For Sun Micro System User
3.4 Notice for Sun Micro System user Due to some Sun Microsystems do not support the USB 2.0 HUB feature during the booting period, if you are using such Sun Microsystems, it is possible that you will see the system show up keyboard detected failed message, screen go to blank for few minutes, then the login screen will come out. - Page 10 B. Tick “Search for the best driver for your device” and press “Next” to continue. C. Please insert the “Windows 98” CD into your CD-ROM drive. Tick “CD-Rom drive” and press “Next” to continue. D. Press “Next” to start the installation process.
- Page 11 E. Sometimes Windows cannot locate the necessary driver automatically. So you need to choose “Browse” to specify the location of the driver on your “Windows 98” CD manually. F. Press “OK” to continue. G. Press “Finish” to finish installing the USB Human Interface Device driver for keyboard &...
-
Page 12: Operations
4 Operations 4.1 Push button Operation You can switch to any desired USB host connection with audio together by pushing the push button on the front panel of KVM Switch. You can also disable Audio Auto-Switch function by Hotkey. Please refer section 4.4.1 Audio Auto-Switch Function. -
Page 13: Usb Hub Selection
4.3 USB Hub Selection 4.3.1 USB Hub Switch by Push Button You must enable Hub Auto-Switch function before you can use push button to switch USB Hub. There are two ways to toggle Hub Auto-Switch alternatively: Press any push button on KVM front panel for 3 seconds. By using hot key: [Scroll Lock] + [Scroll Lock] + [H] After Hub Auto-Switch function is enabled, the Hub auto-switch / Auto-Scan Indicator on front panel will turn ON statically, and USB hub... -
Page 14: Hub Selected Indicator
If Hub Auto-Switch function is enabled, USB hub will be switched along with selection of host port by Hot Key. In this mode, hot key [Scroll Lock] + [Scroll Lock] + [Q/W/E/R] for USB hub switching are disabled. 2-Port USB DVI KVM [Scroll Lock] + [Scroll Lock] + [1]: Switch both host and hub to port 1 [Scroll Lock] + [Scroll Lock] + [2]: Switch both host and hub to port 2 4-Port USB DVI KVM... -
Page 15: Auto-Scan Function: Auto-Scan Function
4.5 Auto-Scan Function: Auto-Scan Function: 4.5.1 Activate Auto-Scan Press [Scroll Lock] + [Scroll Lock] + [S] will activate Auto-Scan function, and the KVM will shift the display through all the ports sequentially. 4.5.2 Auto-Scan time Interval The default time interval of Auto-Scan is 5 seconds. You can press the numeric key [1], [2], [3], [4] to adjust the time interval during auto-scan. -
Page 16: Hot Key Summary
4.6 Hot Key Summary Step 1 Step2 Action Enable/Disable USB HUB Auto-Switch Switch to host 1 Switch to host 2 Switch to host 3 Switch to host 4 Switch next host Switch the upper one host Switch the next one host Enable/Disable Audio Auto-Switch Switch to the audio 1 (Available only Audio Auto-Switch disabled) -
Page 17: Sun Microsystems Function Key Emulation
4.7 Sun Microsystems Function Key Emulation: There are 16 special functions on the Sun Microsystems keyboard, the KVM Switch can emulate these function keys. Here is the mapping table for Sun Microsystems function key emulation. To active these emulation, you have to press the LEFT Window KEY first (this key usually is located between the left [Ctrl] and left [Alt]), then choice the second relative key. -
Page 18: Fcc Statement
Disclaimer Information in this document is subject to change without notice. The manufacturer does not make any representations or warranties (implied or otherwise) regarding the accuracy and completeness of this document and shall in no event be liable for any loss of profit or any other commercial damage, including but not limited to special, incidental, consequential, or other damages.
Need help?
Do you have a question about the DS-12820 and is the answer not in the manual?
Questions and answers