Table of Contents
Advertisement
Quick Links
Advertisement
Table of Contents

Related Manuals for Digitus DS-12910


Summary of Contents for Digitus DS-12910
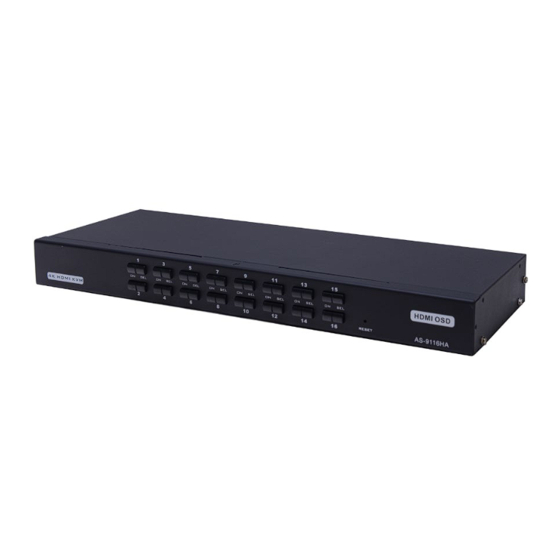
- Page 1 8 / 16 Port HDMI KVM Switch Series Manual DS-12910 / DS-12911...
-
Page 2: Table Of Contents
11. Specification ................15 12. Safe Guide ................. 16 Product model list Model Specification DS-12910 8 Port HDMI KVM Switch Series DS-12911 16 Port HDMI KVM Switch Series Please check to make sure that all the components are present and that •... -
Page 3: Overview
1. Overview 8 ports/16 ports HDMI USB KVM (Keyboard, Video, Mouse) Switches are control units that allow access and control of up to 8 (DS-12910) or 16 (DS-12911) computers from a single USB/keyboard, USB/mouse, and monitor console. There are two convenient methods to access any computer connected to the installation: (1) using the push button port selection switches located on each unit’s front panel;... -
Page 4: Hardware Requirement
• LEDs display for easy status monitoring • Auto Scan Mode for monitoring all computers Superior video quality HDMI 4K@30Hz • Easy installation – no software required • • Hot pluggable – add or remove computers for maintenance without powering down the switch Support Windows, Linux, Mac and Sun •... -
Page 5: Introduction
6. Introduction Front View 8 ports selection switches 16 ports selection switches No. Section Function Press a switch button to access the computer attached to Port its corresponding port. The internal buzzer beeps, it Selection means that the switching action is performed correctly, Switches the selected port LED will light up as well. -
Page 6: Installation
Rear View 8 port KVM rear view 16 port rear view No. Section Function Port to connect computer. Connect one end of the HDMI connector of the corresponding KVM cable to this, and Connection the other end of the keyboard connector to the port Port corresponding to the PC. -
Page 7: Operation
Wait 10 seconds, then plug the power adapter back and power on all • computers. Port selection: The DS-12910/DS-12911 provides two methods to obtain instant access to any computer in your installation: manual and OSD. Manual: Simply press the appropriate port selection switch on the DS-12910/DS-12911 ’s front panel. -
Page 8: Osd Operation
Switch hotkey: [SHIFT] [SHIFT] [NUM] by default. Example, keyboard type in [SHIFT][SHIFT][0][5] switching to port 5. PS: [NUM] is a 2 digits number OSD: OSD (On Screen Display) provides a menu driven interface to handle the computer switching procedure to provide instant access to any computer on the installation. - Page 9 OSD Navigation: • To dismiss OSD, press [Esc]. To move up and down through the list one line at a time, use the Up and • Down Arrow Keys. If there are more list entries than what can appear on the main screen, the screen will scroll.
- Page 10 To use the name method, move the cursor to the “NAME” option through the keyboard button, and then press the [Enter] key, the input box of “NAME” appears at the bottom of the window. You can enter the name of the port to be switched in the box.
- Page 11 F3 LIST: The LIST function lets you broaden or narrow the scope of which ports the OSD displays on the main screen. Many of the OSD functions only operate on the computers that have been selected for listing on the main screen with this function. The choices and their meanings are given in the table below: Choice Meaning...
- Page 12 F5 EDIT: EDIT function creates or edits the name of a port. Press [F5], a pink edit box will appear on the screen. Input name, and then press [Enter], the port is set a name and it will also appear on the screen. F6 SET: SET function settings can be set to the administrator and the user to set the OSD menu.
- Page 13 RESTORE DEFAULT VALUE Reset OSD Menu Password Login Function LOCK CONSOLE settings OSD ACTIVATING HOTKEY It provides you with four hotkey combinations: You can use the keyboard [↑] [↓] to move cursor to select, and then press [Enter] key to save. The default is to use [ALT] [ALT] as the OSD menu start hotkey. SWITCH HOTKEY: It provides you with four hotkey combinations: [SHIFT] [SHIFT] [NUM] (by Default)
-
Page 14: Troubleshooting
OSD ACTIVATING HOTKEY: Select OSD activating hotkey • [Ctrl] [Ctrl] Set hotkey as [Ctrl] [Ctrl] [Scroll] [Scroll] Set hotkey as [Scroll] [Scroll] • • [Shift] [Shift] Set hotkey as [Shift] [Shift] • [Alt] [Alt] Set hotkey as [Alt] [Alt] Move the highlight bar to an option and press [Enter] to select it. SET PASSWORD: Set new password. -
Page 15: Specification
11. Specification Function DS-12910 DS-12911 Computer Direct Connections OSD Menu, Front Panel CPU Port Selection Hot-Key, Keyboard Hot-key Video 1x HDMI Female Console Keyboard 1x USB Type A Female Connectors Mouse 1x USB Type A Female Connector Computer Video/Keyboard 8x HDMI... -
Page 16: Safe Guide
12. Safe Guide • Please follow the directions below when installing, using and maintaining it in order to guarantee the device to work well. When installing and operating the device, please make sure proper power • supply first, and then do other operations after it is initialized. As signal and power transfer need custom cable, please use matched cable, •...
Need help?
Do you have a question about the DS-12910 and is the answer not in the manual?
Questions and answers