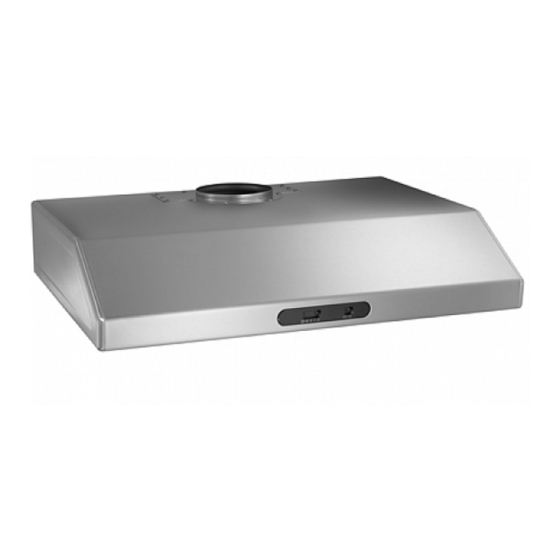
Jenn-Air UXT5230AD Series Installation Manual
Hide thumbs
Also See for UXT5230AD Series:
- Installation manual (31 pages) ,
- User manual (25 pages) ,
- User manual (9 pages)
Table of Contents
Advertisement
Quick Links
RANGE
HOOD
Model Number:
UXT5230AD"
UXT5430AD*
UXTS236AD"
UXT5436AD*
Manufacturer Number:
MK5500
MK5800
Size:
30" & 36"
30" & 36"
INSTALLATION
GUIDE
TABLE OF CONTENTS
Safety Instructions
...................
1
Mounting
Heights
.........................
2
Ductmg ....................
3-7-9
Specifications ................................
4
Installation
........
5-6
=JENN-AIR
Form No
A/04/03
Part No IMKS558-0303A
@2003 Maytag
Appliances
Sales Co
Litho
U S A
Advertisement
Table of Contents

Summary of Contents for Jenn-Air UXT5230AD Series
- Page 1 RANGE HOOD Model Number: UXT5230AD" UXT5430AD* UXTS236AD" UXT5436AD* Manufacturer Number: MK5500 MK5800 Size: 30" & 36" 30" & 36" INSTALLATION GUIDE TABLE OF CONTENTS Safety Instructions ....Mounting Heights ......Ductmg ....3-7-9 Specifications ........ Installation ..=JENN-AIR Form No...
- Page 2 MODELS: UXT5230AD" UXT5236AD ° UXT5430AD" UXT5436AD" Installation Theinstallation inthismanual isintended for qualified installers, service t echnicians orpersons with s[rnilar qualified background, DONOT attempt toinstall thisappliance yourself. Injury could result f rom instalting theunitdue tolackof appropriate e lectrical and technical background.
-
Page 3: Installation
INSTALLATION MOUNTING HEIGHTS Minimum mounting height between r ange top tohood bottom sh_ld benolessthan24", Maximum mounting height should b e nohigh- erthan32". itisimportant toinstall thehood at the proper mounting height. H oods m ounted too lowcould result i nheatdamage a ndfire hazard', while hoods mounted toohigh willbe hard toreach andwilllose performance efficiency. - Page 4 INSTALLATION DUCTING _rjr_lmlJTl.,1.-j _ i iL_ JellI I :| =11 -"P.lrl.*l ;_elB NEVER e xhaust airorterminate d uct w orkintospaces b etween w alls, crawl s paces, ceiling, atticsor garages. Allexhaust must b educted t otheoutside. UseMetal d uctwerk only, Fasten a llconnections withsheet m etal s crews a ndtapeall j oints w/certified Silver T ape or DuctTape.
-
Page 5: Specifications
INSTALLATION ll_ III SPECIFICATIONS -30"or 36"- I ': 1e 3 114" 6" 15 5/8" 30" or 36" 1/2" Elec.K.O,... -
Page 6: Mounting Therangehood
INSTALLATION MOUNTING THERANGEHOOD ELECTRICAL AllElectrical work mustbyperformed byqualified e lectrician o rperson withsimilar t echnical know howandbackground. Forpersonal safety, remove h ouse fuseoropen circuit breaker beforebeginning installation. Donotuseextension c ordoradapter plugwith thisappliance. Follow National electrical c odes or prevailing l ocalcodes andordinances. Electrical Supply: Thisappliance requires a 120V 60Hz electrical supply, connected to anindividual, properly grounded branch circuit, protected bya 15 or20 ampere circuit breaker o r timedelayfuse.Wiringmust b e2... - Page 7 INSTALLATION MOUNTING THE RANGEHOOD 1. Thisrangehoodis mounted undera kitchen cabinetunit. 2. Select p referred duct location onrearor top of unit.Forductless conversion, no ducting is required. 3. Begin installation bytemporarily r emoving thediffuserandfilter panels. 4. Temporarily position therangehood in thedesired mounting Iocatien. Measure and markthemounting holes, duct andelectrical access locations w ith a pencil.
- Page 8 INSTALLATION CONVERTIBLEOPTIONS This range hoodis equippedwith the option of a 6" vertical discharge,3 1/4"x10" vertical discharge, or 3 114"x10"rear discharge.Additional accessoriesare providedto convertto either of the above dischargemethods. ConvertibleAccesodes ConvertibleOptions Round to rectangulartransition adaptor Verticaldischarge 6" round Rectangular to round transition adaptor (pre-mounted) Verticaldischarge 3 114"x10"...
- Page 9 INSTALLATION CONVERTIBLEOPTIONS 3 1/4"x10" Rear Discharge 2. Remove t op pre-mounted t ransition piece. L eave 1. At rearofrange hood, r emove al! screwsonpre- attached gasketin its original p lace. mounted rearrectangularcapandremovecap. 4. Mountrectangularcap (previously removed)ontop 3. Mountrectangular t ransitionpieceat opening with oftransitionadaptor.
-
Page 10: Ductless Conversion
INSTALLATION DUCTLESS CONVERSION Ductless conversion i sintended for applications where anexhaust duct workis notpossible to be installed. When converted, thehood functions asa "purifying" h ood rather than anexhaust hood, Fumes a ndexhaust fromconking aredrawn and filtered bya setofoptional Carbon Filters. Theair isthenpurified a ndre-circulated back within thehome.


Need help?
Do you have a question about the UXT5230AD Series and is the answer not in the manual?
Questions and answers