Advertisement
Advertisement
Table of Contents

Related Manuals for Reebok RE1M-11700


Summary of Contents for Reebok RE1M-11700
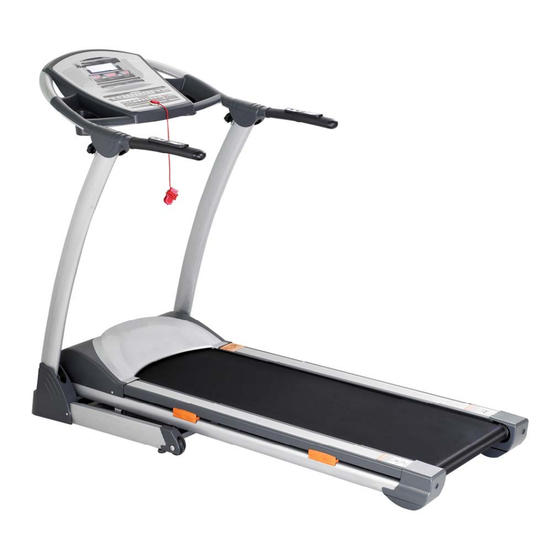
- Page 1 Z8 Run Treadmill (RE1M-11700) User manual RE1M-11700 January 2011 (1 Edition)
- Page 2 Welcome from Reebok Fitness Thank you for choosing Reebok. Before you get started, please read these instructions carefully. If you experience any difficulties, our support team will be happy to help – or check out our website at reebokfitness.info Important note: Consult your doctor before starting any exercise programme.
-
Page 3: Table Of Contents
CONTENTS Assembly………………………………………………Pages 4 - 5 Precautions…………………………………………….Pages 6 - 7 Functions………………………………………………. Page 8 Correct Use……………………………………………. Pages9-10 Warm Up……………………………………………….. Page 11 Computer………………………………………………. Pages 12-15 Maintenance…………………………………………… Pages 16-17 Parts ID………………………………………………… Pages 18-21 Troubleshooting……………………………………….. Page 22 Limited Warranty……………………………………….Page 23... -
Page 4: Assembly
ASSEMBLY INSTRUCTIONS Step 1:. Remove the machine from the box and place on a level floor;please ensure to keep your hands free from the connections between the console and the stand post, the stand post and the bottom frame . Step 2: Follow the arrowheads to attach the stand post(please ensure you don’t put your hand on the connections),fix the stand post to the bottom frame with the 2pcs bolts M8*50 each side. -
Page 5: Assembly
ASSEMBLY INSTRUCTIONS CONT Step 3:Follow the arrowhead to put up the console(please don’t put your hand on the connections),fix the console to the stand post with 2pcs bolt M8*20 . Please tighten all the bolts at this stage.. Step 4: Follow the arrowhead to put the plastic cover on the bottom frame, Fix the bottom cover with two bolts (ST4*20) on either side,,then put the casket on the console . -
Page 6: Precautions
PRECAUTIONS These instructions are intended to provide important information for use and maintenance of the equipment as well as for your personal safety. Keep this user manual in a safe place for future reference. WARNING! This product is made for home use only and tested up to a maximum body weight of 110kg. RFE International Ltd. -
Page 7: Precautions
• Follow the steps of the assembly instructions carefully. • Only use suitable tools for assembly and ask for assistance if necessary. • Only use original Reebok parts as delivered (see checklist). SAFETY CHECKS (Before Every Use) • Tighten all adjustable parts to prevent sudden movement while training. -
Page 8: Functions
FUNCTIONS 1. Folding Treadmill • Turn off the power • Lift the rear of the running deck towards the computer, when the top is reached the shock will lock against the foot up lock and secure the deck upright. • Before releasing pull the deck towards you slightly to ensure it has locked. -
Page 9: Correct Use
CORRECT USE Correct Use We recommend you use your treadmill in the following way: Correct biomechanical position: Please refer to picture. Running straight on the treadmill is made easier by focusing on a fixed object in front of you in the room. Run as if you wanted to approach the object. - Page 10 CORRECT USE CONT. TURN POWER ON The On/Off switch for the treadmill is located next to the power supply cord at the back of the motor cover. Turn this to the “ON” position firstly. SAFETY KEY The safety key is designed to cut the main power to the treadmill should you fall or in the event of an emergency. Therefore, the safety key is designed to bring the treadmill to an immediate stop.
-
Page 11: Warm Up
WARM UP WARMING UP It is important to warm up before exercising to prepare your body for the workout it is about to do. The first phase of a warm up is to increase your heart rate and get blood pumping around your body faster. Choose an activity which will warm up the same muscles you are going to use during your workout. -
Page 12: Console Operation
CONSOLE OPERATION LCD DISPLAY SPEED/PROGRA PULSE/INCLINE M DISPLAY DISPLAY TIME/DISTANCE/CALORIE DISPLAY PROGRAM BUTTON MODE BUTTON SPEED BUTTONS START BUTTON INCLINE BUTTONS STOP BUTTON SAFETY KEY Ⅰ ﹕ Window and key-press instruction A:“program Button: When the machine is in power on status this can be used to select a program: The programs available are: manual modeP0->P01->P02->P03->P04->P05->P06->P07->P08->P09->P10->P11->P12 ->... -
Page 13: Computer
CONSOLE OPERATION CONT F : Incline+/-,adjust the incline between 0-12% G : Quick speed: 2,4,6,8,10,12,14,16km/h. H : Quick incline: 2,4,6,8,10,12% Program Instruction: The computer 1:P0: Manual program including: normal mode, time countdown, distance countdown, calorie countdown. 2:P1 – P12 are preset programs designed to give a variation of different workouts 3.:Body fat Program. - Page 14 CONSOLE OPERATION CONT Program mode 1: Within all the programs the preset workout time is 30 minutes. You can adjust this between 5:00 - 99:00 minutes by.Pressing the “+””-“ buttons when in the program. 2: Press “start”key, to begin a program.. 3: Press the “Stop”...
-
Page 15: Maintenance
Computer Display ranges original Preset value Available range Display range Time(minute:second) 0:00 30:00 8:00-99:00 0:00~99:59 speed(km/h) 1.0-16.0 Incline 0-12% 1.00-99.00 0.0-99.99 distance(km) 0.00 1.00 calorie(term) 20-990 0-999 Preset Program speed/incline settings SPEED INCLINE SPEED INCLINE SPEED INCLINE SPEED INCLINE SPEED 10.0 10.0 10.0... - Page 16 CLEANING Remove dust on the treadmill with vacuum or slightly damp cloth. Fold up the deck and clean the floor with vacuum periodically, this will help to prolong the treadmill life. Never use solvents on the deck or running belt. Use of solvents can reduce critical lubrication of the deck and belt.
-
Page 17: Exploded Diagram
session at 5-6km?h 3 times a week for two people) lubricate every three to six months. Your may adjust the timing of the lubrication based on the intensity of the treadmill use level. To check the lubrication level, simply lift the running belt, and put your hand as far into the center of the belt as you can reach. - Page 18 PARTS LISTS...
- Page 19 PART NAME QUANTITY Base frame welding Main frame welding Incline frame welding Upright post welding Feet pad welding Handle bar welding Motor board welding Inner hex bolt M12*Φ14*35*19 Inner hex bolt M10*60*20 Inner hex bolt M10*35*20 Inner hex bolt M8*50*20 Inner hex bolt M8*45*20 Inner hex bolt M8*40*20 Inner hex bolt M8*30*20...
- Page 20 Side rail Decorate strip Rear cover (left) Rear cover (right) Rear cover feet pad Square stuff Taper cushion Wheel Φ62 Computer cover Place with the computer(big) Place with the computer(small) Sundries frame(left) Sundries frame(right) Handle bar cover(up) Handle bar cover(down) Ellipse round stuff Base frame cover(left) Base frame cover(right)
-
Page 21: Troubleshooting
Wire nip Protect wire ring Hard ware kit 999-A T Allen wrench 6*80 999-B Cross allen wrench 14*17*75 TROUBLE SHOOTING... - Page 22 How long is my warranty on my treadmill? All Reebok treadmills come with a manufacturer’s warranty this varies on each machine, this should be printed in your manual, if you have any questions regarding your warranty please don’t hesitate to contact our helpline 0800 440 2459.
-
Page 23: Limited Warranty
Limited Warranty RFE International Ltd warrants products to be free from defective workmanship and materials, under normal use and service conditions, for the period of 2 years from the date of purchase. Details of these service conditions can be found within the product’s user manual. In order to validate warranty dates a proof of purchase is required.
Need help?
Do you have a question about the RE1M-11700 and is the answer not in the manual?
Questions and answers