
Related Manuals for Hotpoint MAC155


Summary of Contents for Hotpoint MAC155
- Page 1 Portable Air Conditioner, Dehumidifier, Heater and utilizing Heat Pump Technology OWNER’S MANUAL Model #: MAC155 Please read owner’s manual carefully before operating unit.
-
Page 2: Table Of Contents
TABLE OF CONTENTS INTRODUCTION ……………………………………………………………………………………………… 3 IMPORTANT SAFEGUARDS …………………………………………………………………………………4 PRODUCT DIAGRAM ………………………………………………………………………………………… 5 INSTALLATION ……………………………………………………………………………………………… 6 CONTROL PANEL AND MULTI-COLOR DISPLAY ………………………………………………………… 9 CONTROL PANEL FUNCTIONS ……………………………………………………………………………… 9 OPERATION USING THE CONTROL PANE L…………………………………………………………………11 COOLING ………………………………………………………………………………………………… DEHUMIDIFYING ………………………………………………………………………………………… 11 FANNING …………………………………………………………………………………………………... -
Page 3: Introduction
INTRODUCTION Thank you for purchasing the Portable Air Conditioner. This unit is designed to improve indoor living and working comfort by providing cooling, dehumidifying, and ventilation with minimal installation. This multi-functional unit operates as an air conditioner, dehumidifier, heater, and fan. Unlike traditional portables, there is no bucket to empty. -
Page 4: Important Safeguards
IMPORTANT SAFEGUARDS Before installing and using your portable air conditioner and heater, it is important that you read this owner’s manual carefully. Store this manual in a safe place for future reference. This instruction manual is used for guidance and does not form part of a contract. It reserves the right to make technical changes without prior notice. -
Page 5: Product Diagram
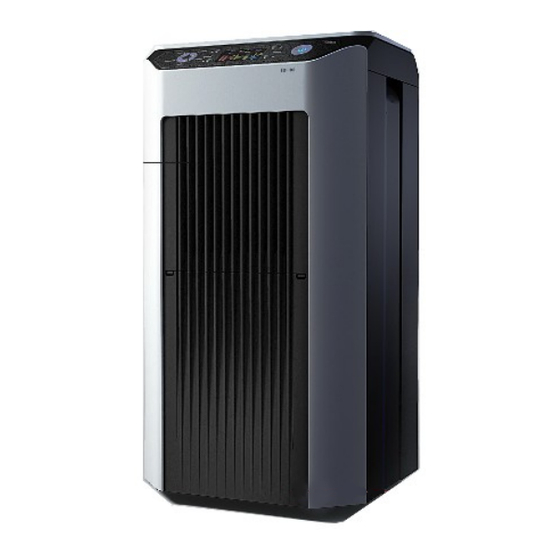
PRODUCT DIAGRAM FRONT A. Control panel B. l air louvers C. Hepa D. Casters E. Cable(power cord and plug) BACK A. In ner filter Inner inhale hole Outer exhaust hole Outer inhale hole Outer filter ACCESSORIES Flexible exhaust hose with 2 adapters •... -
Page 6: Installation
INSTALLATION SELECTING THE LOCATION Place the unit in a flat location where the air outlets are not obstructed. Place the unit at least 20” (50cm) away from a wall or other obstacle. MOUNTING THE EXHAUST HOSE Ex ha us t Ho se Slide the square end of the exhaust duct over the hot air outlet on the back of the unit. - Page 7 WINDOW KIT INSTALLATION The window kit is designed to fit into most standard vertical and horizontal windows, as well as some sliding glass doors. However, it may be necessary to modify some aspects of the installation process for certain window types. 1.
- Page 8 CONTROL PANEL CONTROL PANEL TIMER SWING MODE PURIFY TIME+ SPEED POWER °C/°F POWER Button Press this button to turn the unit on or off. Press this button to select among the modes of MODE Button auto,cooling,dehumidifying,fanning or heating. Press this button to turn the timer on/off. TIMER Button TIME+ Button This button increases the timer hours.
-
Page 9: Control Panel And Multi-Color Display
MULTI-COLOR DISPLAY A. Auto Mode B. Cool Mode C. Dehumidify Mode D. Fan Mode E. Heat Mode(if only cooling not work) F. Fan Speed (Low, High, Medium) G. Compressor is on H. Swing Mode I. Sleep Mode J. Temperature and Timer K. - Page 10 Press time+ button,Timer keep up by unti of 1 hour .The light will flash for 3 seconds to activate the timer you programmed. TIME DISPLAY In the diagram above, the letter “J” points to the adjustable time display. To adjust the time, Press FAN, SPEED and SWING together (at the same time), then press UP to adjust the hours, and press DOWN to adjust the minutes.
-
Page 11: Operation Using The Control Panel
OPERATION USING THE CONTROL PANEL COOLING 1. Properly install the exhaust hoses. 2. Plug the power cord into a grounded outlet. 3. Turn on the unit by pressing the On/Off button on the control panel. 4. Press the Mode button until “ ”... -
Page 12: Auto Mode
AUTO MODE 1. Properly install the exhaust hoses. 2. Plug the power cord into a grounded outlet. 3. Turn on the unit by pressing the On/Off button on the control panel. 4. Press the Mode button until the “ ” icon appears on the multi-color display. 5. -
Page 13: Remote Control & Operation
REMOTE CONTROL & OPERATION The remote control provided with the unit can be used to operate the portable air conditioner. The remote control uses 2 AAA batteries (provided). Install the batteries before using the remote control. The remote control can be used to do all the operations that can be programmed from the control panel. The LCD display on the remote control can show either Celsius or Fahrenheit. -
Page 14: Water Drainage
WATER DRAINAGE When the unit is in cooling mode, unwanted water is extracted from the air. Most of this water is used to cool the unit and make it run more efficiently. When the unit is used in extremely humid environments, water will collect in a water container at the bottom of the unit. -
Page 15: Maintenance
MAINTENANCE Always turn off and unplug the unit before cleaning to avoid electrical shock. CLEANING THE HOUSING Wipe the surface of the unit with a soft, damp cloth. Do not use abrasive chemicals or detergents to clean the surface of the unit, as the unit may become scratched or damaged. -
Page 16: End Of Season Storage
TROUBLESHOOTING Before seeking repair or service, please check the following: PROBLEM POSSIBLE CAUSE REMEDY Is the unit plugged in? Securely plug the power cord into the wall outlet. Is the main power supply on? Reestablish the main power supply. Unit does not operate or only runs in fan mode. -
Page 17: Disclaimer
TECHNICAL SPECIFICATIONS MODEL MAC155 Cooling Capacity 14,800 BTU/Hr Heating Capacity 15,000 BTU/Hr Dehumidifying Capacity 63 pts/day Cooling 1420 W Power Consumption Heating 1146 W Air Flow Volume 318CFM Power Source 220~240 V / 50 HZ Cooling 6.5A Rated Current Heating 5.2A... -
Page 18: Warranty
Hotpoint (Aust) P/L to process your claim. 4. Your product is fragile. If you need to or are required to send your product to Hotpoint (Aust) P/L or one of it’s repair agents, please ensure that it is packed appropriately as Hotpoint (Aust) P/L accepts no... - Page 19 RETURN 12. If we take possession of the Hotpoint (Aust) P/L product under Clause 6 or 7, and if we provide you with a replacement or an equivalent product under Clause 9(a), a repair under Clause 9(b) or a payment for repair under Clause 9(d), we will return the replacement product, the equivalent product or the Hotpoint (Aust) P/L product by delivering to the nearest Hotpoint (Aust) P/L Service Centre at our cost.
Need help?
Do you have a question about the MAC155 and is the answer not in the manual?
Questions and answers