Advertisement
Quick Links
I N S T A L L A T I O N I N S T R U C T I O N S
Instrucciones de instalación
Installationsanleitung
Instruções de Instalação
RMF2
RXF2
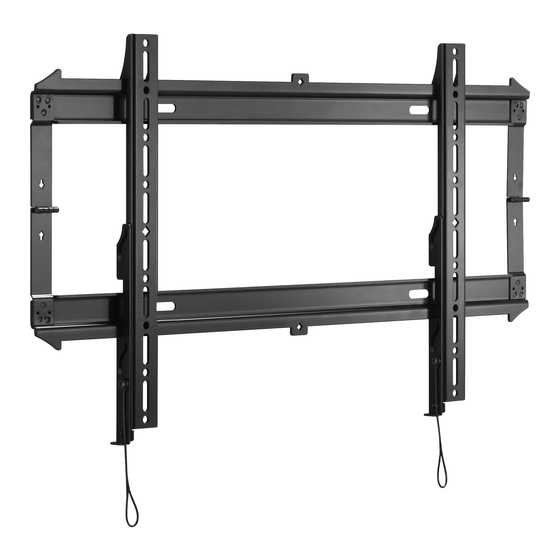
RMF2/RLF2/RXF2
Istruzioni di installazione
Installatie-instructies
Instructions d´installation
RLF2
Universal Fixed Mounts
Spanish Product Description
German Product Description
Portuguese Product Description
Italian Product Description
Dutch Product Description
French Product Description
Advertisement


Need help?
Do you have a question about the RMF and is the answer not in the manual?
Questions and answers