
Related Manuals for CHIEF Security SLM Series Mount RPMA1


Summary of Contents for CHIEF Security SLM Series Mount RPMA1
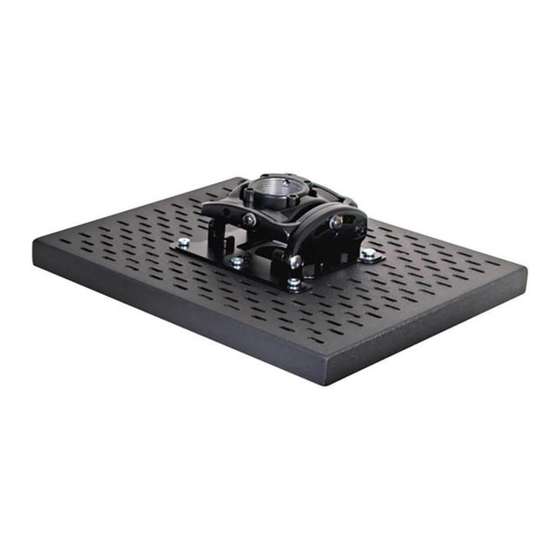
- Page 1 I N S T A L L A T I O N I N S T R U C T I O N S Security SLM Series Mount RPMA1, -B1, -C1...
- Page 2 RPMA1, -B1, -C1 DISCLAIMER CSAV, Inc., and its affiliated corporations and subsidiaries (collectively, "CSAV"), intend to make this manual accurate and complete. However, CSAV makes no claim that the information contained herein covers all details, conditions or variations, nor does it provide for every possible contingency in connection with the installation or use of this product.
- Page 3 Installation Instructions LEGEND Tighten Fastener Apretar elemento de fijación Befestigungsteil festziehen Apertar fixador Serrare il fissaggio Bevestiging vastdraaien Serrez les fixations Loosen Fastener Aflojar elemento de fijación Befestigungsteil lösen Desapertar fixador Allentare il fissaggio Bevestiging losdraaien Desserrez les fixations Phillips Screwdriver Destornillador Phillips Kreuzschlitzschraubendreher Chave de fendas Phillips...
-
Page 4: Tools Required For Installation
RPMA1, -B1, -C1 TOOLS REQUIRED FOR INSTALLATION PARTS R (4) A (4) 10-24 x 1/4" (NOT USED) M5 x 12mm B (4) M3 x 10mm M6 x 12mm C (4) M4 x 10mm 1/4-20 x 1/2" 5/32" (Provided) Q (1) S (1) 5/32"... -
Page 5: Assembly And Installation
Installation Instructions ASSEMBLY AND INSTALLATION Installing Ceiling Plate and Disassembling RPMA1 WARNING: IMPROPER INSTALLATION CAN RESULT IN SERIOUS PERSONAL INJURY OR DAMAGE TO EQUIPMENT! Structural members MUST be capable of supporting five times the combined weight of all equipment being mounted. Install ceiling plate and extension accessories following installation instruction provided by manufacturer. - Page 6 RPMA1, -B1, -C1 Remove the paper backing from the adhesive washers (V) and attach projector to RPMA1 bottom using adhesive washers (V) and thumbnuts (P) over the security legs (R). (See Figure 5) (P) x 4 Security Legs (R) Projector Attachment areas if using an optional SLB bracket.
- Page 7 Installation Instructions Rough Alignment of RPMA1 Turn RPMA1 clockwise or counterclockwise until the front of the RPMA1 and projector is facing target. (See Figure 9) Figure 9 Secure set screw and security Phillips screw under set screw. (See Figure 9) Adjustments The RPMA1 can be adjusted for rotation (yaw), vertical elevation (pitch), and horizontal tilt (roll).
- Page 8 RPMA1, -B1, -C1 8802-000254 2007 Chief Manufacturing www.chiefmfg.com 04/07 USA/International A 8401 Eagle Creek Parkway, Savage, MN 55378 P 800.582.6480 / 952.894.6280 F 877.894.6918 / 952.894.6918 Europe A Fellenoord 130 5611 ZB EINDHOVEN, The Netherlands P +31 (0)40 2668620 F +31 (0)40 2668615...
Need help?
Do you have a question about the Security SLM Series Mount RPMA1 and is the answer not in the manual?
Questions and answers