Advertisement
Quick Links
Advertisement

Related Manuals for Da-Lite Viewshare Advantage Electrol


Summary of Contents for Da-Lite Viewshare Advantage Electrol
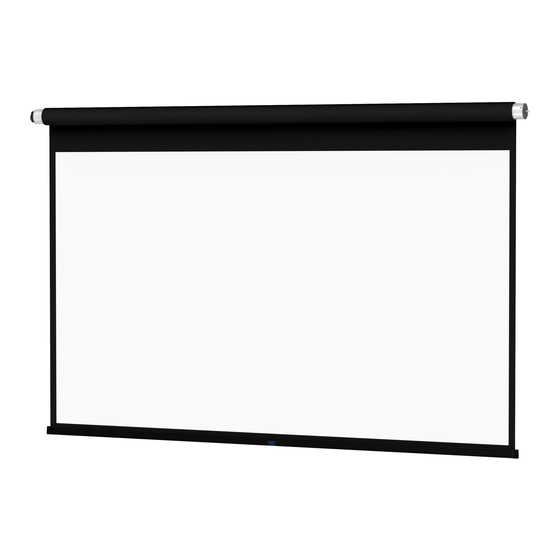
- Page 1 InstructIon Book for Viewshare Advantage Electrol...
-
Page 2: Important Safety Instructions
Important safety Instructions Pre-Installation When using your video equipment, basic safety precautions carefully unpack case from shipping carton. should always be followed, including the following: 2. set aside the Installation kit. Items inside will be used during read and understand all instructions before using. installation. - Page 3 suggested Methods of Installation Method 1 6 1/16" 6 7/16" 7 3/4" Variable Position Mounting Bracket 8" Audience side Motor 6 1/16" 3/8" threaded rod (not Included) Electrical Attached to Junction Box Mounting Bracket 6 3/8" self-trimming finished flange ceiling 7 3/4"...
- Page 4 Adjustment for 120V screens If your Advantage Electrol was ordered as a complete unit, the up and down limits were pre-set by Da-Lite. If your screen and roller assembly was ordered separately from the case, or if general adjustment is needed, please follow the steps below and refer to the 120V...
- Page 5 Wall switch Installation for 120V screens 120V Wiring Diagram 3-conductor 20–24 gauge wire can be used in place of the IMPORTANT NOTE: the wall switch is rEQuIrED to make any S T O supplied rJ-14 cable to connect the wall switch. connect the Bus limit switch adjustments, EVEn if a third party control system is terminals on the wall switch to the corresponding Bus terminals used.
- Page 6 Video Projector Interface Installation for 120V screens (optional) 120V Wiring Diagram with Optional Built-In Video Projector Interface CAUTION: the projector must be turned off before connecting IMPORTANT NOTE: the wall switch is rEQuIrED to make any the trigger wires to the projector. failure to do so may damage limit switch adjustments, EVEn if a third party control system is the controller.
- Page 7 Wall switch Installation for 220/240V screens 240V Wiring Diagram ILT RJ-9 Pin-Outs (Tab Is Facing Up) IMPORTANT NOTE: the wall switch is rEQuIrED to make any Ir or up Black limit switch adjustments, EVEn if a third party control system is Ground common used.
- Page 8 camera and speakerphone Installation Connections (see wiring diagram below) the following components are necessary for camera and speakerphone installation. Plug your cAt5 cable into connection port located on the left end of the Viewshare Advantage (figure 1). Included: • Local cAt5 to usB Extender with Power supply 2.
- Page 9 Extender is illuminated and the drivers are installed, you are ready to use the camera. NOTE: the Da-Lite bowtie around the camera will glow when the camera is selected. If the window says "no camera detected", go back to the connections section and check each step.
-
Page 10: Troubleshooting
Visit www.da -lite.com/products/tutorials.php to find installation You can contact us by email at info@da-lite.com or by phone at and troubleshooting tutorials. You will also find a link to Live chat 800.622.3737 or 574.267.8101 with any additional troubleshooting for interactive support. - Page 12 EQUIPMENT, OR FOR INCIDENTAL, DIRECT, OR CONSEQUENTIAL DAMAGES OF ANY NATURE. In the event that there is a defect in materials or workmanship of a Da-Lite product, you may contact our sales Partners at Po Box 137, Warsaw, In 46581-0137, (574) 267-8101, (800) 622-3737.
Need help?
Do you have a question about the Viewshare Advantage Electrol and is the answer not in the manual?
Questions and answers