
Related Manuals for Doro 620R


Summary of Contents for Doro 620R
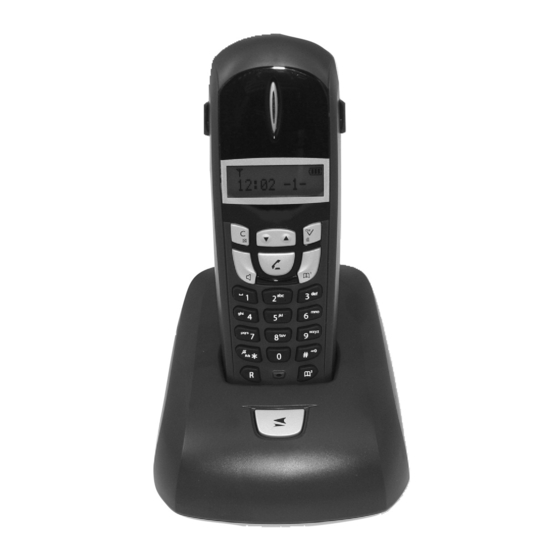
- Page 1 620/630R...
- Page 2 English 1 DOWN scroll/Redial function 7 Shared Phone book 2 Erase/Back/Mute button /Key lock button 3 Hands free button 9 Private Phone book 4 Talk button 10 Menu/OK button /Ringer on/off button 11 UP scroll/Caller ID button 6 Recall button...
-
Page 3: Table Of Contents
The package contains: - Handset - Mains adapter (6VDC 300mA) - Base unit - Line cord - 2 AAA batteries (Ni-MH 1.2V 600 mAh) - Belt clip Expanded versions (e.g. +1) also include an additional handset, batteries, chargers and adapters. www.doro.com... -
Page 4: Installation
Do not place the base unit close to other electrical equipment such as TV sets, computer screens, telecom equipment, fans, etc. This will minimise the risk of interference. Do not place the base unit in areas where it will be exposed to direct sunlight or other major heat sources! www.doro.com... -
Page 5: Battery
Try to get the best range by relocating the base unit, the ideal location is a high and unobstructed place. If the handset is carried to far from the base unit during a call the sound quality will decrease and the call will be terminated. www.doro.com... -
Page 6: The Display
Press 5 on the base unit to activate the paging signal. The signal will stop automatically or when on the handset or 5 on the base unit are pressed. Key lock Press and hold will be displayed). Press and hold again to de-activate. www.doro.com... -
Page 7: Operation
The earpiece volume may be adjusted during a call using . Press Redial function Press to view the last 10 numbers dialled. Press to dial. Mute button Press to mute the handset microphone ( will be displayed). Press again to re-activate. www.doro.com... -
Page 8: Phonebook
6 .......... M N O 6 Ö ..........m n o 6 ö 7 .......... P Q R S 7 Ş ..........p q r s 7 ß 8 .......... T U V 8 Ü ..........t u v 8 ü 9 .......... W X Y Z 9 ..........w x y z 9 * .......... Change between upper/lower case ’ ” 0 .......... ? ! 0 + - # .......... # * @ \ / - ( ) = § www.doro.com... - Page 9 (refer to the table on the previous page). Use C to erase or change an entry. 6. Press Please note! If you need to insert a pause in the telephone number, press and hold until the display shows P. www.doro.com...
- Page 10 6. Press C to return to standby mode. Deleting a phonebook entry 1. Press either 2. Scroll to required entry using . Press 3. Scroll to Delete using . Press 4. Press again to confirm. 5. Press C to return to standby mode. www.doro.com...
-
Page 11: Caller Id
Delete or Delete list. 3. Press to confirm. Storing numbers in the handset phonebook 1. Press 2. Scroll to the required entry using 3. Press , scroll using to Store No. 4. Press . Name registration is completed as described in Phone book (refer to page 11). www.doro.com... -
Page 12: Settings
For Example: When the function is activated dialling a phone number ie: 0123456, the telephone will dial 0 followed by a pause and then the remaining part of the number 123456. www.doro.com... -
Page 13: Expanded System
4. Enter the allocated number of the handset that you wish to call, 5. Press on the calling handset. 6. Scroll to Conference using . Press Press to disconnect one party, any one of the handsets can terminate the conference call allowing the other continue the conversation with the external caller. www.doro.com... -
Page 14: The Answering Machine
7. Your OGM will be repeated after a few seconds. Repeat this procedure if you want to change the message, any old OGM will automatically be erased when the new one is recorded. 8. Press and hold to return to standby. www.doro.com... -
Page 15: Using The Answering Machine
. Press 3. Scroll using to Del all old. Press 4. Press to confirm. If the display shows No old mess, all messages have been deleted. Note: Remember to regularly delete ICM messages to avoid the memory getting full! www.doro.com... -
Page 16: Setting Up The Answering Machine
If on the other hand themachine answers after two rings new messages have been recorded. www.doro.com... -
Page 17: Voice Control
PIN number is still 0000 the answering machine will not answer. 2. Enter your PIN number (see page 14). 3. The number of ICM messages will be announced and playback will begin. Press to stop playback. 4. To switch the answering machine ON press 5. Replace the handset. www.doro.com... -
Page 18: Remote Control
In general, the answering machine should react to tones approximately 0.5 – 1 second in length, but longer tones may be necessary on certain telephone networks. If you do not enter any remote control command, the answering machine will disconnect after a few seconds. www.doro.com... -
Page 19: Other
Try holding the buttons down longer, approximately 1 second per digit. If the telephone still does not work, contact the place of purchase. Don’t forget the receipt or a copy of the invoice. www.doro.com... -
Page 20: Specific Absorption Rate (Sar)
English Other Declaration of conformity Doro declares that the apparatus ’Doro 620 & Doro 630R’ complies with the essential requirements and other relevant positions of Directive 1999/5/EC. A copy of the Declaration of Conformity can be found at www.doro.com/dofc Specific Absorption Rate (SAR) This equipment meets current international safety requirements for exposure to radio waves. -
Page 21: Australia And New Zealand
(As a matter of precaution, we recommend disconnecting the telephone during a thunderstorm). This guarantee does not affect your statutory rights. AUSTRALIA NEW ZEALAND DORO Australia Pty Ltd Atlas Gentech (NZ) Limited PO Box 6760 Private Bag 14927 Baulkham Hills BC NSW 2153 Panmure... - Page 24 Australia Version 1.0...
Need help?
Do you have a question about the 620R and is the answer not in the manual?
Questions and answers