Table of Contents
Advertisement
Quick Links
Advertisement
Table of Contents

Subscribe to Our Youtube Channel
Related Manuals for Bosch Flasher-PRO


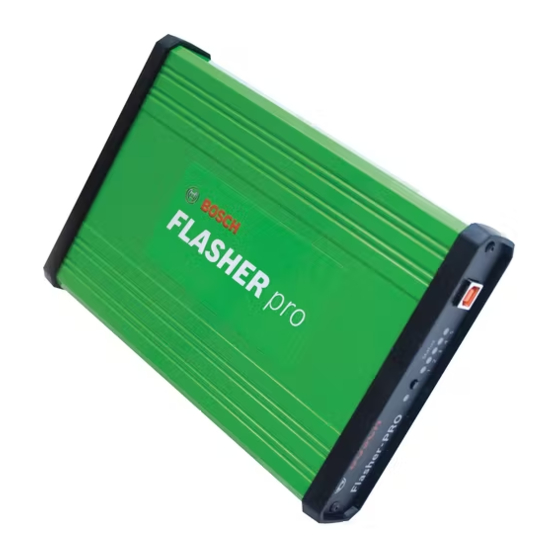
Summary of Contents for Bosch Flasher-PRO
- Page 1 Flasher-PRO User’s Manual...
-
Page 2: Specifications
Table of Contents | Flasher-PRO | 1 Flasher-PRO Contents Getting to know Flasher-PRO Connectors and Status Indicators Vehicle Connector Ethernet Lights Analog Connector Setting up the Flasher-PRO Powering Flasher-PRO Connecting and Configuring Flasher-PRO Flasher-PRO Checker Program Reprogramming with J2534 Specifications... - Page 3 Connectors and Status Indicators Front Panel There are 6 status lights on the front panel of the Flasher-PRO. These status lights are useful for troubleshooting the Flasher-PRO’s connection to a PC. Figure 1: Flasher-PRO front plate The yellow warning light indicates that Flasher-PRO is communicating with the vehicle.
- Page 4 Getting to Know Flasher-PRO | Flasher-PRO | 3 Table 1: Status lights on the front panel of Flasher-PRO Light Description Power Power (Solid Green) Ethernet Green indicates a good connection directly to a PC or to an existing Ethernet network.
- Page 5 4 | Flasher-PRO | Getting to Know Flasher-PRO Vehicle Connector Ethernet Lights The mating connector is Use the standard Ethernet cable a standard MVCI, High (black) to connect to an existing Density DB-26. network, or use the crossover cable (blue with red ends) to Pin # Function connect directly to a laptop.
- Page 6 Second, connect the Flasher-PRO to your PC: Using USB The Flasher-PRO is powered from the vehicle connector, so it will have to be connected to a vehicle or powered from an external power supply to use USB. Once powered, connect your PC to the Flasher-PRO thru USB to install the drivers.
- Page 7 The Flasher-PRO Checker Program can update the Firmware of your Flasher-PRO either over the Ethernet connection or over USB. To begin, make sure your Flasher-PRO is connected to your PC. Run the Flasher-PRO Checker Program. Your Flasher-PRO will automatically be found.
- Page 8 Flasher-PRO. If your drivers are installed correctly the program will show: “Flasher-PRO USB Installed” If you do not see either of these entries then your Flasher-PRO drivers are not installed. Vehicle Check Program The Vehicle Check program is a handy utility that allows a user to find what communication protocol a vehicle uses and the VIN number associated with that vehicle.
- Page 9 8 | Flasher-PRO | Reprogramming with J2534 Reprogramming with J2534 If you want to reprogram vehicles using OEM software, you can find a list below of websites that offer subscription software. Automaker Website http://www.bmwtechinfo.com/ Mini http://www.minitechinfo.com/ Porsche http://techinfo.porsche.com/ Chrysler, Jeep, Dodge http://www.techauthority.com/...
- Page 10 Ground pins 9, 12, or 15 Note: Drawing current in excess of 200ma on a line configured for FEPS programming voltage may damage the Flasher-PRO hardware. Avoid grounding any output pin configured for programming voltage! Battery Voltage is fused (auto reset) at 200mA.
- Page 11 “Load Factory Default Settings” button. Use the default username root and password powerful when requested. If all else fails and you cannot reach the Flasher-PRO webpage, hold down the black button on the front of the Flasher-PRO while powering on Flasher-PRO to enter recovery mode. This resets Flasher-PRO to “Client Then Server”...
- Page 12 To update the PC driver: click on the Installer link like a new installation. Verify the network is configured correctly Try to connect to the Flasher-PRO web page. Consult the networking section above for details. If that does not work, try: Turning off any firewall/antivirus software.
- Page 13 In DHCP Client mode, the IP address of the Flasher-PRO can change. Enter http://Flasher-PRO/ in your browser, but only after waiting a few minutes for the Flasher-PRO to register itself on the network. Alternately, look at the logs for your network DHCP server.
- Page 14 Robert Bosch LLC Automotive Aftermarket Division Diagnostics Business Unit 2040 Alameda Padre Serra, Ste 220 Santa Barbara, CA 93103 Phone 800-321-4889 ©2008 All rights reserved. 2213437...
Need help?
Do you have a question about the Flasher-PRO and is the answer not in the manual?
Questions and answers