
Related Manuals for Küppersbusch EKD 10650.0E-84


Summary of Contents for Küppersbusch EKD 10650.0E-84
- Page 1 Bedienungsanleitung Instructions Booklet Mode d’emploi Libretto Istruzioni Gebruiksaanwijzing Manual de instrucciones Manual de instruções Εγχειρίδιο οδηγιών EKD 10650.0E-84...
- Page 2 Dear Customer, If you follow the recommendations contained in this Instruction Manual, your appliance will give you constant high performance and will remain efficient for many years to come. CONTENTS RECOMMENDATIONS AND SUGGESTIONS CHARACTERISTICS INSTALLATION MAINTENANCE...
-
Page 3: Recommendations And Suggestions
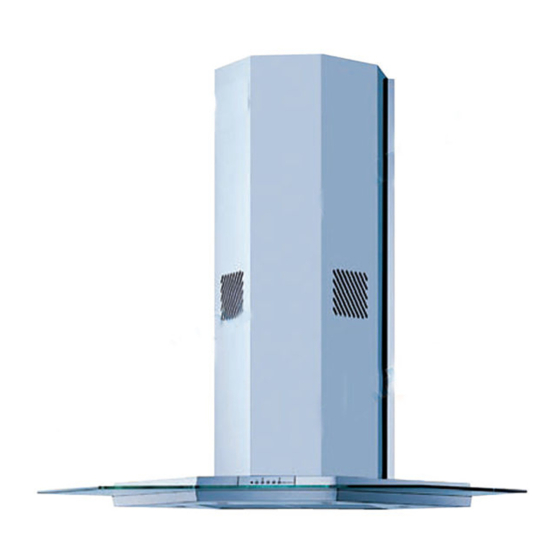
RECOMMENDATIONS AND SUGGESTIONS INSTALLATION • The manufacturer will not be held liable for any damages resulting from incorrect or improper installation. • The minimum safety distance between the cooker top and the extractor hood is 650 mm. • Check that the mains voltage corresponds to that indicated on the rating plate fixed to the inside of the hood. - Page 4 CHARACTERISTICS Dimensions...
- Page 5 Components Ref. Q.ty Product Components Hood Body, complete with: Controls, Light, Blower, Filters Telescopic Chimney comprising: Upper Section Lower Section Reducer Flange ø 150-120 mm 14.1 Air Outlet Connection Extension Air Outlet Connection Ref. Q.ty Installation Components Hood Connector Support 7.2.1 Upper Chimney Section Fixing Brackets Wall Plugs...
-
Page 6: Installation
INSTALLATION Wall drilling and bracket fixing Wall marking: • Draw a horizontal line at 650 mm above the hob. • Place bracket 7.2.1 on the wall as shown about 1-2 mm from the ceiling or upper limit. • Mark the wall at the centres of the holes in the bracket. •... -
Page 7: Mounting The Hood Body
Mounting the hood body • Before attaching the hood body, tighten the two screws Vr located on the hood body mounting points. • Hook the hood body onto the screws 12r (4,2 x 12,7). • Fully tighten support screws 12r (4,2 x 12,7). •... -
Page 8: Electrical Connection
ELECTRICAL CONNECTION • Connect the hood to the mains through a two-pole switch having a contact gap of at least 3 mm. • Remove the grease filters (see paragraph Maintenance) being sure that the connector of the feeding cable is cor- rectly inserted in the socket placed on the side of the fan. -
Page 9: Control Panel
Control Panel The hood can be switched on pushing directly onto the requested speed without firstly having to select 0/1 button. FUNCTIONS 0/1 Light Turns lighting on and off. 0/1 Motor First speed. When pressed for about 2 seconds the motor is switched off. Speed Second speed. -
Page 10: Maintenance
MAINTENANCE Grease filters CLEANING METAL GREASE FILTERS Alarm signal reset • Switch of the lights and extractor motor. • Press button T3 for at least 3 seconds, until the leds start to flash. Cleaning the filters • The filters are washable and must be cleaned when led S1 flashes or at least every 2 months of operation, or more frequently for particularly heavy usage. -
Page 11: Activated Charcoal Filter (Recirculation Version)
Activated charcoal filter (Recirculation version) REPLACING THE ACTIVATED CHARCOAL FILTER • The filter is not washable and cannot be regenerated. It must be replaced when led S1flashes or at least every 4 months. The alarm signal will only light up when the extractor motor is switched on. - Page 12 KÜPPERSBUSCH Hausgeräte AG Küppersbuschstraße, 16 D - 45883 Gelsenkirchen Hausanschritt: Küppersbuschstr. 16 45883 Gelsenkirchen Telefon: (02 09) 4 01-0 Telefax: 20 931 810 Telefax: (02 09) 4 01-3 03 436002156_01 - 040409...
Need help?
Do you have a question about the EKD 10650.0E-84 and is the answer not in the manual?
Questions and answers