Advertisement
®
Model No. WECCBE03801
Serial No.
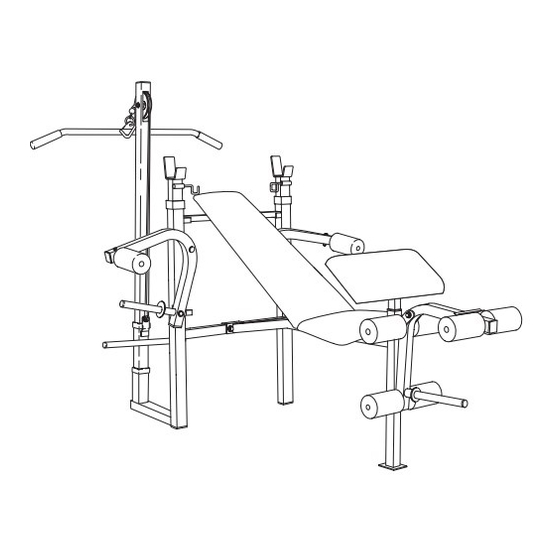
USER'S MANUAL
Write the serial number in the space
above for reference.
Serial Number Decal (under seat)
QUESTIONS?
As a manufacturer, we are com-
mitted to providing complete
customer satisfaction. If you
have questions, or if there are
missing parts, we will guarantee
complete satisfaction through
direct assistance from our factory.
TO AVOID UNNECESSARY
DELAYS, PLEASE CALL DIRECT
TO OUR TOLL-FREE CUSTOMER
HOT LINE. The trained techni-
cians on our customer hot line
will provide immediate assis-
tance, free of charge to you.
CUSTOMER HOT LINE:
Patent Pending
1-888-936-4266
Mon.–Fri., 8 a.m.–6:30 p.m. EST
(excluding holidays)
CAUTION
Visit our website at
Read all precautions and instruc-
tions in this manual before using
www.weiderfitness.com
this equipment. Save this manual
new products, prizes,
for future reference.
fitness tips, and much more!
Advertisement
Table of Contents

Subscribe to Our Youtube Channel
Related Manuals for Weider Pro 137 Bench


Summary of Contents for Weider Pro 137 Bench
- Page 1 ® Model No. WECCBE03801 Serial No. USER’S MANUAL Write the serial number in the space above for reference. Serial Number Decal (under seat) QUESTIONS? As a manufacturer, we are com- mitted to providing complete customer satisfaction. If you have questions, or if there are missing parts, we will guarantee complete satisfaction through direct assistance from our factory.
-
Page 2: Table Of Contents
• The SERIAL NUMBER of the product (see the front cover of this manual) • The KEY NUMBER and DESCRIPTION of the part(s) (see the EXPLODED DRAWING on page 14 and the PART LIST on page 15). WEIDER is a registered trademark of ICON Health & Fitness, Inc. -
Page 3: Important Precautions
Important Precautions To reduce the risk of serious injury, read the following important pre- WARNING: cautions before using the weight bench. 1. Read all instructions in this manual before use. The leg lever can support 45 kg (100 using the weight bench. Use the weight pounds) when stationary. -
Page 4: Before You Begin
Before You Begin Thank you for selecting the versatile WEIDER ® Service Department at 1-888-936-4266, Monday 137 weight bench. The WEIDER PRO 137 is through Friday, 8 a.m. until 6:30 p.m. EST (excluding ® designed to let you develop every major muscle group holidays). -
Page 5: Part Identification Chart
Part Identification Chart This chart is provided to help you identify the small to see if it has been pre-assembled. The number in parts used in assembly. Important: Some parts may parenthesis below each part refers to the key number have been pre-assembled for shipping purposes. -
Page 6: Assembly
Assembly Before beginning assembly, carefully read the THE FOLLOWING TOOLS (NOT INCLUDED) ARE following information and instructions: REQUIRED FOR ASSEMBLY: • Place all parts in a cleared area and remove the • Two (2) adjustable wrenches packing materials; do not dispose of the packing materials until assembly is completed. - Page 7 3. Attach the Frame (2) to the Crossbar (3) with two M8 x 55mm Bolts (25) and two M8 Nylon Locknuts (34). 4. Press a 50mm Square Bushing (31) onto each Upright (1, 15) and tap them in place with a rubber mallet.
- Page 8 7. Press two 19mm Round Inner Caps (33) into each Short Pad Tube (10). Press two 19mm Round Inner Caps into the Long Pad Tube (28). Insert the Short Pad Tubes (10) into the holes in the Leg Lever (4). Slide two Foam Pads (22) onto each Pad Tube.
- Page 9 11. Press a 2” Fly Arm Bumper (53) onto the Left Upright (15) and the Right Upright (1, not shown). Attach the Left Fly Arm (52) to the Left Upright (15) using two Nylon Bushings (57) and a Spring Clip (56).
-
Page 10: Using The Weight Bench
15. Press a Carriage Bushing (41) onto each end of the Weight Carriage (42). Press a 25.4mm Round Inner Cap (21) into each end of the weight tube on the Weight Carriage (42). 16. Slide the Weight Carriage (42) onto the Lat Tower (23). - Page 11 ADJUSTING THE WEIGHT RESTS To adjust the Weight Rests (16), remove the Large Threaded Knobs (20) from the Uprights (1, 15). Move the Weight Rests to the desired height. Replace the Large Threaded Knobs. WARNING: Always set both weight rests at the same height.
-
Page 12: Exercise Guidelines
ATTACHING THE LAT BAR TO THE LAT TOWER To use the Lat Tower (23), attach the Lat Bar (48) to the Cable (38) with a Cable Clip (37). USING THE BARBELL HOOKS To change weights while your barbell (not included) is on the Weight Rests (16), secure the barbell with the Barbell Hooks (46, 47). - Page 13 PERSONALIZING YOUR EXERCISE PROGRAM Maintaining proper form means moving through the full range of motion for each exercise, and moving only the We have not specified an exact length of time for each appropriate parts of the body. Exercising in an uncon- workout, or a specific number of repetitions or sets for trolled manner will leave you feeling exhausted.
-
Page 14: Exploded Drawing
Exploded Drawing—Model No. WECCBE03801 R0903A 33 21... -
Page 15: Part List
Part List—Model No. WECCBE03801 R0903A Qty. Description Qty. Description Qty. Description Right Upright 25.4mm Round Pulley Frame Inner Cap Pulley Spacer Crossbar Foam Pad Carriage Bushing Leg Lever Lat Tower Weight Carriage Backrest Tube M6 x 16mm Screw M8 Spacer Backrest M8 x 55mm Bolt M8 x 50mm Bolt... -
Page 16: Limited Warranty
Limited Warranty ICON Health & Fitness, Inc. (ICON), warrants this product to be free from defects in workmanship and material, under normal use and service conditions, for a period of one (1) year from the date of purchase. This warranty extends only to the original purchaser.
Need help?
Do you have a question about the Pro 137 Bench and is the answer not in the manual?
Questions and answers