Table of Contents
Advertisement
Advertisement
Table of Contents

Related Manuals for VuPoint Magic Wand PDS-ST470-VP


Summary of Contents for VuPoint Magic Wand PDS-ST470-VP
- Page 1 Magic Wand™ Portable Scanner PDS-ST470-VP User Manual ...
-
Page 2: Table Of Contents
Table of Contents Key Features.............................. 3 Functional Parts ............................3 Explanation of the Status Icons ......................... 5 Using the Scanner............................5 4.1. Charging up the Battery........................ 5 4.2. Inserting a microSD Memory Card (not included)................. 5 4.3. Turn on/off the Scanner ........................ 6 4.4. -
Page 3: Key Features
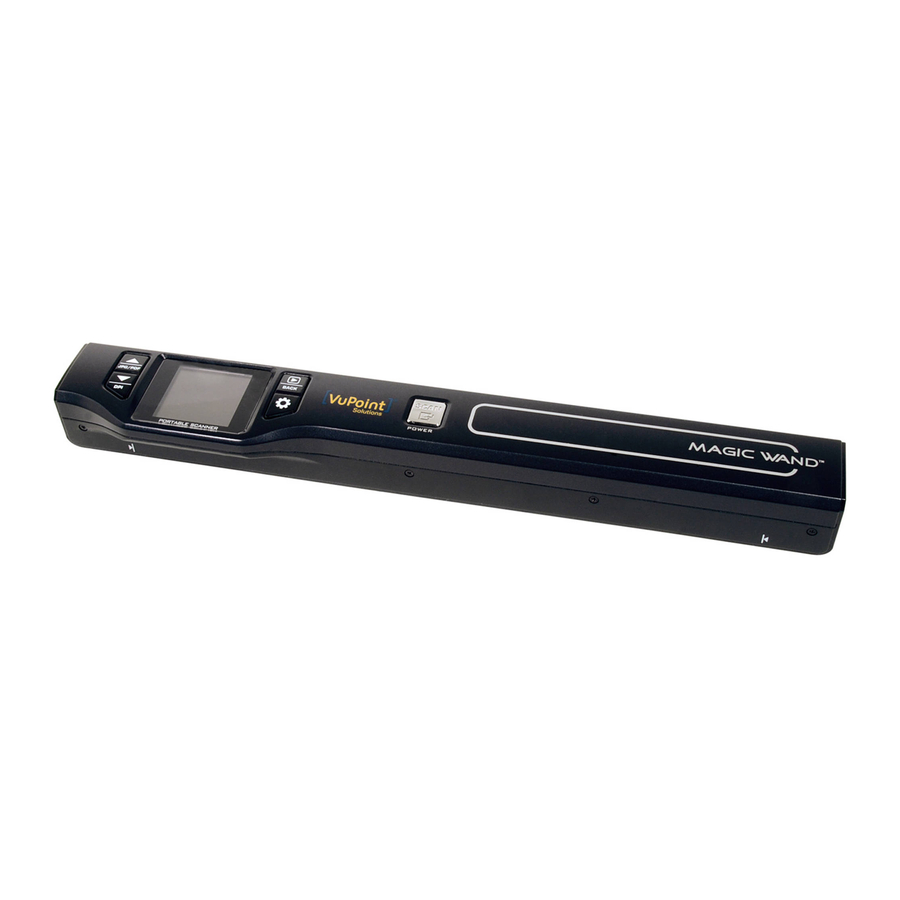
Getting to know your ST470 Portable Scanner 1. Key Features JPEG, PDF-A4 or PDF-Letter scan-format selection. Color or Monochromatic (mono) scan selection. 300 (LO) /600 (MI) /1050 (HI) DPI scan quality selection. Directly save JPG (JPEG)/PDF files to the microSD/microSDHC card. Support the microSD/microSDHC memory card up to 32GB. - Page 4 Power On/ Off: Press and hold this key for 3 seconds to turn power on or off. 1 When the scanner is powered on, press this button to start scanning, press this button again to stop. In Setup mode, press this button to confirm changes. In Playback mode, press this button to change the magnification between 4x, 8x and normal zoom.
-
Page 5: Explanation Of The Status Icons
3. Explanation of the Status Icons Item Function Description File Format JPG/PDF-A/PDF-L Scan Resolution LO: 300 DPI /MI: 600 DPI / HI: 1050 DPI Fully charged Battery Power Indicator Low battery. Recharge needed Scan Color COLOR/MONO Shows the number of scanned files in the microSD card File Counter 4. -
Page 6: Turn On/Off The Scanner
the microSD memory card: Turn OFF the scanner. Insert the microSD card into the microSD card slot (with metal side facing upwards). Gently press in until the card is clicked in and latched. 4.3 Turn on/off the Scanner Turn on/off the scanner by pressing and holding Note: If the scanner is turned on for the first time, it will enter Date &... -
Page 7: How To Scan
4.4 How to Scan Note: To scan, make sure your scanner is not connected to the computer. Turn on your scanner by pressing and holding for 3 seconds. Place the document on a flat surface and hold down the document with one hand. Place the scanner on the edge of the paper approximately 5/8 to 3/4 of an inch onto the edge of the paper to ensure the whole document can be scanned. -
Page 8: How To Playback Image
Once the scanner has reached the end of the document, press again to stop scanning Notes: If the scan is done too quickly or when there is any abnormal operation, “Scan Error" icon will display on the LCD screen. The image will still be saved after the scanning stops. -
Page 9: Delete Single File
Press to view the upper portion of the image; Press to view the lower portion of the image. Press to shift navigational functions to Press button to view the left or right portion of the image. Press to change directions anytime. ... -
Page 10: Scan Format
Follow the below three steps to enter setup screen for each Menu item: Press to enter setup mode. Press to select the Menu item you want to set. Press to enter the setup screen. Menu items Description Options JPG/PDF Scan Format PDF - A (A4) PDF - L (Letter) Lo (300 DPI) -
Page 11: Delete All (Delete All Files)
Delete All Delete All Files Format the microSD Memory Card Note: All contents on microSD card Format will be erased during formating Device Info Device Information 4.8 How to Calibrate the Scanner Note: If the scanned images are too dark or too bright, you may need to calibrate your scanner by adjusting the white balance. -
Page 12: Specifications
Note: If the Removable Device window did not launch automatically, go to your “My Computer/Computer” (PC) and find the device under Removable Storage. 6. Specifications Image sensor Color Contact Image Sensor Low resolution : 300x300 dpi Resolution Medium resolution: 600x600 dpi High resolution: 1050x1050 dpi Color High resolution 12.0 Seconds... -
Page 13: Computer System Minimum Requirements
Scan length 300DPI:125"(max);600DPI:60";(max);1050DPI:50"(max) File format JPEG/PDF Approx 1.5” Class* TFT LCD Zoom 4x, 8x Dimensions (L×H×W) mm 10.5”×1.1”×1.5” Auto power off 3 Minutes USB port USB 2.0 high speed External memory microSD/microSDHC card Standard battery Built-in 700mAH Lithium-Polymer Battery charge time Approx. - Page 14 Computer does not recognize your scanner 1. Make sure all cable connections when connected(You Connection failure are secured cannot find your device 2. Restart the computer if necessary under removable disk) 1. Clean the lens with soft and dry cloth 1.
- Page 15 FCC (Federal Communications Commission) This device complies with Part 15 of the FCC Rules. Operation is subject to the following two conditions: This device may not cause harmful interference, and this device must accept any interference received, including interference that may cause undesired operation.
Need help?
Do you have a question about the Magic Wand PDS-ST470-VP and is the answer not in the manual?
Questions and answers
When setting the time and date, the up and down arrows only go up. I passed the current year and can’t correct it now. How do I fix it?
To fix the issue where the up and down arrows only go up when setting the time and date on the VuPoint PDS-ST470-VP scanner:
1. Use the left or right arrow buttons to jump to the next or previous setting option (Year → Month → Date → Hour → Minute).
2. When setting the value for each option, press the up or down arrows to change the figure.
3. If the down arrow does not work, try using the up arrow repeatedly until the desired value appears, as the values may cycle.
If the down arrow still does not function, it may be a hardware issue with the button.
This answer is automatically generated