Table of Contents
Advertisement
Quick Links
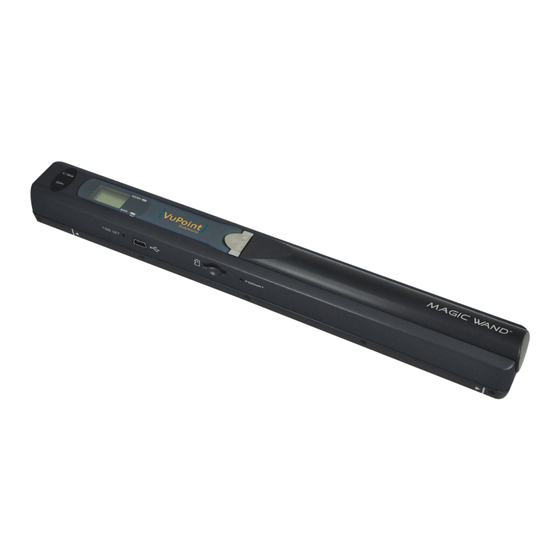
PDS-ST415-VP Manual
1.
Key features
Color /Monochrome (Mono) scan selection
600/300 dpi scan selection
Directly save JPG file to microSD card
Supports microSD/microSDHC card up to 32GB
Driver free to download for Windows® XP, Windows® Vista™,
Windows® 7 and Mac OS® 10.4 or above
(direct plug-in, driver installation not required)
2.
Functional parts
Part
Function
1
Battery door
For 2x AA alkaline batteries
Power On/ Off: Press and hold this key for 2 seconds
2
Power/Scan
to turn power on or off. In power on mode, press this
button to start scan, press this button again to stop
3
Error LED indicator
Over speed: Red LED on
4
Scan LED indicator
Ready for scan: Green LED on
5
LCD screen
Scanning status display
Select High(600dpi)/Low(300dpi) resolution; High/Low
6
Resolution
resolution mode icon will be displayed on status LCD
Select Color/Mono scan, Color/Mono mode icon will
7
C/BW
be displayed on status LCD
8
Time set
Press this button to enter Time and Date setting mode
Download photo to a computer via USB cable
9
USB interface
provided.
10
microSD card slot
microSD card storage location.
Press this button with a thin, blunt object, such as the
11
Format button
end of a paperclip to format the microSD card.
3.
Explanation of the status icons
Item
Function
1
SD card indicator
Photos will be stored in microSD card
2
Battery indicator
Battery is full
3
Effect indicator
Color or Mono
4
Counting indicator
Show scanned files in microSD card
5
Selected resolution
High:600 dpi / Low:300 dpi
4.
LED light indications
5. Using the scanner
5.1 Installing the battery
1. Open the battery door by sliding the battery compartment downwards as
indicated by the arrow in the diagram below.
2. Insert 2x AA alkaline batteries into the battery compartment.
3. Turn on the scanner by pressing the [POWER] button for 2 seconds.
5.2 Inserting a microSD memory card (not included)
To operate the scanner, you must insert a microSD Card (not supplied) to record and
store your pictures. Inserting the microSD memory card:
1. Turn OFF the scanner.
2. Insert the microSD card into the microSD card slot (with metal side facing up).
Gently press in until card is latched and clicked into place.
Description
Empty battery
5.3 Formatting the microSD memory card
Note: Formatting the microSD is recommended but not necessary. All content on the
microSD card will be erased during formatting.
1. Insert a microSD card into the scanner with metal side facing up.
2. Turn on the scanner by pressing the [Power/Scan] button for 2 seconds.
3. Press the [FORMAT] button with a thin, blunt object, such as the end of a
paperclip to access the button. An "F" will show on the LCD status display
screen.
4. Press the [SCAN] button once to begin formatting the microSD card.
5. The microSD card indicator will blink until the formatting process is complete.
5.4 Time and Date setting
1. Press [TIME SET] button once to enter time setting mode by using a thin, blunt
object, such as the end of a paperclip to access the button. The LCD status
display screen will show "1##" (step 1) for the year. "##" is a set of number that
would be changed to correspond to the actual time/date setting. The numbers
1-5 in front of "##" indicates each step in the settings.
2. Press the [C/BW] or [DPI] button to select the current Year.
3. Press [SCAN] button once to confirm setting.
4. Repeat step 2 and 3 to continue the Time and Date setting process
1##
2##
3##
4##
5##
5. After setting the Minute, "5##", press the [TIME SET] button again to complete the
Time and Date setting.
5.5 Setting the resolution
Press the [DPI] button to select High/Low resolution.
High/Low resolution icon will be displayed on status LCD.
5.6 Setting the scan mode
Press the [C/BW] button to select Color/Mono mode.
Indicator
Setting
Year
Month
Date
Hour
Minute
Advertisement
Table of Contents

Related Manuals for VuPoint PDS-ST415-VP


Summary of Contents for VuPoint PDS-ST415-VP
- Page 1 PDS-ST415-VP Manual Key features Color /Monochrome (Mono) scan selection 600/300 dpi scan selection Item Function Description Directly save JPG file to microSD card Supports microSD/microSDHC card up to 32GB SD card indicator Photos will be stored in microSD card Driver free to download for Windows® XP, Windows® Vista™,...
- Page 2 Color/Mono icon will be displayed on status LCD. Color High resolution 13 Seconds Computer does not Connection failure. Make sure all cable Maximum scanning 5.7 How to scan Mono High resolution 6.0 Seconds recognize your scanner connections are secured. speed for Letter size NOTE: To scan, make sure your scanner is not connected to the computer.
Need help?
Do you have a question about the PDS-ST415-VP and is the answer not in the manual?
Questions and answers
where do i insert the battery
Open the battery door by sliding the battery compartment downwards. Then, insert 2 AA alkaline batteries into the battery compartment.
This answer is automatically generated