Table of Contents
Advertisement
Quick Links
See also:
User Manual
Advertisement
Table of Contents

Subscribe to Our Youtube Channel
Related Manuals for Manhattan Plaza ST 100


Summary of Contents for Manhattan Plaza ST 100
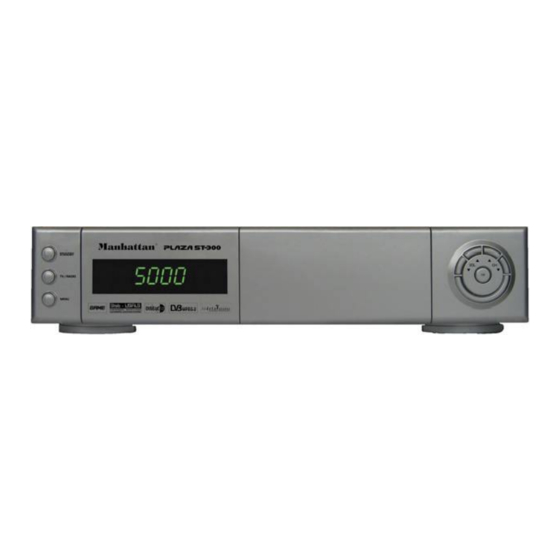
- Page 1 PLAZA MODELS ST 100 / ST 120 ST 200 / ST 300 Digital Satellite Receiver PLAZA MODELS ST 100 / ST 120 Instruction Manual (English) http://www.plaza-st.com...
-
Page 2: Table Of Contents
CONTENTS INTRODUCTION .............................3 FEATURES .............................3 CONNECTORS AND DEFINITIONS ......................4 FRONT PANEL CONNECTORS ........................4 CONTROLS AND DEFINITIONS.........................4 REMOTE CONTROL FUNCIONS.........................5 INSTALLATION ............................5 TUNING YOUR TV TO OUTPUT SIGNAL ....................5 MAIN MENU ............................5 INSTALL Menu............................6 CONFIGURING YOUR ANTENNA .........................6 CONFIGURING THE DiSEqC ANTENNA POSITIONER...................7 DiSEqC 1.2 menu (Manual positioner) ......................7 DiSEqC USALS menu (Automatic positioner) ....................7 CHANNEL SEARCH -- Automatic Scan and Search ..................7... -
Page 3: Introduction
INTRODUCTION Welcome to the world of Manhattan digital satellite receiver that will make your life closer to your dream. Before using your new receiver, we suggest that you carefully read this manual and the safety notice below. The PLAZA model is an advanced digital satellite receiver with the unique option of Blind Search Facility. It is designed to cope with the many different operating requirements of broadcast standards worldwide. -
Page 4: Connectors And Definitions
REAR PANEL CONNECTIONS CONNECTORS AND DEFINITIONS Please do not connect the power to the receiver until all other connections have been made and checked. Please refer to diagram above for connections. R1: AC IN (Power Cord) Connect this lead to the mains outlet (100-240 Volts AC, 50/60 Hz, 0.2Amps / 0.15Amps) R2: LNB IN (IF Input) Connect the IF cable from your LNB to this connector. -
Page 5: Remote Control Funcions
F9: VOL UP In viewing mode it will increase the sound. In programming mode it will move the cursor to the right or change a function to facilitate selection. F10: VOL DOWN In viewing mode it will decrease the sound. In programming mode it will move the cursor to the left or change a function to facilitate selection. -
Page 6: Install Menu
STORE: After above settings move to store and press OK key TV Settings TV Standard: Select the output for your TV. Example: for USA select NTSC M. If your TV supports ‘Auto Sensing’ then select Auto. Screen Format: Select the picture format for your TV. STORE: After above settings move to store and press OK key. -
Page 7: Configuring The Diseqc Antenna Positioner
EXAMPLE: To configure four antennas EXAMPLE: To configure MONOBLOCK LNB Astra 2 (28.2E), select Antenna 1 and set DiSEqC to 1 Astra 1(19.2E), select Antenna 1 and set DiSEqC to Mini-A Astra 1 (19.2E), select Antenna 2 and set DiSEqC to 2 Hotbird 1-6(13E), select Antenna 2, set DiSEqC to Mini-B Hotbird 1-6 (13E), select Antenna 3 and set DiSEqC to 3 Thor 2, 3 (1W), select Antenna 4 and set DiSEqC to 4... -
Page 8: Channel Search: Manual Scan And Search
TP FTA -- Selected TP for Free to Air Video and Radio channels. Manual All – Single TP for all Video and Radio channels. To select go to TP Data and press OK for sub menu. Manual All + D – Single or user defined TP for all Video, Radio and Data channels. ... -
Page 9: To Change Channel Or Satellite
In INSTALL menu, go to Advance Search Antenna: Select antenna number. Satellite: Select satellite name. Search Mode: Select search option. Option + D includes data channels ALL - All Video and Radio channels. FTA - Free To Air Video and Radio channels ... -
Page 10: Selecting Radio Channels
SELECTING RADIO CHANNELS Press TV / RADIO key once and it will change to Radio mode. Press it again to change back to TV mode. Follow above steps for changing the channel. CA SETUP Irdeto: For models with Embedded Irdeto. Shows Irdeto card and Loader Information. -
Page 11: Electronic Program Guide (Epg)
ELECTRONIC PROGRAM GUIDE (EPG) To display EPG, what’s on now and next, press EPG (red) key and below menu will appear. PROG No. Select program number or press OK HIGHLIGHTED EVENT: Press OK for details and PAGE up / down for next page. NOTE: If there is no EPG transmitted, it will state ‘... -
Page 12: To Rename Channel
channel. Then scroll down wards this will highlight these in mauve. Finally press OK on the last channel in the group and this will highlight these in red. When finished, press EXIT. TO RENAME CHANNEL Select Rename and press OK. Select channel and press OK, a keypad will appear. Select character and press OK. -
Page 13: Receiver To Receiver Copy Function
Not responding to remote control Check the batteries in your remote control. Replace with new. You have lost or forgotten your password Apply master password or contact your Manhattan dealer. SPECIFICATIONS TUNER Input Connector F-type IEC 169-24 Female... -
Page 14: Master Password
Size (W X H X D) 300 X 67 X 240 mm ® ® Eurosat and Manhattan are registered trademarks of Eurosat Distribution Ltd. Eurosat reserves the right to alter product specifications without prior notice. E&OE --------------------------------------------------------------------------------------------------------------------------------------- MASTER PASSWORD This is the master password for your receiver. Cut this section out and keep it in a safe place. It will be useful...
Need help?
Do you have a question about the Plaza ST 100 and is the answer not in the manual?
Questions and answers