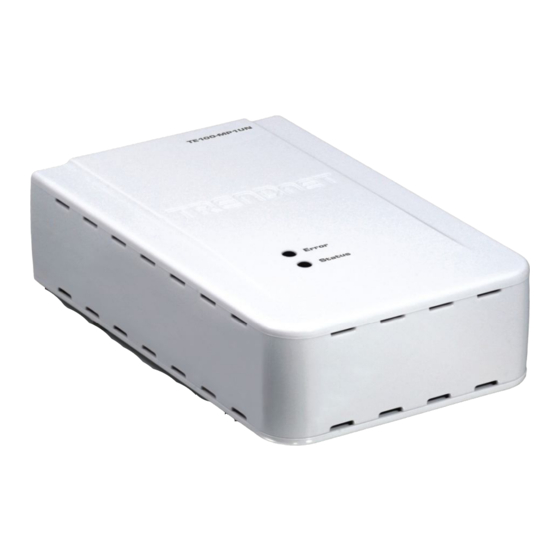
TRENDnet TE100-MP1UN Quick Installation Manual
Hide thumbs
Also See for TE100-MP1UN:
- Quick installation manual (26 pages) ,
- User manual (23 pages) ,
- Specifications (2 pages)
Advertisement
Quick Links
Advertisement

Related Manuals for TRENDnet TE100-MP1UN


Summary of Contents for TRENDnet TE100-MP1UN
- Page 1 Quick Installation Guide TE100-MP1UN H/W: V1.0R...
-
Page 2: Table Of Contents
Table of Contents English ............................... 1. Before You Start ..........................2. How to Install ............................. 3. Printing .............................. 4. Faxing ............................... 5. Scanner ............................. Troubleshooting ............................Version 09.16.08... -
Page 3: English
2. Connect printer to Print Server 3. Connect computer to Print Server 2. The utility must be installed on each computer in order to use your multi- function printer. Application 1-Port Multi-Function Print Server (TE100-MP1UN) Internet Cable/DSL Modem 4-Port Gigabit Firewall Router (TWG-BRF114) -
Page 4: How To Install
2. How to install 1. Install the printer drivers to your computer. Then power down the printer and disconnect the printer from your computer. Note: Please refer to your printer's manual for printer installation instructions. 2. Insert the Utility CD-ROM into your CD-ROM drive. - Page 5 6. Connect a RJ-45 network cable from a Switch/Router to the LAN port of the Print Server. 7. Connect a RJ-45 network cable from a Switch/Router to the Ethernet port on your computer and then click OK. 8. Power ON your printer and then click OK.
- Page 6 11. Select the print server and then click Next. 12. Configure the IP address of the print server to be in the same subnet as your network and then click Next. 13. Copy down the IP address and then click Next. 14.
- Page 7 15. Click Yes. 16. Click Next and then follow the InstallShield Wizard instructions. 17. Click Finish. 18. Click on Resource and then click Connect. English...
- Page 8 20. Click OK. Print Server configuration is now complete. For detailed information regarding the TE100-MP1UN configuration and advanced settings, please refer to the User's Guide on the Utility CD-ROM or TRENDnet's website at www.trendnet.com Register Your Product To ensure the highest level of customer service and support, please take a moment to www.TRENDnet.com/register...
-
Page 9: Printing
3. Printing Note: Only one user can use the print server at a time. Once a user has finished using the print server, another user can use it. 1. Click on Resource and then click Connect. 2. Status will now show the client computer and IP address that is currently using the printer. -
Page 10: Faxing
4. Faxing Note: Only one user can use the print server at a time. Once a user has finished using the print server, another user can use it. 1. Click on Resource and then click Connect. 2. Status will now show the client computer and IP address that is currently using the printer. -
Page 11: Scanner
5. Scanning Note: Only one user can use the print server at a time. Once a user has finished using the print server, another user can use it. 1. Click on Resource and then click Connect. 2. Status will now show the client computer and IP address that is currently using the printer. -
Page 12: Troubleshooting
If you still encounter problems or have any questions regarding the TE100-MP1UN, please refer to the User's Guide included on the Utility CD-ROM or contact TRENDnet's Technical Support Department. - Page 13 Certifications This equipment has been tested and found to comply with FCC and CE Rules. Operation is subject to the following two conditions: (1) This device may not cause harmful interference. (2) This device must accept any interference received. Including interference that may cause undesired operation.
- Page 14 Product Warranty Registration Please take a moment to register your product online. Go to TRENDnet’s website at http://www.trendnet.com/register 20675 Manhattan Place Torrance, CA 90501 Copyright ©2008. All Rights Reserved. TRENDnet.
Need help?
Do you have a question about the TE100-MP1UN and is the answer not in the manual?
Questions and answers