TRENDnet TE100-MP1UN User Manual
Hide thumbs
Also See for TE100-MP1UN:
- Quick installation manual (26 pages) ,
- Specifications (2 pages) ,
- Quick installation manual (14 pages)
Table of Contents
Advertisement
Quick Links
Advertisement
Table of Contents

Related Manuals for TRENDnet TE100-MP1UN


Summary of Contents for TRENDnet TE100-MP1UN
-
Page 2: Table Of Contents
Table of Contents Chapter 1 Introduction Features Safety Instructions Package Contents Physical Details Chapter 2 Setup Overview Using the Windows Wizard Chapter 3 Web-Based Management Overview Preparation Connecting to the WiredPrint Server Configuration Screens Appendix A Specifications General Specifications Page ii... -
Page 3: Chapter 1 Introduction
3. Do not place the Print Server on an unstable surface. The device may fall causing serious damage to the device. 4. This device should only be used with the power supply type specified on the marking label. If you are not sure of type of your local power supply, consult your dealer or the local power company. -
Page 4: Package Contents
Package Contents You should find the following items packaged with your Print Server. If any items are missing, contact your dealer immediately. TE100-MP1UN Multi-Language Quick Installation Guide CD-ROM (Utility & User’s Guide) Power Adapter (5V DC, 2A) -
Page 5: Physical Details
Physical Details Details of the LEDs and connections are in this Chapter. Further details are contained in Appendix A - Specifications. TE100-MP1UN Power connector 10/100Mbps RJ-45 Ethernet port USB 2.0 printer port Reset button Page 3... -
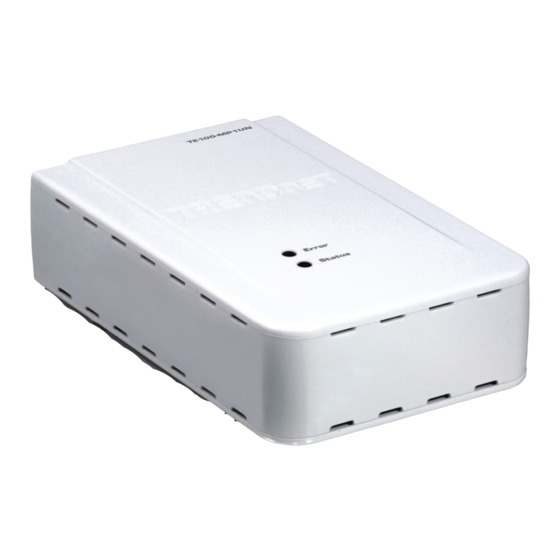
Page 6: Led Indicators
LED Indicators The Print Server has LED indicators on the top. The Error LED is red. The Status indicator LED is green. The LED indicator modes are described in the following table. Status Description Status LED Error LED (Green) (Red) No power. - Page 7 2. Press and hold the diagnostic button. While pressing the button, switch the Print Server ON. 3. If you continue pressing the button for 10 seconds, a diagnostic page will be printed, showing the new (default) settings. To generate a Diagnostic print out 1.
-
Page 8: Chapter 2 Setup
Find the Default Server Name for your Print Server. The Default Server Name is shown on a sticker on the base of the device. It consists of 8 letters and/or digits. Record this name; it may be needed during configuration. - Page 9 Procedure 1. Insert the supplied CD-ROM into your drive. If the setup program does not start automatically, run Autorun.exe in the root folder. 2. On the first screen, shown below, click Install Utility, and then click Setup Wizard. 3. Click OK to follow the setup procedures: (1) Connect MFP/All-in-one machine to Print Server.
- Page 10 6. Select the desired Print Server. If the Print Server does not show up, click the Refresh button. 7. Click Next to configure the IP Address screen. Select Obtain IP Address automatically if you’re LAN has a DHCP Server, otherwise select Use following IP address.
- Page 11 9. Click Next. 10. Click Yes to do PC Install. Follow the prompts to complete the installation. Page 9...
- Page 12 If the Print Server is configured already, and you want other client PCs to use it, do the following procedure: 1. Insert the supplied CD-ROM into your drive. If the setup program does not start, run Autorun.exe in the root folder.
- Page 13 3. Follow the prompts to complete the installation. 4. The Print Server Utility will then run. Page 11...
- Page 14 The names of the attached printer servers will be displayed if possible. If the printer is occupied by other user, the status field will display the information of the other user’s name and IP address. Otherwise the default status icon should be if the printer is available.
- Page 15 2. Once the Print Server has been connected successfully, the button will show "Disconnect" instead of "Connect". 3. Configuration is now complete. Note: If Print Server has been idled for 5 minutes after connected, you will see the following message. The Print Server will be disconnected automatically if you don't respond to the message within 1minute.
-
Page 16: Chapter 3 Web-Based Management
3. You will then be prompted for the password. If no password has been set, just press E NTER 4. Use the menu bar to move from one screen to another. Remember to save each screen before changing to a different screen. Page 14... -
Page 17: Configuration Screens
Enter an unused IP address from the address range used on your LAN. Subnet Mask Use the same values as PCs on your LAN (or on the same LAN segment, if you have a Router). Gateway Use the same values as PCs on your LAN (or on the same LAN Address segment, if you have a Router). -
Page 18: Other Screens
Other Screens Server Status This screen shows server system data and the current settings for all of the other screens. It is read-only; no data can be input on this screen. Printer Status This screen displays the current status of each port. For each port, the following data is listed: ... - Page 19 Print Server Name- displays the model name of the Print Server. The Print Server name can be found on the bottom of the device base. The Print Server name can be changed by clearing the field and typing in a new name.
-
Page 20: Appendix A Specifications
5.5w max. External Power Adapter 5V DC LEDs USB 2.0 Port Ethernet Connecter 10BaseT/100BaseTx FCC / CE FCC, CE. Class B Environmental Specifications Operating Temperature 0 ~ 40°C Storage Temperature -10 ~ 70°C Shipping Temperature -40 ~ 70°C Operating Humidity... -
Page 21: Limited Warranty
If a product does not operate as warranted during the applicable warranty period, TRENDnet shall reserve the right, at its expense, to repair or replace the defective product or part and deliver an equivalent product or part to the customer. The repair/replacement unit’s warranty continues from the original date of purchase. All products that are replaced become the property of TRENDnet. - Page 22 TRENDNET SHALL NOT BE LIABLE UNDER THIS WARRANTY IF ITS TESTING AND EXAMINATION DISCLOSE THAT THE ALLEGED DEFECT IN THE PRODUCT DOES NOT EXIST OR WAS CAUSED BY CUSTOMER’S OR ANY THIRD PERSON’S MISUSE, NEGLECT, IMPROPER INSTALLATION OR TESTING, UNAUTHORIZED ATTEMPTS TO REPAIR OR MODIFY, OR ANY OTHER CAUSE BEYOND THE RANGE OF THE INTENDED USE, OR BY ACCIDENT, FIRE, LIGHTNING, OR OTHER HAZARD.
- Page 23 Page 21...
Need help?
Do you have a question about the TE100-MP1UN and is the answer not in the manual?
Questions and answers