
Subscribe to Our Youtube Channel
Related Manuals for Axminster AWSL


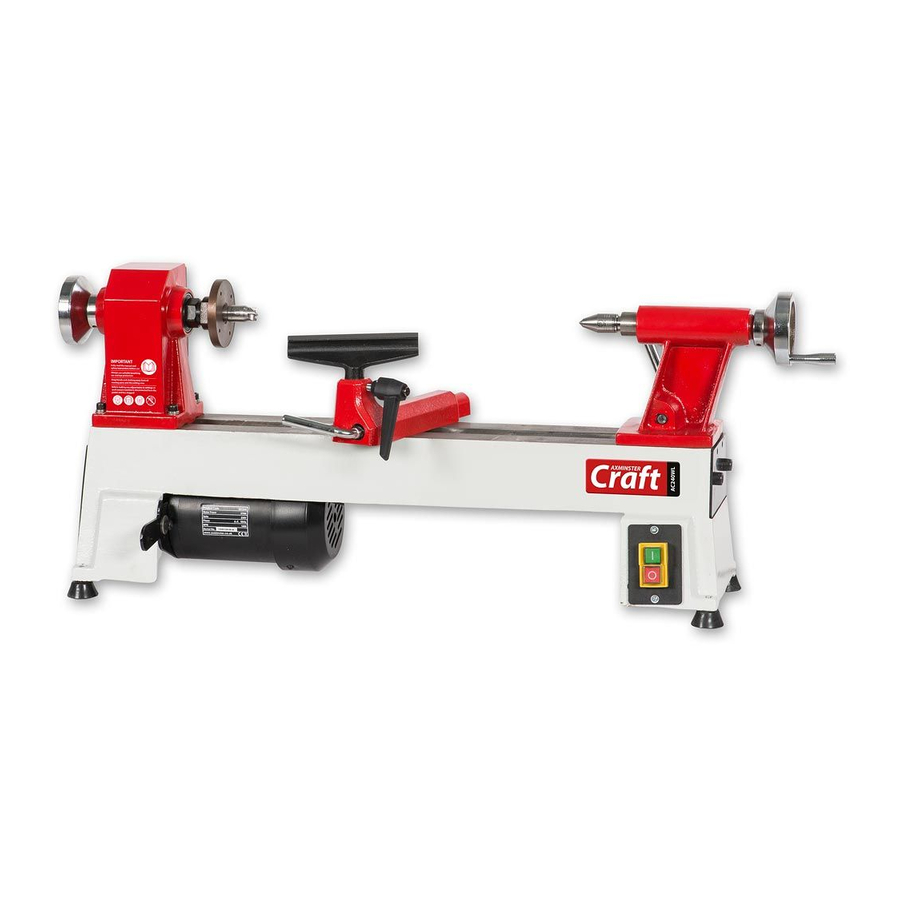
Summary of Contents for Axminster AWSL
- Page 1 EXTENTION BED (OPTIONAL) (702327) AWVSL (700241) A X M I N S T E R W H I T E 2003 Axminster Reference No:AWSL & AWVSL w w w. a x m i n s t e r. c o . u k...
-
Page 2: Table Of Contents
General Instructions for 240v Machines................... 3-4 Specific Safety Instructions for Woodturning Lathes............... 4-5 Specifications….………..……..…………....................5 Initial Assembly..……..…………......................5-6 Parts Description and Identification..................7-10 Identification and Description of the Lathe AWSL (700176)........................08-09 AWVSL (700241)........................11-12 Parts Breakdown AWSL (700176)..........................13 AWVSL (700241)......................... 16 Parts List AWSL (700176)........................14-15... -
Page 3: What's In The Box
1 No. Instruction Leaflet 2 No. Bolts Having unpacked your new AWSL, AWVSL woodturning lathe please dispose of the unwanted packaging responsibly. The cardboard packaging is biodegradable. General Instructions for 240V Machines... Good Working Practices/Safety The following suggestions will enable you to observe good working practices, keep yourself and fellow workers safe and maintain your tools and equipment in good working order. -
Page 4: Specific Safety Instructions For Woodturning Lathes
General Instructions for 240V Machines... A X M I N S T E R Work Place/Environment W H I T E Make sure when the machine is placed that it sits firmly on the bench or stand, that it does not rock, that it is sufficiently clear of adjacent obstacles so that you have unimpeded access to all parts of the machine. -
Page 5: Specifications
12. If you are turning between centres with ‘softish stuff’, check and reposition the tailstock centre frequently. 13. Some turning tools may have specific sharpening angles that have been determined by the manufacturers; when re-sharpening, adhere to these angles to maximise the finish of your work. Specification... Axminster No. AWVSL AWSL 700241 700176 Motor 240V a.c. -
Page 6: Initial Assembly
Initial Assembly... A X M I N S T E R W H I T E Assembling your optional Extension Bed (Part No: 702327) Step 2 Step 1 Remove the plate and Remove the two screws. locate the holes. Bolt holes Screw driver Dowel holes Typ. -
Page 7: Parts Description And Identification
Parts Description and Identification... A X M I N S T E R W H I T E Lathe Bed Cast Iron frame with ground top surfaces and 4 leg extrusions, the leg extrusions have large rectangular flanges for strength and are also used to support the ON/OFF switch assembly at the tailstock end and the motor mounting plate, drive pulley assembly at the headstock end. -
Page 8: Identification And Description Of The Lathe
Identification and Description of the Lathe... A X M I N S T E R W H I T E AWSL (700176) Faceplate Front view Drive centre Headstock spindle Tailstock handle handle Headstock Tailstock Revolving Centre Banjo Lathe bed Banjo lock... -
Page 9: Rear View
Identification and Description of the Lathe... A X M I N S T E R W H I T E AWSL (700176) Rear view Tailstock Revolving centre barrel lock Toolrest Tailstock Toolrest lock Tailstock lock Motor Tailstock handle Access panel... -
Page 10: Awvsl (700241)
(650rpm Low to 3800rpm High). The speed of the spindle is displayed on the spindle speed LCD mounted to the headstock. Spindle Speed This is a Digital LCD mounted to the headstock which displays the speed of the spindle. www.axminster.co.uk... -
Page 11: Identification And Description Of The Lathe
Identification and Description of the Lathe... A X M I N S T E R W H I T E AWVSL (700241) Spindle speed LCD Front view Speed control knob Locking handle Switch & speed control assembly... - Page 12 Identification and Description of the Lathe... A X M I N S T E R W H I T E AWVSL (700241) Rear view Tailstock Revolving centre barrel lock Toolrest Tailstock Toolrest lock Motor Tailstock lock Access panel Tailstock handle Pivot bolt www.axminster.co.uk...
-
Page 13: Parts Breakdown
Parts Breakdown (AWSL)... A X M I N S T E R W H I T E 0800 371822 FREEPHONE... -
Page 14: Parts List
Parts List (AWSL)... A X M I N S T E R W H I T E... - Page 15 Parts List (AWSL)... A X M I N S T E R W H I T E 0800 371822 FREEPHONE...
-
Page 16: Awvsl (700241)
Parts Breakdown (AWVSL)... A X M I N S T E R W H I T E www.axminster.co.uk... -
Page 17: Awvsl (700241)
Parts List (AWVSL)... A X M I N S T E R W H I T E... -
Page 18: Awsl (700176)
Changing the Speed... A X M I N S T E R AWSL (700176) W H I T E Note. The lowest speed pulley combination is furthest from the faceplate, i.e. smallest motor pulley diameter to largest spindle pulley diameter. -
Page 19: Awvsl (700241)
(A) lift, slide, turn…etc. Release the locking handle to the side of switch & speed control assembly, see (E) and swing the switch & speed control assembly to the side. Now you have access to the belt, see (F). REFURE TO AWSL FOR INSTRUCTION ON CHANGING THE SPEED. - Page 20 Axminster Reference No:AWSL & AWVSL A X M I N S T E R W H I T E Axminster Devon EX13 5PH UK FREEPHONE 0800 371822 www.axminster.co.uk 2003...
Need help?
Do you have a question about the AWSL and is the answer not in the manual?
Questions and answers
The belt is damaged, how do I change it?
To change the damaged belt on an Axminster AWSL:
1. Disconnect the machine from the mains supply.
2. Locate the cover plate at the rear of the headstock.
3. Loosen the ‘star nuts’ securing the cover plate and remove it.
4. Release the locking handle on the side of the switch & speed control assembly and swing it aside.
5. Access the belt and remove the damaged one.
6. Refer to AWSL instructions for fitting the new belt and adjusting speed.
7. Replace the cover plate and secure it with the star nuts.
8. Swing back the switch control assembly and lock it in place.
9. Reconnect the machine to the mains supply.
10. Test the lathe briefly to ensure smooth operation.
11. Store any tools used and ensure the lathe is ready for use.
This answer is automatically generated
@Mr. Anderson 6. This is the precise detail we need to know. The manual doesn’t provide instructions on fitting the new belt.
How do I remove and replace the belt on the AWVSL lathe
To remove and replace the belt on the Axminster AWSL lathe, follow these steps:
1. Disconnect the machine from the mains power supply.
2. Locate and remove the cover plate at the rear of the headstock by loosening the star nuts.
3. Release the locking handle on the side of the switch and speed control assembly.
4. Swing the switch and speed control assembly to the side to access the belt.
5. Refer to AWSL instructions for changing the speed if needed.
6. Replace the old belt with the new one.
7. Reattach the cover plate and secure it with the star nuts.
8. Swing the switch control assembly back into position and lock it with the locking handle.
9. Reconnect the machine to the mains power.
10. Test the lathe briefly to ensure it runs smoothly.
11. Remove any tools used and stow them away.
The lathe is now ready for use.
This answer is automatically generated