
Related Manuals for Stratco Handi-Mate Shed HMLOHMLME


Summary of Contents for Stratco Handi-Mate Shed HMLOHMLME
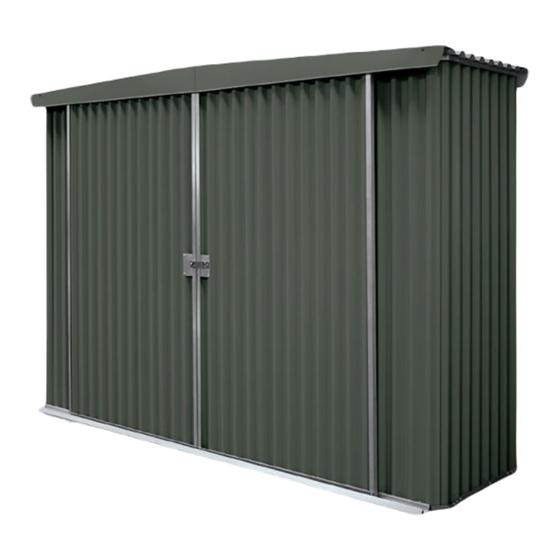
- Page 1 INSTA T T LLAT A A ION GUIDE Handi-Mate Shed - Locker TYPE HML FREE INSTALLATION VIDEO ON THE WEB AT www.stratco.com.au HMLOHMLME HMLOHMLRG...
-
Page 2: Before You Start
A free installation video is on the web at www.stratco.com.au under the Garden Shed section. NOTE: Use heavy gloves when handling steel sheeting and flashings and never attempt to install a shed in windy conditions. - Page 4 HMBCL1440## - HMBCR1440## - BARGE CAP L/HAND BARGE CAP R/HAND TEK1016## only on colour sheds...
-
Page 5: Important Notes
2.86 0.83 Important Notes It is essential to clear and level the site prior to assembling your Stratco Handi-Mate Shed. Before starting to build the shed, please refer to the previous pages of this guide for a list of recommended shed assembly tools and shed components. - Page 6 DOOR ASSEMBLY HMDW HMDCTO1090GA HMDW HMNN6 HMNN6 LEFT DOOR HMDCVE1900GA WTK1016 LEFT DOOR SSPHMSD1900## SSPHMWS1900## HMDCBO1090GA LEFT DOOR...
- Page 7 ENSURE PRE-PUNCHED HOLES LINE UP IN ALL 4 CORNERS HMDCVE1900GA LEFT DOOR 1. FIX OUTSIDE CORNERS. 2. CHECK SQUARE. WTK1016 3. FIX INSIDE CORNERS & HMDMLOCGA. 4. FLIP & FIX ON FRONT SIDE. LEFT DOOR...
- Page 8 REPEAT ASSEMBLY PROCESS OF LEFT DOOR FOR RIGHT DOOR, USING PARTS LAYOUT SHOWN. RIGHT DOOR LEFT DOOR RIGHT DOOR...
- Page 9 SIDE WALL ASSEMBLY HMWC700GA SSPHMWSCNR1900## HMWC700GA POSITION THE WALL SHEET SO TEKNNW1016 THE SCREWS ARE DRIVEN INTO THE CENTRE OF THE PEAK.
- Page 10 BACK WALL ASSEMBLY SSPHMWS1900## SSPHMWS1900## SSPHMWS1900## SSPHMWSCNR1900## HMWC2800GA HMWC2800GA...
- Page 11 TEKNNW1016 POSITION THE WALL SHEETS SO THE SCREWS ARE DRIVEN INTO THE CENTRE OF THE PEAK. POSITION THE WALL SHEETS SO THE SCREWS TEKNNW1016 ARE DRIVEN INTO THE CENTRE OF THE PEAK FOR ALL SCREWS. TEKNNW1016...
- Page 12 FRONT WALL ASSEMBLY HMSR2800GA TEKNNW1016 SSPHMSWCNR1900## HMDJ1900GA HMBR2800GA POSITION THE WALL SHEET SO THE SCREWS ARE DRIVEN INTO THE CENTRE OF THE PEAK. TEKNNW1016 POSITION THE WALL SHEETS SO THE SCREWS ARE DRIVEN INTO THE CENTRE OF THE PEAK. HALF CUT PEAK ON CORNER OF SHED SSPHMSW1900## HMDJ1900GA HMDJ1900GA...
- Page 14 SHED ASSEMBLY HMCBGA ENSURE PRE-PUNCHED HOLES IN HMCBGA AND WALL PANELS ARE ALIGNED. REPEAT PROCESS FOR THIRD WALL TEKNNW1016...
- Page 16 TEKNNW1016 HMDSBO2060GA USE HMDSBO2060GA AS SPACER TEMPLATE BETWEEN HMDJ1900GA. DO NOT FIX.
- Page 17 TEKNNW1016 TEKNNW1016 HMBS2747GA HMRRBO2747GA...
- Page 18 FIX TO GROUND WITH DYNABOLT ONCE SQUARE 175mm BACK FROM FRONT EDGE OF HMRC750GA THEN CONTINUE WITH 400mm SPACING. TEK1016 HMRC750GA HMRB750GA...
- Page 19 TURN UP VALLEYS ON SHEET TO ENCOURAGE WATER TO FLOW TOWARDS WALLS FIXING LOCATIONS FOR ALL SSPHMRS1440AZ ALL FIXINGS TEK1016...
- Page 20 REMOVE ANY SWARF FROM HMSR2800GA BEFORE SLIDING DOORS ONTO SHED HMSS & WTK1022 HMSS & WTK1022 WTK1016...
- Page 21 DRILL Ø12mm HOLE ALIGN EDGE OF HMDCVE1900GA TO CENTRE OF HMRB750GA. MARK PM-10874 POSITION. HMDSBO2060GA TEKNNW1016 TEKNNW1016...
- Page 22 HMBCL1440## MAX 20mm TEK1016## 10mm...
- Page 23 HMBCR1440## HMBCL1440## TEK1016## HMBCR1440##...
- Page 24 Do not directly anchor your shed to pavers. MAINTENANCE Your Stratco Handi-Mate Shed will maintain its good looks for even longer with a simple wash and wipe down. Cleaning should be performed as often as is required to remove any dirt, salt and pollutants.
Need help?
Do you have a question about the Handi-Mate Shed HMLOHMLME and is the answer not in the manual?
Questions and answers