
Related Manuals for Sonnet FUSION DX800RAID


Summary of Contents for Sonnet FUSION DX800RAID
- Page 1 RAID FUSION ™ 8-Drive Serial ATA Disk Array Storage System Drive Enclosure User’s Guide Windows...
-
Page 2: Enclosure Specifications
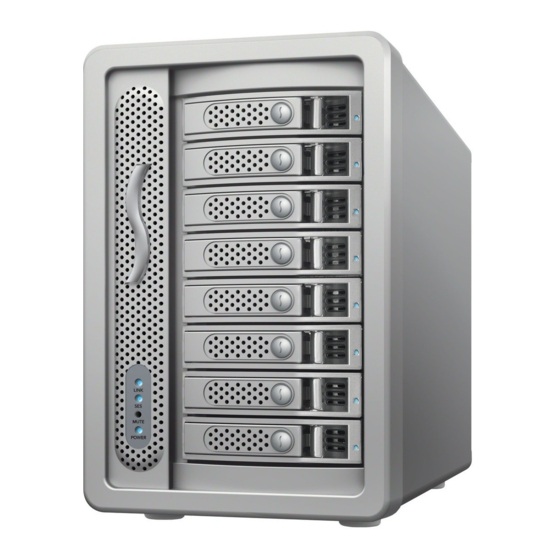
Fusion DX800RAID Enclosure Specs and Features Enclosure Specifications Compatibility Compatible with Mac ® Windows , and Linux ® ® Drive Module computers with Sonnet (Bay 1) RAID controller installed Drive Module (Bay 2) Interface Connectors 2 x mini-SAS Drives Supported 3 & 1.5 Gb/s Serial ATA; Drive Module (Bay 3) 3.5" Drive Module Power Supply 100–240V AC, 50/60Hz (Bay 4) - Page 3 STANDARD DRIVES MAY NOT BE SUPPORTED AND MAY NOT compatible. DEGRADE SYSTEM RELIABILITY AND PERFORMANCE. Check (2) Only Seagate Barracuda 7200.11 1.5TB drives with firmware versions the Sonnet Web site for the latest list of qualified hard drives. SD1B and newer compatible.
-
Page 4: Drive Installation And Enclosure Setup
Drive Installation and Enclosure Setup Install Drives Into Drive Trays 1. Remove the Fusion drive enclosure from its packaging, and place it near the computer to which it will be connected. 2. Pull a drive tray’s lever out until it stops, and then pull the tray out of the enclosure. -
Page 5: Raid Controller
Figure 9 Connect Fusion DX800RAID Drive Enclosure to Sonnet RAID Controller This section describes the connection of the Fusion DX800RAID drive mini-SAS enclosure to the Sonnet RAID controller card. connector 1. - Page 6 Perform all steps listed here with your computer and Fusion storage systems powered off. 1. In order to connect a second Fusion DX800RAID enclosure to the Sonnet RAID controller card, you must first disconnect the bottom data cable from the first enclosure, and then connect it to the top (primary) mini-SAS port of the second enclosure (Figure 12).
-
Page 7: Visit Our Website
For the most current product information and online support • If you remove a drive module from the Fusion DX800RAID files, visit the Sonnet Web site at www.sonnettech.com/support/. with a drive that was part of a RAID group, you should power Remember to register your product online at http://registration. - Page 8 ©2010 Sonnet Technologies, Inc. All rights reserved. Sonnet, the Sonnet logotype, Simply Fast, the Simply Fast logotype, Creativity Stored Here, and Fusion are trademarks of Sonnet Technologies, Inc. Mac, the Mac logo, and Mac OS are trademarks of Apple Inc., registered in the United States and other countries. Other product names are trademarks of their respective owners. Product specifications subject to change without notice. Printed...
Need help?
Do you have a question about the FUSION DX800RAID and is the answer not in the manual?
Questions and answers