
Related Manuals for Sonnet Fusion QR


Summary of Contents for Sonnet Fusion QR
- Page 1 FUSION ™ 4-Drive Hardware RAID 5 SATA Disk Enclosure with Quad Interface User’s Guide Windows...
-
Page 3: Table Of Contents
Contents 1 Fusion QR Features 2 Drive Installation and Enclosure Setup Install Drives Connect the Fusion QR to Computer and Power Outlet 3 Drive Mode Descriptions 4 Drive Mode Configuration Instructions Initial Drive Mode Configuration Change Drive Mode 5 Drive Formatting Instructions OS X Users’... -
Page 5: Fusion Qr Features
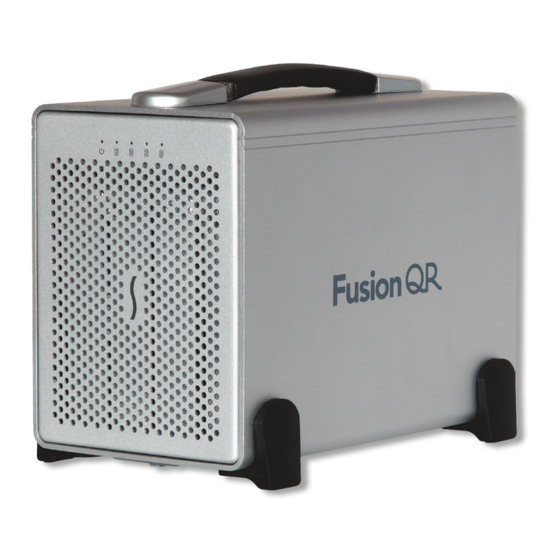
1 – Fusion QR Features 1 – Power Indicator This blue LED lights when the Fusion QR is powered. ❹ ❶ ❷ ❷ ❷ ❸ ❺ 2 – Presence, Activity, and Fault Indicators — Drives A – C These LEDs indicate the ready state (solid green), read and write activity (flashes green), and fault status (OFF or red) for drives A –... -
Page 6: Drive Installation And Enclosure Setup
2 – Drive Installation and Enclosure Setup Install Drives 1. Remove the Fusion QR from its packaging, and place it on a flat, level surface, with the front panel facing you. 2. Lift up the front of the enclosure, slide the inner chassis lock switch to the left and hold it (Figure 1), and then push the inner chassis from the back until it stops (Figure 2). - Page 7 2 – Drive Installation and Enclosure Setup WARNING: When handling computer products, take care to prevent components from being damaged by static electricity; avoid working in carpeted areas. Handle hard drives only by their edges and avoid touching circuit boards and connector pins. 5.
-
Page 8: Connect The Fusion Qr To Computer And Power Outlet
(Figure 9). 3. Connect the power adapter cable to the Fusion QR’s 19V power socket; verify the cable is plugged in securely (Figure 9). -
Page 9: Drive Mode Descriptions
Disk 3 Disk 4 strongly recommends you use four identical drives in the Fusion QR. Due to varying operating characteristics, the use of different drives may lead to issues ranging from reduced total capacity, to louder operation, to RAID failures. - Page 10 3 – Drive Mode Descriptions RAID 5: Striping, Parity Distributed Among Drives RAID 5: RAID 5 configuration increases reliability while using fewer Striping, Parity Distributed Among Drives drives than RAID 10 mirroring by using parity redundancy: parity is distributed across multiple drives. Any one of Disk 1 Disk 2 Disk 3...
-
Page 11: Drive Mode Configuration Instructions
4 – Drive Mode Configuration Instructions Initial Drive Mode Configuration Configure as RAID 0 Volume ❶ When you first turn on the Fusion QR after installing the hard drives, you must select a mode to configure the drives ❷ ❸... -
Page 12: Drive Formatting Instructions
GPT. Click OK. 3. Select a drive format and name for the volume, and then 4. In the Disk Management window, the Fusion QR’s drives will click the Erase button; a window will appear asking you to appear (listed as “unallocated”) as a single volume (unless approve your choice. -
Page 13: Status Led Indications
6 – Status LED Indications System Powered, No Drive Activity System Powered, No Drive Activity When the Fusion QR is powered on, and no data is being LEDs stay on written to or read from the drives, the Power and Drive LEDs stay on (Figure 20). -
Page 14: Specifications, Warnings, And Additional Information
©2014 Sonnet Technologies, Inc. All rights reserved. Sonnet, the Sonnet logotype, Simply Fast, the Simply Fast logotype, Creativity Stored Here, and Fusion are trademarks of Sonnet Technologies, Inc. FireWire, Macintosh, Mac, the Mac logo, and OS X are trademarks of Apple Inc., registered in the United States and other countries. Other product names are trademarks of their respective owners. Product specifications subject to change...
Need help?
Do you have a question about the Fusion QR and is the answer not in the manual?
Questions and answers