Table of Contents
Advertisement
Advertisement
Table of Contents

Related Manuals for ADDER AdderLink X50 USB


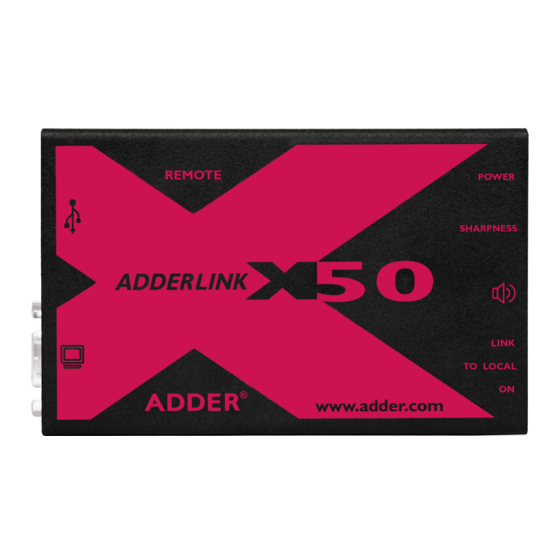
Summary of Contents for ADDER AdderLink X50 USB
- Page 1 AdderLink X50 USB User Guide contents...
-
Page 2: Table Of Contents
Contents Welcome Operation Introduction .................2 General use ................13 Supplied items ................3 Dual user arbitration ..............13 Optional items ................4 Peripheral operation ..............13 Installation Further information Connections .................5 Getting assistance ..............14 Mounting ..................5 Troubleshooting ................14 Connections at the local module ...........6 Warranty ..................15 Local module power ............7 Safety information ..............15 Connections at the remote module ........8... -
Page 3: Introduction
All connectors are industry standard and the video mean that high video resolutions of up to 1920 sharpness adjustments are made using a simple The compact casings and ease of use of the Adder x 1440 are supported together with CD quality rotary dial. -
Page 4: Supplied Items
Supplied items X50 standard extender modules USB (A to B type) lead Video lead (15 way, male to male) X50 local X50 remote module module Self adhesive feet Power adapter and country- specific power lead (for remote module) Audio lead (3.5mm jacks) CD-ROM X50 MS2 variant extender modules... -
Page 5: Optional Items
Optional items Power adapter and country- specific power lead for local module (if USB powering not possible) Part number: PSU-IEC-5VDC-2.5A Rack mount plate for X50 standard module Rack mount chassis (useable for the local or remote modules) Part number: X-RMK-CHASSIS Part number: X-RMK-FASCIA Rack mount plate for X50 MS2 module (useable for the local or remote modules) -
Page 6: Installation
Installation Connections Mounting Installation of the X50 modules is straightforward with minimal configuration The X50 modules offer two main mounting methods: requirements in most cases. • Supplied four self-adhesive rubber feet • Connections at the local module • Rack mount brackets - see below •... -
Page 7: Connections At The Local Module
Connections at the local module 1 Where possible ensure that power is disconnected from the computer 3 Optionally connect local speakers system to be connected. to the audio output connector on the local module. 2 Attach the video, USB (see the Important note on page 5) and (optionally) audio connections from the computer system to... -
Page 8: Local Module Power
‘LINK 2’ socket on the MS2 need to purchase and use a power supply identical to the one used local module. for the remote module (part number: PSU-IEC-5VDC-2.5A) from your Adder stockist. Low power 1 If external power input is indicator... -
Page 9: Connections At The Remote Module
Connections at the remote module 1 Place the remote module adjacent to the user location. 3 Attach the leads of up to four USB devices (two of which are 2 Attach the lead from the video usually a keyboard and mouse) monitor to the video out socket to the sockets located adjacent on the remote module. - Page 10 5 Optionally attach the lead from 7 attach the output connector your stereo speakers to the audio of the power supply to the output socket on the remote ‘POWER’ socket of the remote module. module. To speakers 6 Attach the connector of the category 5, 5e or 6 link cable To power (up to 50 metres in length) to...
-
Page 11: Dual User Configuration
Dual user configuration You can combine two Adder X50 extender sets to create a dual user configuration. Such an installation would allow a single computer to be controlled from two different positions, with each position receiving the same audio visual output and having equal First local module and concurrent control over the computer. -
Page 12: Video Display (Ddc) Information
Video display (DDC) information DDC indications The Display Data Channel (or DDC) is an industry standard scheme which allows video monitors to declare their capabilities to the computer’s video adapter When power is first applied to the local module (either from circuitry, allowing the latter to optimise their outputs accordingly. -
Page 13: Video Sharpness Adjustment
Video sharpness adjustment The Adder X50 remote module includes a straightforward video adjustment to control picture sharpness on the remote monitor. To adjust video sharpness 1 On the computer, display a suitable high contrast image (see right). To display a suitable high contrast image... -
Page 14: Operation
USB typically require 100mA. Each X50 contains a self-resetting fuse that will prevent sub-system of the computer. Unlike with other Adder products, this means that damage by shutting down the unit if the total power draw becomes excessive. -
Page 15: Further Information
For technical support, use the contact form in the Support section of the information being read and stored from a locally connected video monitor. adder.com website - your regional office will then get in contact with you. • Two yellow flashes - Checksum error prior to copying - no information will be programmed. -
Page 16: Warranty
If the product should fail to operate correctly in normal use during the • Ensure that all twisted pair interconnect cables are installed in compliance warranty period, Adder will replace or repair it free of charge. No liability can be with all applicable wiring regulations. -
Page 17: Radio Frequency Energy
Radio Frequency Energy A Category 5 (or better) twisted pair cable must be used to connect the units in order to maintain compliance with radio frequency energy emission regulations and ensure a suitably high level of immunity to electromagnetic disturbances. All other interface cables used with this equipment must be shielded in order to maintain compliance with radio frequency energy emission regulations and ensure a suitably high level of immunity to electromagnetic disturbances. - Page 18 Web: www.adder.com www.adder.com/contact-details Contact: Support: forum.adder.com © 2012 Adder Technology Limited All trademarks are acknowledged. Documentation by: www.ctxd.com Part No. MAN-X50_X50-MS2 • Release 1.1d...
Need help?
Do you have a question about the AdderLink X50 USB and is the answer not in the manual?
Questions and answers