Advertisement
Quick Links
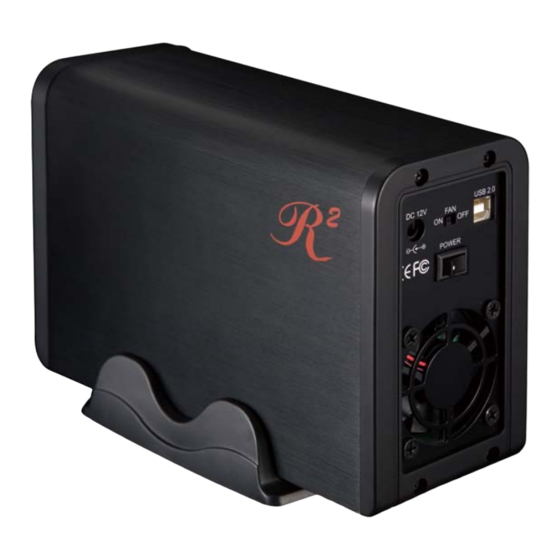
[ R2-JBOD ]
External Enclosure
User Manual
Include
Hardware Installation Guide
HDD Formatting Guide
Thank you for purchasing a quality Rosewill Product.
Please register your product at : www.rosewill.com/ for complete warranty information and future support for your product.
Advertisement

Related Manuals for Rosewill R2-JBOD


Summary of Contents for Rosewill R2-JBOD
- Page 1 [ R2-JBOD ] External Enclosure User Manual Include Hardware Installation Guide HDD Formatting Guide Thank you for purchasing a quality Rosewill Product. Please register your product at : www.rosewill.com/ for complete warranty information and future support for your product.
- Page 2 External enclosure Installation [ R2-JBOD ] User Manual Hardware Installation Guide Please follow the instructions and make sure your hard drive is successfully installed to the external enclosure! STEP1: Release the 4 screws then pull out the rear panel and tray.
- Page 3 External enclosure Installation [ R2-JBOD ] User Manual STEP2: Place the first HDD into the tray. Push the HDD to connect e SATA connector. STEP3: Place the second HDD into the tray. Push the HDD to connect the SATA connector.
- Page 4 External enclosure Installation [ R2-JBOD ] User Manual STEP4: Screw the HDD on the tray both sides. STEP5: Push the tray into the aluminum case. Screw the rear panel and enclosure together.
- Page 5 External enclosure Installation [ R2-JBOD ] User Manual HDD Formatting Guide This device can support JBOD& BIG Mode. JBOD:It enables each hard drive to be seen separately as single drives, showing 2 HDD capacities. Note: Backup before formatting your HDD.
- Page 6 External enclosure Installation [ R2-JBOD ] User Manual STEP2: Select “Disk Management” and you will see your hard drives show “Unallocated”. : Sample 750GB & 250GB hard drives. STEP3: Please refer to page 9.
- Page 7 External enclosure Installation [ R2-JBOD ] User Manual BIG: It concatenates a series of physical hard drives as a single large volume; hard drive A and B are combined into a storage capacity that is equal to the sum of each of the physical hard drives A and B.
- Page 8 External enclosure Installation [ R2-JBOD ] User Manual STEP1: Right -click “My Computer” icon and select the “Manage” column. STEP2: Two brand-new HDD Select “Disk Management” and you will see your External HDD shows “Not Initialized”.
- Page 9 External enclosure Installation [ R2-JBOD ] User Manual Two formatted HDDs (These two HDDs have to be combined into one disk.) Select “Disk Management” and you will see your External HDD only shows one HDD, another shows “Unallocated”. Right-click the red-squared block and select “Delete Partition”.
- Page 10 External enclosure Installation [ R2-JBOD ] User Manual STEP3: Right-click the red-squared block and select “Initialize Disk”. STEP4: Press “OK” button to initialize HDD.
- Page 11 External enclosure Installation [ R2-JBOD ] User Manual STEP5: The external HDD will be showed “Online”. Right-click the “Unallocated” block and select “New Partition”. STEP6: The “New Partition Wizard” will appear. Please follow the instruction of the wizard to complete the partition.
- Page 12 External enclosure Installation [ R2-JBOD ] User Manual STEP7: When new partition is completed, the external HDD will be recognized as a “New Volume”. If you divided HDD into two partitions, format two partitions separately. After two partitions are formatted completely, you will see two...
Need help?
Do you have a question about the R2-JBOD and is the answer not in the manual?
Questions and answers