Samsung HT-BD1250 User Manual
5.1ch blu-ray home theater system
Hide thumbs
Also See for HT-BD1250:
- User manual (114 pages) ,
- License agreement (3 pages) ,
- Firmware update (1 page)
Table of Contents
Advertisement
Quick Links
Advertisement
Table of Contents

Related Manuals for Samsung HT-BD1250


Summary of Contents for Samsung HT-BD1250
-
Page 2: Player Features
Anynet+(HDMl-CEC) Function Anynet+ is a function that can be used to operate the main unit of this system using a Samsung TV remote control, by connecting the Blu-ray Home Theater to a SAMSUNG TV using an HDMI Cable. (This is only available with SAMSUNG TVs that support Anynet+.) -
Page 12: Region Code
G tt'NQ , t rt d Discs that cannot be played _' HD DVD Disc ,, DVD-ROM/PD/MV-Disc, etc " DVD-RAM ,, CVD/CD-ROM/CDV/CD-G/CD-I/LD " 3.9 GB DVD-R Disc for Authoring. ,, 3 1/2 inch MD (mini disc) _, DVD-RW(VRmode) _ SomecommercialdiscsandDVDdiscspurchasedoutsideyour regionmay not be playable with this product.Whenthesediscsareplayed,either"No disc."or "Pleasecheckthe regional c ode ofthe disc."... -
Page 13: Disc Types
,, Once a DVD-R recorded in Video Mode is finalized, it becomes DVD-Video. , This unit can play back DVD-R discs recorded and finalized with a Samsung DVD video recorder. It may not be able to play some DVD-R discs depending on the disc and the condition of the recording. -
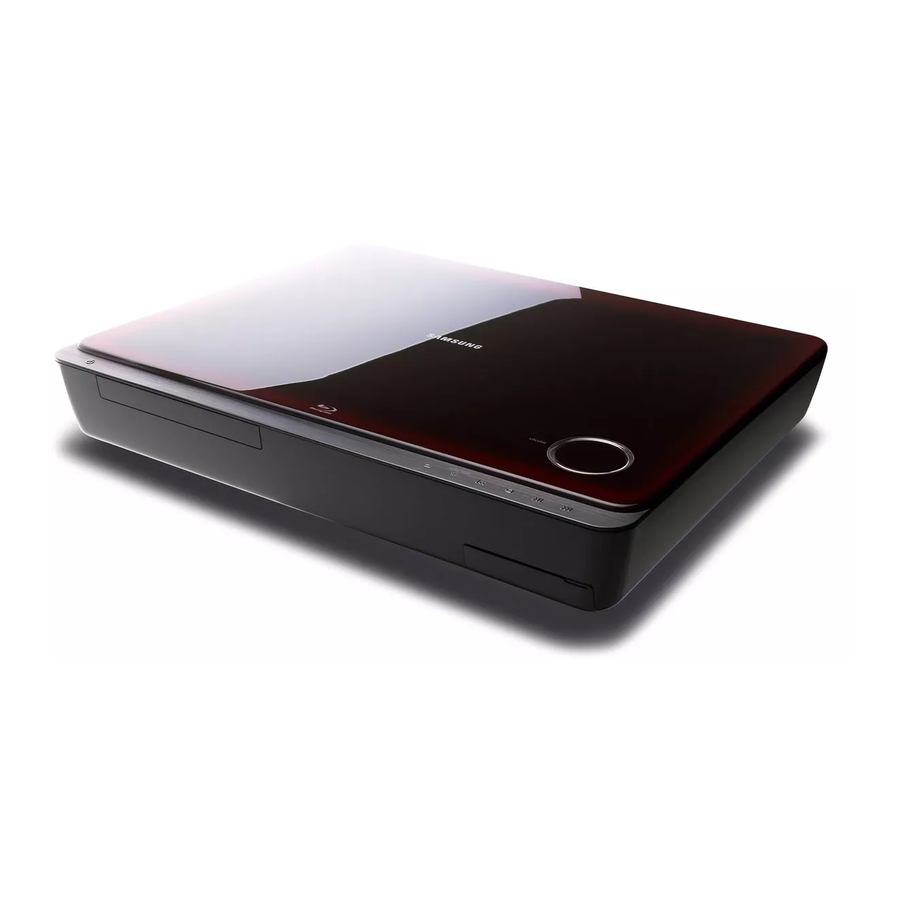
Page 14: Front Panel
De aipton FRONT PANEL POWER BUTTON TurnstheBlu-ray Home Theater o nandoff, STANDBY I NDICATOR When the unitis firstplugged in,thisindicator l ights, "3 OPEN/CLOSE BUTTON Opens andcloses the disctray, Themode switches asfollows' FUNCTION B UTTON BD/DVD _ D,IN 1 _ D,IN2 _ AUX_ FM, [-5_-_ TUNING D OWN &... -
Page 15: Rear Panel
REAR PANEL iPodJAcK Connect the iPoddockconnector here. FM 75BcOAxIAL Connect the FMantenna. TXcARDCONNECTION (WIRElEss) TheTXcardenables communication between t he mainunitandthe optional wireless receiver a mplifier. AUX IN jAcKS Connect to the2CHanalog outputof anexternal device (suchasa VCR) Connect yourTV'sVideo Input j ack(VIDEO I N)totheVIDEO OUT Jackon thisunit. -
Page 16: Tour Of The Remote Control
TOUR OF THE REMOTE CONTROL... - Page 17 POWER button PIP button BD RECEIVER button DISC MENU button TV button 2_211OPEN/CLOSE button Number (0~9) buttons DIMMER button BD button AUDIO button !-:J:_l TUNER button SLOW, MO/ST button [(':_-1AUX button Tuning Preset/CD Skip buttons SOURCE button _" PLAY button SUBTITLE button I_'_i STOP button PAUSE button...
-
Page 18: Setting The Remote Control
TV. _ If you do not set the remote control with the code for your brand of TV, the remote control will work on a Samsung TV by default. Operation Range of the Remote... -
Page 19: Tv Brand Code List
Coronado RCA/Proscan 18, 59, 67, 76, 77, 78, 92, 93, 94 Craig 03, 05, 61, 82, 83, 84 Realistic 03, 19 Crosbx Sampo Crown Samsung 00,15,16,17,40,43,46,47,48,49, Curtis Mates 59,61, 59, 60, 98 Sanyo 19,61,65 Daewoo 02,03,04,15,16,17,18,19,20,21,22,23,24, Scott 03, 40, 60, 61... -
Page 20: Connecting The Speakers
This section involves various methods of connecting the Blu-ray Home Theater to other external components. Before moving or installing the product, be sure to turn off the power and disconnect the power cord. CONNECTING THE SPEAKERS 2,5 to 3 times the size of the TV screen Position of the Blu-ray Home Theater Placeit ona standor cabinet s helf,or undertheTVstand Selecting... - Page 21 Connecting The Speakers 1. Press down the terminal tab on the back of the speaker. 2. Insert the black wire into the black terminal (-) and the red wire into the red (+) terminal, and then release the tab. 3. Connect the connecting plugs to the back of the Blu-ray Home Theater by matchingthe colors of the speaker plugs to the speaker jacks.
- Page 22 THE OPTIONAL WIRELESS RECEiViNG To connect the rear speakers by wireless, you have to purchase the wireless receiving module and TX card from your Samsung retailer. When you have Purchased the Wireless Receiving Module (SWA-4000) This product (HT-BD1250)should be connected only with SWA-4000.
- Page 23 ® _ Place the wireless receiver module at the rear of the listening position. If the wireless receiver module is too close to the main unit, some sound interruption may be heard due to interference. _ If you use a device such as a microwave oven, wireless LAN Card or any other device that uses the same frequency (5.8GHz) near the system, some sound interruption may be heard due to interference.
-
Page 24: Connecting The Video Out To Your Tv
HDMIoutput resolutionwill automatically be set to the highest provided by the TV. Ifyou connect a Samsung TV to the Blu-ray Home Theater using an HDMIcable, the player can be easily operated using the TV remote control. (This is only availablewith Samsung TVsthat support the Anynet+ feature.)(See page 46) - Page 25 What is BD Wise? BD Wise is Samsung's latest inter-connectivity feature. - When you connect Samsung products with BD-Wise to each other via HDMI, the optimum resolution will be set automatically. METHOD 2 • Component...
- Page 26 _ When the unit is powered on and you connect an iPod, the unit will charge your iPod's battery. _ Make sure to connect the dock connector so that the label "SAMSUNG" faces upward. _ "Made for iPod" means that an electronic accessory has been designed to connect specifically to iPod and has been certified by the developer to meet Apple performance standards.
- Page 27 iPod models that are available to HT-BD1250 iPod 5th generation iPod lst+2nd generation IOGB 15GB 20GB 30GB (video)30GB 60GB iPod 3rd generation 5GB 10GB 20GB 80GB 40GB iPod nano 2nd iPod 4th generation iPod mini 4GB 6GB generation(aluminum) 20GB 40GB 2GB 4GB 8GB iPod 4th generation iPod nano 3rd...
- Page 28 CONNECTING AUDIO FROM EXTERNAL COMPONENTS OPTICAL • Connecting an External Digital Component Digitalsignal components such as a Cable Box/Satellite receiver (Set-Top Box). 1. Connect the Digital Input (OPTICAL 1 or OPTICAL 2) on the main unit to the DigitalOutput of the external digital component.
- Page 29 AUX" Connecting an External Analog Component Analog signal components such as a VCR. 1. Connect AUX IN (Audio) on the main unit to the Audio Out of the external analog component. Be sure to match connector colors. 2o Press the AUX button on the remote control to select AUX input. You can also use the FUNCTION button on the main unit.
- Page 30 To LANport To LANport Internet access to Samsung's update server may not be allowed, depending on the router you use or the ISP's policy. For more information, contact your ISP (InternetService Provider). For DSL users, please use a router to make a network connection.
- Page 31 Adapter (not supplied) ® _ This unit is compatible with only Samsung Wireless LAN Adapter. (not supplied) (Model name: WIS09ABGN). - The Samsung Wireless LAN Adapter is sold separately. - Contact a Samsung Electronics agent or service center for purchasing.
-
Page 32: Connecting The Fm Antenna
CONNECTING THE FM ANTENNA 1. Connect the FM antenna supplied to the FM 750 COAXIAL Jack. 2. Slowly move the antenna wire around until you find a location where reception is good, then fasten it to a wall or other rigid surface. FM Antenna (supplied) ±... -
Page 33: Before Playing
Not all discs are compatible and not every disc will playback. For additional information, refer to the Disc Type and Characteristics and Compliance and Compatibility Notice sections of this Manual. If you encounter compatibility problems, please contact SAMSUNG customer care center. -
Page 34: On-Screen Menu Navigation
ON-SCREEN MENU NAVIGATION Video Music Photo Netfiix Pandora PLAYING A DISC 1. Press the OPEN/CLOSE button. 2. Place a disc gently into the tray with the disc's label facing up. 3. Press the PLAY button or OPEN/CLOSE button to close the disc tray. When you stop disc play, the player remembers where you stopped, so when you press PlAY button again, it will pick up where you left off. -
Page 35: Setting The Sound
SETTING THE SOUND Setting the Power On / Off Melody Sound A Melody sound can be set so it is heard each time you turn the player on or off. 1. With the unit inStop mode, press the MENU button. 2. -
Page 36: Slow Motion Play/Step Motion Play
SLOW MOTION PLAY/STEP MOTION PLAY Slow Motion Play In pause or step mode, press the SLOW button on the remote control for Slow Motion play. • Ifyou press the SLOW button, I_ 1/8 I_ 1/4 I_- 1/2 • To return to normal speed playback, press the PLAY (_) button. -
Page 37: Setting The Clock
tom ¢OtUD SETTING THE CLOCK Choose your time zone 1. With the unit inStop mode, press the MENU button. 2. Press the ,_ T buttons to select Setup, then press the ENTER or _,-button. 3. Press the A T buttons to select System Setup, then press the ENTER or _- button. -
Page 38: Setting Up The Language
LarlQ(JaQ@sot(J© SETTING UP THE LANGUAGE OPTIONS Once you set the audio, subtitle, disc menu and player menu language options, they will be applied automatbally every time you watch a movie. _ If you want to choose a different audio and subtitle language while playing a disc, you can also use the disc menu to make the selection. -
Page 39: Setting Up The Speaker
Aud o ¢otup SETTING UP THE SPEAKER OPTIONS Dynamic Compression This is only active when a Dolby Digital signal is detected. On : When Movie soundtracks are played at low volume or from smaller speakers, the system can apply appropriate compression to make low-level content more intelligible and prevent dramatic passages from getting too loud. -
Page 40: Setting The Speaker Distance
A AJo et Ap SETTING UP THE SPEAKER OPTIONS Setting the Speaker Distance Ifthe speakers cannot be placed at equal distances from the listening position, you can adjust the delay time of the audio signals from the front, subwoofer, center, surround speakers. 1. -
Page 41: Sound Function
Setting the Sound Edit 4. Press the ,_ T buttons to select Sound Edit, then press the ENTER or _- button. 5. Press the ,_ T buttons to select the desired Speaker, then press the 4 _ button to adjust the settings. 6. -
Page 42: Setting Up The Display Options
SETTING UP THE DISPLAY OPTIONS This function allows you to setup the TV screen settings. This function depends on the disc or TV type. It may not work with some discs or TVs. 1. With the unit in Stop mode, press the MENU button. 2. -
Page 43: Movie Frame (24 Fs)
Movie Frame (24 Fs) Movies are usually filmed at 24 frames per second. Some Blu-ray Discs have the capability of playing back at this frame rate. Setting the Movie Frame (24Fs) feature to ON allows you to adjust the Blu-ray Home Theater's HDMI output to 24 frames per second for improved picture quality. -
Page 47: Hdmi Format
- When playing a DVD VIDEO, DVD-RW/-R, BD-ROM, BD-RE : shows INFO OSD (same as INFO button on the player's remote control) These menus may look different depending on your Samsung TV. HDMI Format You can optimize the HDMI output for connection to a TV or Monitor. -
Page 48: Setting Up The Hdmi Setup Options
SETTING UP THE HDMi SETUP OPTIONS Picture Control This function enables you to adjust video quality when you are connected to a TV via HDMI. Dynamic : Choose this setting to increase Sharpness. Normal : Choose this setting for most viewing applications. Movie : This is the best setting for watching movies. -
Page 49: Setting Up The Parental
P Fent setUD SETTING UP THE PARENTAL LOCK The Parental Lock function works in conjunction with Blu-ray Diso/DVDs that have been assigned a rating which helps you control the types of Blu-ray Diso/DVDs that your family watches. There are up to 8 rating levels on a disc. 1. -
Page 50: If You Forgot Your Password
D Font ¢OtUD SETTING UP THE PARENTAL LOCK If you forgot your password 1. Remove the disc. 2. Press and hold the STOP (I) button on the front panel for 5 seconds or more. ,, All settings will revert to the factory settings. _* When the factory default settings are restored, all the user data stored in the BD data will be deleted. -
Page 51: Setting Up The Network
setup SETTING UP THE NETWORK SETUP OPTIONS To obtain information on the proper settings, check the network settings on your computer or contact your Intemet provider. To set the network of your Blu-ray Home Theater, follow the steps below. 1. With the unit inStop mode/No Disc mode, press the MENU button. -
Page 52: Wireless Network
SETTING UP THE NETWORK SETUP OPTIONS 6. Press the A _' buttons to select a desired item, then press the ENTER button. ,, If DHCP is set to Off and, DNS to Manual, enter your IP Address, Subnet Mask, Gateway and Primary DNS settings (Secondary DNS is optional). - Page 53 5o Press the ,_ T buttons to select DHCP, then press the ENTER button. ® _ If DHCP is set to On, you can't select IP Address, Subnet Mask or Gateway. _ If DNS is set to Auto,you can't select Primary/ Secondary DNS.
-
Page 54: Proxy Setting
SETTING UP THE NETWORK SETUP OPTIONS ,, If DHCP is set to On and, DNS to Manual, enter your DNS Server. Setup available Setup not available • If DHCP is set to On and, DNS to Auto, you don't need further or additional settings. _* When you select an item, use the number and ,_T _ _- buttons. -
Page 55: Ntp Server
NTP Server (Used to Retrieve Time Information from NTP Server) To setup, follow steps 1-3 on page 51. 4. Press the ,_ • buttons to select NTP Server, then press the ENTER or _- button. • On : the player automatically connects to the Intemet server in order to adjust the time setting. -
Page 56: System Device Management
BD data BD Data (stored ]n external USB flash memory)]s BJu-rayDisc content such as trailers and other speciaJfeatures downJoaded from the BD-LIVE service or BJu-ray Discs, * You must have a minimum 1GB USB Memory device inserted inone of the USB slots in order to download content from BD-LIVE. -
Page 57: Firmware Upgrade
Samsung may offer upgradesto your Blu-rayHomeTheater's firmware in the future.To upgradethis firmwareyou must : 1. Go to samsung.com and refer to the 'SUPPORT' page to download the latest firmware. You can use a CD-R or a USB flash drive to perform the firmware upgrade. For more information, see "Upgrade Manual"... - Page 58 FIRMWARE UPGRADE 6. To perform the system upgrade, press the 4 _ buttons to select Start and then press the ENTER button. 7. The system update gets started. 8. Ifyou select Cancel during the download process, you are prompted to confirm your selection in a message box. Ifyou want to cancel the download, select Yes and press the ENTER button.
-
Page 99: Contact Samsung
Contact SAMSUNG WORLD WIDE Ifyou have a ny questions orcomments relating toSamsung products, please contact the SAMSUNG customer care center. _iii_i_!;_!i_!i_!i_!i_!i_!i_!i_!i_!i_!i_!i_! CANADA 1-800-SAMSUNG(726-7864) www.samsung.com/ca North America MEXICO 01-800-SAMSU NG(726-7864) www.samsung.com/mx U.S.A 1-800-SAMSUNG(726-7864) www.samsung.com/us ARGENTINE 0800-333-3733 www.samsung.com/ar BRAZIL 0800-124-421,4004-0000 www.samsung.com/br CHILE 800-SAMSUNG(726-7864) www.samsung.com/cl... - Page 100 QUESTIONS OR COMMENTS? COUNTRY CALL OR VISIT US ONMNE AT WRITE 1-800-SAMSUNG Samsung Electronics America, Inc. IN THE US (7267864) www.samsung.com/us 105 Challenger Road Ridgefield Park, NJ 07660-0511 Code No. AH68-02178R...
Need help?
Do you have a question about the HT-BD1250 and is the answer not in the manual?
Questions and answers