Table of Contents
Advertisement
Quick Links
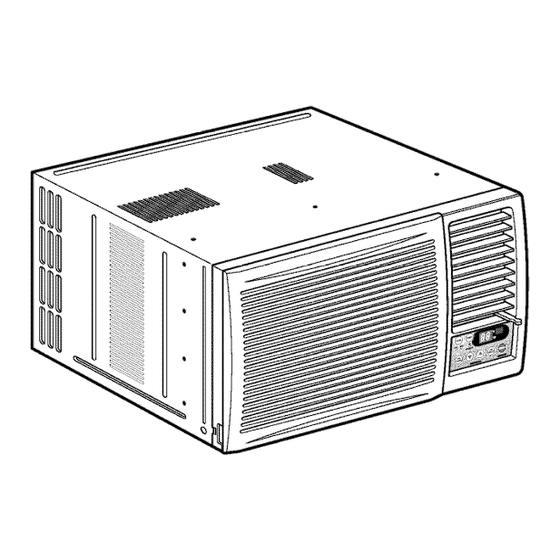
Room Air Conditioner
INSTALLATION
AND OPERATING
INSTRUCTIONS
Models"
CW-XC183HU
Please read these operating
instructions
thoroughly
before using your air conditioner
and keep for future
reference.
For assistant,
pNease carl: 1-800-211-PANA(7262)
or
Register
your product
at • http:i/w,_,,t.panasonic.com/register
Advertisement
Table of Contents

Related Manuals for Panasonic CW-XC243HU


Summary of Contents for Panasonic CW-XC243HU
- Page 1 Room Air Conditioner INSTALLATION AND OPERATING INSTRUCTIONS CW-XC183HU Models" Please read these operating instructions thoroughly before using your air conditioner and keep for future reference. For assistant, pNease carl: 1-800-211-PANA(7262) Register your product at • http:i/w,_,,t.panasonic.com/register...
-
Page 2: For Your Records
FOR YOUR RECORDS Staple your receipt to this page in case you need it later. Write down the model and serial num_rs here: Model # You can find them on a label on the side of each unit, _aler's Name Date Purchased READ THIS MANUAL inside you will find many helpful hints on how to use and... - Page 3 fety Pre utions To prevent injury to the user or other p_ple and property damage, the following instructions must be followed. m In_rrect operation due to ignoring of instruction will cause harm or damage, The seriousness is classified by the following indications, II Meanings of symbols used in this manual are as shown below.
- Page 4 c io.l , ff may cause an injury. • Water may enter the unit and , An oxygen shortage may occur, degrade the insu]atiom it may cause an e]ectr[,cshock. , Do not use this air _nditioner to ,Since the fan rotates at high , This could injure the pets or preserve precision devices, food,...
-
Page 5: Iremote Control
About the Controls on the Air nditioner REMOTE CONTROL ® ...._,_,_,_i:_,;_:,;_:,ii?_ii!i::!i!i::::!::,:,:,?:,:,,:,:,:,,,,,,,,,,,, -,,''_ Precaution: The Remote Control unit will not function propedy if strong light strikes the sensor window of the air conditioner or if there are obstacles between the Remote Control unit and the air conditioner. -
Page 6: Air Direction
Additional controls and important information. The ventilation lever must be in the CLOSE position in order to maintain the best cooling _nditions. When fresh air is necessary in the room, set the ventilation lever to the OPEN position. The damper is opened and room air is drawn out, CLOSE_VENT_OPEN NOTE: Before using the ventilation feature, and prior to installing the front grille, pull down part ®... -
Page 7: Air Filter Cleaning
and Maintenain TURN THE AIR CONDITIONER OFF AND REMOVE THE PLUG FROM THE POWER OUTLET_ Air Filter Cleaning The air filter behind the front grille should be checked and cleaned at least once every 2 weeks or more often if necessary. TO REMOVE: 1. - Page 8 atums Learning parts name prior to installation will help you understand the installation pmc_edure. VERTICAL AIR DEFLECTOR (HORIZONTAL LOUVER) DEFLECTOR (VERTICAL LOUVER) DISCHARGE CABINET FRONT GRILLE AiR FILTER AIR 1NTAKE (INLET GRILLE) BRACE COMPRESSOR _CONDENSER EVAPORATOR BASE PAN CONTROL BOARD POWER CORD...
-
Page 9: How To Install The Unit
How to Install the Unit INSIOE OUTSIDE FENCE AWNING FOAM ..HEAT 1/4 Bubble RADIATION COOLED About 1/2" Over 20" 1, To avoid vibration and noise, make sure the unit is installed securely and firmly 2, Install the unit where the sunlight does not shine directly on the unit. If the unit receives direct sunlight, build an awning to shade the cabinet, 3, There should be no obstacle, like a fence, within 20"... - Page 10 lnstallatio,nKits Contents Type A (14) Tyipe B (7) Type C (5) Type D (2) Lock Nut (4) Carriage Bolt (2)
-
Page 11: Suggested Tool Requirements
,Suggested Tool Requirements SCREWDRIVER(+, -), RULER, KNIFE, HAMMER, PENCIL, LEVEL PREPARATION OF CHASSIS Shipping screws 1. Remove the screws which fasten the cabinet at both sides and at the back. 2. Slide the unit out from the cabinet by gripping the base pan handle and pulling... - Page 12 Cabinet Installadon 1, Open the window Mark a line on the center of the window stool between the side Sill Bracket window stop moldings, Loosely attach the sill bracket to the support Carriage Bo_t bracket using the carriage bolt and the lock (M-Screw) nut.
- Page 13 5. Pull each Frame curtain fully to each window sash track, and pull the bottom window sash down behind the Top retainer bar until it meets. 6. Attach each Frame curtain the window saslh by using screws (Type C.) (See Fig. 10) Fig.
-
Page 14: Electrical Safety
Data(For 115V model only) Line Cord Plug Use Wall Receptacle Power Supply ,I _.._ Do not under any "_ _: _-_:,._/circumstances Use 15 AMP. time _}--j,,/_ or remove delay fuse or 15 AMP... _CS)-z/ grounding prong _..from the p_ug, circuit breaker. -
Page 15: Abnormal Operation
fore Troubleshooting Tips time and money! Review the chart below first and Save you may not ne_ to cat! for service. Normal Operation • You may hear a pinging noise caused by water being picked up and thrown against the condenser on rainy days or when the humidity is high.
Need help?
Do you have a question about the CW-XC243HU and is the answer not in the manual?
Questions and answers