Table of Contents
Advertisement
Quick Links
eSATA II ExpressCard
Quick Installation Guide
Introducing the eSATA II ExpressCard
The eSATA II ExpressCard is an ultra high-speed dual
channel Serial ATA Generation 2 controller.
Features and Benefits
•
Adds two eSATA (external Serial ATA) ports to
your ExpressCard equipped notebook or desktop
computer for external drive connections
•
Supports data transfer speeds up to 3 Gb/s (300
MB/s)
•
Compliant with Serial ATA 1.0a specification with
support for full complement of SATA II optional
features
•
Supports Native Command Queuing (NCQ), Non-
zero offsets NCQ, and Out-of-order data delivery
NCQ
•
Independent command fetch, scatter/gather, and
command execution
•
Supports SATA hard disk hot-plugging
•
Breaks the 137 GB barrrier! Supports various brands
of large capacity Serial ATA hard disk drives
System Requirements
•
ExpressCard-enabled system with an available
ExpressCard/54 slot
•
Windows
(32-/64-bit) / Server 2003 & 2008 (32-/64-bit) / 2000
04-0417C
7 (32-/64-bit) / Vista (32-/64-bit) / XP
®
1
Advertisement
Table of Contents

Related Manuals for SIIG eSATA II ExpressCard


Summary of Contents for SIIG eSATA II ExpressCard
-
Page 1: Quick Installation Guide
eSATA II ExpressCard Quick Installation Guide Introducing the eSATA II ExpressCard The eSATA II ExpressCard is an ultra high-speed dual channel Serial ATA Generation 2 controller. Features and Benefits • Adds two eSATA (external Serial ATA) ports to your ExpressCard equipped notebook or desktop computer for external drive connections •... -
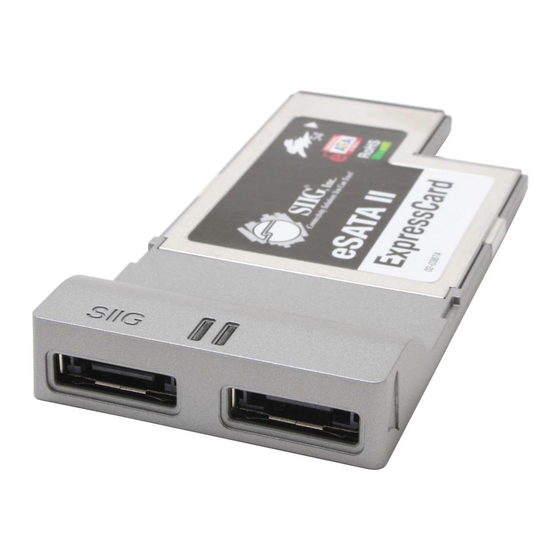
Page 2: Hardware Installation
Package Contents • eSATA II ExpressCard • Driver CD • Quick installation guide Layout eSATA Connectors Figure 1: eSATA II ExpressCard Hardware Installation General instructions for installing the card are provided below. Since the design of systems may vary, refer to your system’s reference manual for further information, if needed. -
Page 3: Driver Installation
Driver Installation Windows 7 (32-/64-bit) Install the ExpressCard into an ExpressCard slot. Insert the driver CD. (Close the AutoPlay box if prompted) Right click Computer, click Manage, then click Device Manager. Right click Mass Storage Controller, click Update Driver Software. Click Browse my computer for driver software. - Page 4 Windows Server 2008 (32-/64-bit) Install the ExpressCard into an ExpressCard slot. At the Found New Hardware window, select Locate and install driver software (Recommended), then click Don't Search Online. When prompted, insert the driver CD and Windows will automatically install the correct driver. Click Close to complete the installation.
-
Page 5: External Device Connection
External Device Connection External Serial ATA devices should come with their own accessories. In most cases, you just need to power up the external device and connect it to the external port. For more information, please refer to the external device's manual. - Page 6 Windows XP / Server 2003 / 2000 Right click My Computer and click Manage. Select Device Manager. Double click Disk Drives, right click the target disk. Click Uninstall. Click OK to confirm device removal You can now unplug or turn off the hard disk. Windows Server 2008 Right click Computer and click Manage.
- Page 7 Windows Vista / Server 2008 The eSATA II ExpressCard will appear in the Safely Remove Hardware utility only if it is plugged into the computer before booting up Windows. The utility is located in the taskbar by the system clock. Click the Safely Remove Hardware icon.
- Page 8 Assigning Drive Letter to an External Hard Disk Most external hard disks come formatted and ready to use. When connected, a drive icon will show up in Computer/My Computer and you can access the drive. However, sometimes Windows will not automatically assign a drive letter to a formatted external hard disk drive, in this case, the drive icon will not show up in Computer/My Computer.
- Page 9 Right click on the Healthy disk (the disk without a name and drive letter), then click Change Drive Letter and Paths. See Figure 3. Figure 3 At Change Drive Letters and Paths, click Add. Figure 4...
- Page 10 At Add Drive Letter or Path, select Assign the following drive letter, then choose any available drive letter from the drop down box. Click OK. Figure 5 A drive letter, in this example G:, should be assigned to the Healthy drive. Repeat these steps if no drive letter appears.
-
Page 11: Technical Support And Warranty
Step 1: Submit your RMA request. Go to www.siig.com, click Support, then RMA to submit a request to SIIG RMA. Your RMA request will be processed, if the product is determined to be defective, an RMA number will be issued. - Page 12 Fremont, CA 94538-3152, USA Phone: 510-657-8688 eSATA II ExpressCard is a trademark of SIIG, Inc. SIIG and the SIIG logo are registered trademarks of SIIG, Inc. Microsoft and Windows are registered trademarks of Microsoft Corporation. All other names used in this publication are for identification only and may be trademarks of their respective owners.
Need help?
Do you have a question about the eSATA II ExpressCard and is the answer not in the manual?
Questions and answers