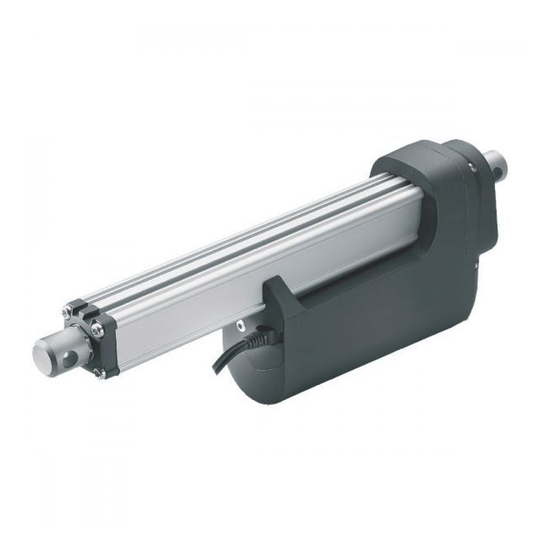
Linak TECHLINE LA36 ACTUATOR Manual
Hide thumbs
Also See for TECHLINE LA36 ACTUATOR:
- User manual (95 pages) ,
- Connection diagram (4 pages) ,
- Brochure (16 pages)
Table of Contents
Advertisement
Quick Links
Download this manual
See also:
User Manual
Advertisement
Table of Contents

Related Manuals for Linak TECHLINE LA36 ACTUATOR


Summary of Contents for Linak TECHLINE LA36 ACTUATOR
- Page 1 LA36 ACTUATOR To learn more about LINAK please visit: W W W . L I N A K . C O M...
-
Page 3: Table Of Contents
Contents Preface .................................4 Safety instructions ...............................5 Declarations of conformity ..........................6 Warranty ................................8 Maintenance.................................8 Specifi cations ...............................9 Mounting guidelines ............................10 Applications hints ..............................11 Manual hand crank ............................11 Electrical installation............................12 Motor connection ............................12 Connection of LA36 with CS16 .........................15 Troubleshooting ..............................15 Mounting of cables ............................16 Accessories .................................16 Drawings (dimensions) ............................17 Main groups of disposal ...........................18... -
Page 4: Preface
We are also constantly improving our products to meet customer requirements. This user manual will tell you how to install, use, and maintain your LINAK LA36 actuator. We are sure that the LA36 actuator will give you a problemfree operation. -
Page 5: Safety Instructions
Safety instructions... -
Page 6: Declarations Of Conformity
Important information Information about the actuators is described under the following two headings: Warning! Failing to follow these instructions can cause accidents resulting in serious personal injury. Failing to follow these instructions can result in the actuator suffering damage or being ruined. -
Page 8: Warranty
There is a 12 months’ warranty on the TECHLINE products against manufacturing faults calculated from the production date of the individual products (see label). LINAK’s warranty is only valid in so far as the equipment has been used and maintained correctly and has not been tampered with. -
Page 9: Specifi Cations
Specifications Motor: Permanent magnet motor 12, 24, or 36V Motor protection: Automatic protection resets thermal overload Cable: Motor: 2 x 14 AWG PVC cable Control: 6 x 20 AWG PVC cable Gear ratio: 4 different gear ratios available in steel (2600 N/1700 N, 4500 N, and 10,000 N) Slip clutch: Mechanical - overload protection through an integrated... -
Page 10: Mounting Guidelines
It is the application manufacturer’s responsibility to incorporate a suitable safety arrangement, which will prevent personal injury from occurring, if the actuator should fail. Warning! LINAK’s actuators are not constructed for use within the following fields: • Offshore installations • Aeroplanes and other aircraft •... -
Page 11: Applications Hints
Application hints The actuator is weather proof for use in outdoor applications. The actuator can be washed down with a high pressure washer, but it should not be used under water. Optionally the actuator is overload protected with a slip clutch. The clutch will slip when the load exceeds approx. -
Page 12: Electrical Installation
Electrical installation Motor connection Wiring: The actuator direction (forward, reverse) is controlled with a doublethrow switch with the centre postion “off”. Motor Actuation To extend the actuator, connect brown to positive and blue to negative. To retract the actuator, connect blue to positive and brown to negative. Connections diagram: For 36xxxxx0H/Pxxxxxx and 36xxxxx1H/Pxxxxxx Power cable Signal cable... - Page 13 Connections diagram: For 36xxxxx2Pxxxxxx and 36xxxxx20xxxxxx: Power cable Note: If you wish to Signal cable use the end-stop signals, you will Connections diagram: For 36xxxxx2Hxxxxxx have to keep power on the brown and blue wires, otherwise Power cable the signal will be lost.
- Page 14 Connections diagram: For 36xxxxx3xxxxBxx + 36xxxxx40xxxBxx: Power cable Signal cable...
-
Page 15: Connection Of La36 With Cs16
Connection of the LA36 with the CS16 HB40 serie CS16-4-24 9 10 11 12 R GR O R = RED . O = ORANGE . GR = GREEN Troubleshooting Symptom Possible cause Action • The actuator is not connected No motor sound or •... -
Page 16: Mounting Of Cables
Mounting of cables TORX 25IP • Unscrew the cover and remove the two blind plugs • Plug in the power cable and/or the signal cable • Slide the cover onto the actuator. The torque of the cover screw is +/- 0.3 Nm Accessories Cables: Power cables (Ordered separately) Order no. -
Page 17: Drawings (Dimensions)
DRAWING APPENDIX TECHLINE LA36: LA36 S T R O K E <= 3 0 0 = 2 00 + S TR O K E S T R O K E => 3 0 0 = 2 5 0 + S T R O K E 02= Turned 90˚... -
Page 18: Main Groups Of Disposal
Plastic recycling or combustion LA36 LINAK’s products may be disposed of, possibly by dividing them into different waste groups for recycling or combustion. We recommend that our product is disassembled as much as possible at the disposal and that you try to recycle it. As examples of main groups within... - Page 19 LINAK shall be responsible solely that the LINAK products comply with the specifi cations set out by LINAK and it shall be the responsibility of the LINAK customer to ensure that the specifi c LINAK product can be used for the...
-
Page 20: Addresses
While LINAK uses its LINAK K.K. best efforts to fulfi l orders, LINAK cannot, for the same reasons Phone: +81 45 533 0802 . Fax: +81 45 533 0803 as mentioned above, guarantee the availability of any particular E-mail: linak@linak.jp .
Need help?
Do you have a question about the TECHLINE LA36 ACTUATOR and is the answer not in the manual?
Questions and answers