Table of Contents
Advertisement
Advertisement
Table of Contents

Related Manuals for Electrolux EOB33100


Summary of Contents for Electrolux EOB33100
- Page 1 Oven EOB33100...
-
Page 2: Table Of Contents
2 electrolux Share more of our thinking at www.electrolux.com Contents Safety instructions... 3 Description of the Appliance ... 4 Before Using for the first time ... 6 Using the Oven ... 7 Uses, Tables and Tips ... 13 The following symbols are used in this user manual: Important information concerning your personal safety and information on how to avoid damaging the appliance. -
Page 3: Safety Instructions
• Do not line the oven with aluminium foil and do not place baking trays, pots, etc. on the oven floor, as the heat that builds up will damage the oven enamel. • Fruit juices dripping from the baking tray will leave stains, which you will not be able to remove. -
Page 4: Description Of The Appliance
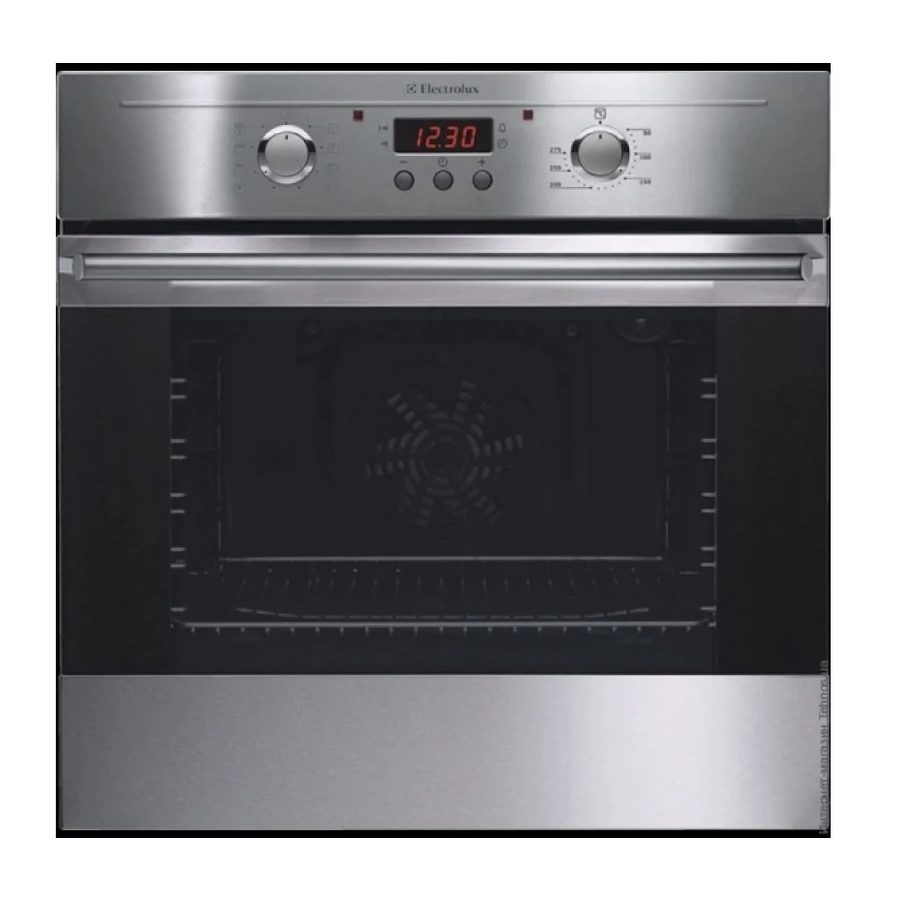
4 electrolux Description of the Appliance General Overview Control Panel Oven Power Indicator Oven Functions Control panel Temperature Pilot Light Time display Clock function buttons Temperature selector Door handle Full glass door... -
Page 5: Oven Features
For cookware, cake tins, roasts and grilled foods. Baking tray For cakes and biscuits. Top heat and heating elements Oven shelf runners, removable Roasting Pan For baking and roasting or as a pan for col- lecting fat. electrolux 5 Oven lighting Bottom Heat... -
Page 6: Before Using For The First Time
The time can only be changed if no au- tomatic function (Duration has been set. Initial Cleaning Before using the oven for the first time you should clean it thoroughly. button re- Caution: Do not use any caustic, abra- sive cleaners! The surface could be damaged. -
Page 7: Using The Oven
Turn the oven functions dial to the de- sired function. Turn the temperature selector to the de- sired temperature. The power indicator is lit as long as the oven is in operation. The temperature pilot light is lit as long as the oven is heating up. -
Page 8: Oven Functions
Application Using this function you can light up the oven interior, e.g. for cleaning. For baking on up to two oven levels. Set the oven temperatures 20-40 °C lower than when using Conven- tional. -
Page 9: Clock Functions
Inserting the oven shelf: Insert the oven shelf so that the feet point downwards. Push the oven shelf between the guide bars of the selected oven level. The high rim around the oven shelf is an additional device to prevent cookware from slipping. - Page 10 This function does not affect the functioning of the oven. Duration To set how long the oven is to be in use. To set the switch-off time for an oven func- tion. Time of day To set, change or check the time (See also section “Before Using for the First...
- Page 11 The function in- dicator Duration When the time has elapsed, the function in- dicator flashes, an audible signal sounds for 2 minutes and the oven switches itself off. button repeated- The signal and the programme can be stopped by pressing any button.
- Page 12 The function indicator End When the time has elapsed, the function in- dicator flashes, an audible signal sounds for 2 minutes and the oven switches itself off. The signal and the programme can be stopped by pressing any button. Duration...
-
Page 13: Uses, Tables And Tips
1 baking tray: e.g. oven level 3 In this case 12:05. The oven switches on automatically at the time calculated. In this case, at 13:05:00. And switches itself off again when the cook- ing time entered has elapsed. - Page 14 • With Conventional or Convection you can also bake with two tins next to one another on the oven shelf at the same time. This does not significantly in- crease baking time. When frozen foods are used the trays in- serted may distort during cooking.
- Page 15 Convection 1 / 3 Convection Convection 1 / 3 Conventional Convection Convection 1 / 3 Convection Convection Convection Convection Convection Conventional Convection electrolux 15 Time Tempera- Hours ture °C mins. 170-190 0:30-0:40 160-180 0:40-1:00 0:20 160-180 0:30-1:00 160-170 0:15-0:30 180-200...
-
Page 16: Tips On Baking
16 electrolux Type of baking Small cakes (20per tray) Small cakes (20per tray) 1) Pre-heat the oven 2) Use the drip tray or roasting tray Tips on baking Baking results The cake is not browned Wrong oven level enough at the bottom... - Page 17 10 minutes before the end of the roasting time, in order to utilise the resid- ual heat. Ovenfunction Conventional Convection grilling Convection grilling Convection grilling electrolux 17 Temperature Time °C as per manufactur- as per manufactur- er’s instructions er’s instructions as per manufactur- 200-220 er’s instructions...
- Page 18 18 electrolux Type of meat Quantity Pork Shoulder, neck, ham 1-1.5 kg joint Chop, spare rib 1-1.5 kg Meat loaf 750 g-1 kg Porkknuckle (pre- 750 g-1 kg cooked) Veal Roast veal Knuckle of veal 1.5-2 kg Lamb Leg of lamb, roast lamb 1-1.5 kg...
-
Page 19: Grill Sizes
Oven function: Grill or Dual grill with maximum temperature setting Important: Always grill with the oven door closed. The empty oven should always be pre- heated with the grill functions for 5 minutes. Grilling table Food to be grilled Burgers... - Page 20 • You get a better result if you switch the oven off halfway through the drying time, open the door and leave the oven to cool down overnight. • After this finish drying the food to be dried.
-
Page 21: Making Preserves
• As soon as the liquid starts to pearl in the first jars (after about 35-60 minutes with 1 litre jars), switch the oven off or reduce the temperature to 100°C (see table). Oven level °C... -
Page 22: Cleaning And Care
Attention: Do not use any corrosive cleaning fluids, sharp objects or stain removers. Do not clean the glass oven door with abra- sive fluids or metal scrapers, which could scratch the surface. The glass could crack and shatter. -
Page 23: Shelf Support Rails
Removing the shelf support rails First pull the front of the rail away from the oven wall (1) and then unhitch at the back (2). Fitting the shelf support rails Important! The rounded ends of the... -
Page 24: Oven Ceiling
24 electrolux Oven Ceiling The upper heating element can be folded down to make it easier to clean the oven ceil- ing. Folding down the heating element Warning: Only fold down the heating el- ement when the oven is switched off and there is no risk of being burnt! Remove the side shelf support rails. -
Page 25: Oven Door
Removing the oven door from its hinges Open the oven door as far as it will go. Undo the clamping levers (A) on both door hinges fully. Close the oven door as far as the first position (approx. -
Page 26: Oven Door Glass
26 electrolux Open the oven door as far as it will go. Fold up the clamping levers (A) on both door hinges back into their original positions. Close the oven door. Oven door glass The oven door is fitted with two panels of glass mounted one behind the other. - Page 27 On the open side of the door trim (B) there is a guide bar (C). This must be pushed between the outer door panel and the guide corner(D). The clip seal (E) must be snapped in. Open the oven door as far as it will go. electrolux 27...
- Page 28 28 electrolux Fold up the clamping levers (A) on both door hinges back into their original positions. Close the oven door.
-
Page 29: What To Do If
Advice on cookers with metal fronts: Because of the cold surface at the front of the cooker, opening the oven door during (or just after) baking or roasting may cause the glass to steam up. Possible cause The oven is not switched on... -
Page 30: Disposal
30 electrolux Disposal Packaging material The packaging materials are environ- mentally friendly and can be recycled. The plastic components are identified by markings, e.g. >PE<, >PS<, etc. Please dispose of the packaging materials in the appropriate container at the com- munity waste disposal facilities. -
Page 31: Service
– Type of fault – Any error messages displayed by the appliance So that you have the necessary reference numbers from your appliance at hand, we recommend that you write them in here: Model description: PNC: S No: electrolux 31... - Page 32 387 996 756-A-270509-01...