Table of Contents
Advertisement
Quick Links
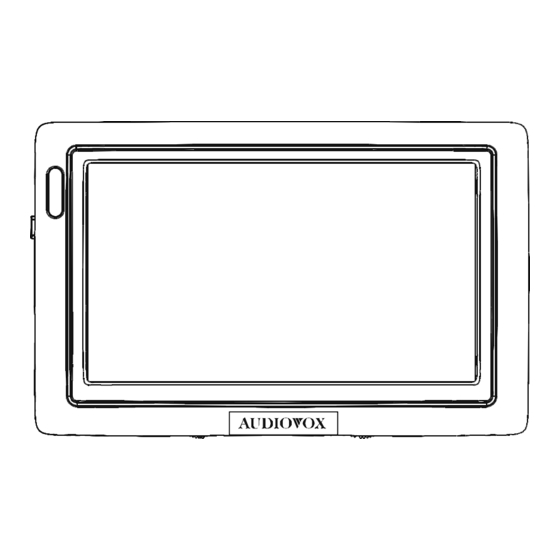
4.5" Wide Screen Color LCD Monitor
Model: LCM45NB
Installation Manual
Features:
• 4.5" Widescreen (16:9) TFT Color LCD Display
• Rearview Camera Input
• Interior Camera Input
• Audiovox Navigation Input
©
• NTSC /PAL Camera Compatible
2005 Audiovox Electronics Corp., 150 Marcus Blvd., Hauppauge, N.Y. 11788
128-7569
9
Advertisement
Table of Contents

Subscribe to Our Youtube Channel
Related Manuals for Audiovox LCM45NB - LCM 45NB - LCD Monitor


Summary of Contents for Audiovox LCM45NB - LCM 45NB - LCD Monitor
- Page 1 Installation Manual Features: • 4.5” Widescreen (16:9) TFT Color LCD Display • Rearview Camera Input • Interior Camera Input • Audiovox Navigation Input © • NTSC /PAL Camera Compatible 2005 Audiovox Electronics Corp., 150 Marcus Blvd., Hauppauge, N.Y. 11788 128-7569...
-
Page 2: Specifications
2. You shall be responsible to ensure that the installation of this product Video Format NTSC/PAL does not void or affect the vehicle manufacturer’s warranty. Audiovox Display Format 16 : 9 Electronics Corporation or its branches are not liable in full or in part for improper installation resulting in loss or damage to your property, or for voiding all or part of the vehicle manufacturer’s warranty. - Page 3 Preface Illustration of Connections This video monitor can display up to 3 different video inputs. The inputs are Cable Plug for Navigation, Rear observation camera and Interior observation camera. Navigation Navigation Compute INSTALLATION INSTRUCTIONS Screw holes for mounting bracket 1 LCD Monitor Connector Control Box...
- Page 4 Maintenance 3. Installing the Control box: • Monitor: Connect the 8-pin female monitor extension cable connector to the monitor 8-pin male cable connector. Route the Though your monitor requires little care, you can still maintain its condition monitor extension cable to the under dash area. Connect the 8-pin male monitor extension cable connector to the control box 8-pin and performance by following the procedures below.
- Page 5 The navigation image will be displayed whenever the vehicle is turned on. D: Camera switch (see below). E: Remote IR Sensor for Audiovox Navigation only. CAMERA SWITCH 1). When switch D is pressed and the vehicle is shifted into reverse gear: •...
Need help?
Do you have a question about the LCM45NB - LCM 45NB - LCD Monitor and is the answer not in the manual?
Questions and answers