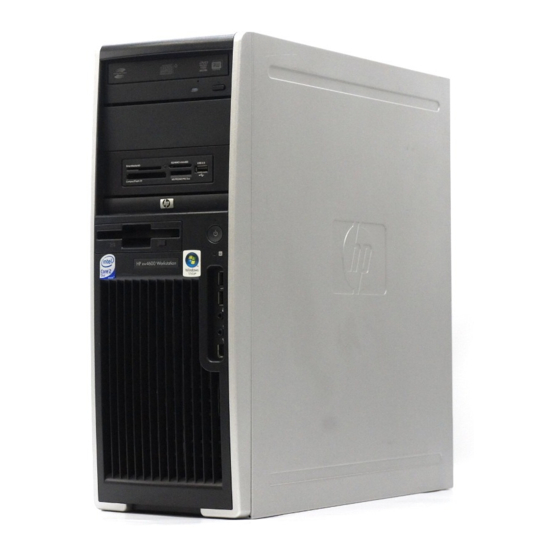
HP Xw4600 - Workstation - 2 GB RAM Installation Manual
Hp xw workstation series - diskette drive installation
Hide thumbs
Also See for Xw4600 - Workstation - 2 GB RAM:
- Technical reference manual (181 pages) ,
- Service and technical reference manual (176 pages) ,
- Specification (73 pages)
Advertisement
Diskette drive installation
HP xw Workstation series
This document describes how to install a diskette drive in your workstation.
Kit contents
This kit includes the following components:
This product ships with the necessary supplies for installing a diskette drive in various workstation
models, so you might not use all of the cables, bezels, or screws.
●
Diskette drive
●
Cables
◦
Round cable for HP xw8200 and xw6200 Workstations
◦
Flat cable for HP xw4000 series workstations
●
Three bezels (one for each workstation)
◦
13.335 cm (5.25 inch) bezel for HP xw8000 and xw9000 series workstations
◦
8.89 cm (3.5 inch) bezel for HP xw6000 series workstations (thinner than those for the HP
xw4300, xw4200, and xw4100 Workstations)
◦
8.89 cm (3.5 inch) bezel for HP xw4000 series workstations (thicker than that for the HP
xw6200 Workstation)
●
Screws are not required for HP xw6000 series workstations
●
Bracket for the HP xw8000 and xw9000 series workstations only
ENWW
© 2007 Hewlett-Packard Development Company, L.P. The HP Invent logo is a registered
trademark of Hewlett-Packard Development Company, L.P.
HP xw Workstation series
1
Advertisement
Table of Contents

Summary of Contents for HP Xw4600 - Workstation - 2 GB RAM
-
Page 1: Diskette Drive Installation
Screws are not required for HP xw6000 series workstations ● Bracket for the HP xw8000 and xw9000 series workstations only © 2007 Hewlett-Packard Development Company, L.P. The HP Invent logo is a registered trademark of Hewlett-Packard Development Company, L.P. ENWW... -
Page 2: Warnings And Cautions
Warnings and cautions WARNING! Any surface or area of the equipment marked with this symbol indicates the presence of a hot surface or hot component. If this surface is contacted, the potential for injury exists. To reduce the risk of injury from a hot component, enable the surface to cool before touching. WARNING! Any surface or area of the equipment marked with this symbol indicates the presence of an electrical shock hazard. - Page 3 CAUTION: To prevent damage to the workstation, observe the following Electrostatic Discharge (ESD) precautions while performing the system parts removal and replacement procedures: — Work on a static-free mat. — Wear a static strap to ensure that any accumulated electrostatic charge is discharged from your body to the ground.
- Page 4 Step 1—Preparing the workstation Your workstation documentation includes instructions for preparing the workstation for component installation. To prepare the workstation for component installation: Power down the workstation. Disconnect power from the workstation. Open the access cover. For product-specific information, see the Service and Technical Reference Guide for your HP workstation at http://www.hp.com/support/workstation_manuals.
- Page 5 HP xw8000 and xw9000 series HP xw6000 series workstation HP xw4000 series workstation workstations Figure 2. Installing the drive in the bay Connect a data cable from the system board to the diskette drive and connect the power cable from the power supply to the diskette drive. NOTE: Depending on your workstation, the location of the system board connector and the correct power cable might be different.
- Page 6 Figure 4. Positioning the data cable Replace the diskette drive bezel, front bezel, access panel, reconnect power, and turn on the workstation. Step 3—Reassembling the workstation After installation, reassemble the workstation using the instructions in the workstation documentation. The reassembly process involves reinstalling the side access panel and restoring power to your workstation.


Need help?
Do you have a question about the Xw4600 - Workstation - 2 GB RAM and is the answer not in the manual?
Questions and answers