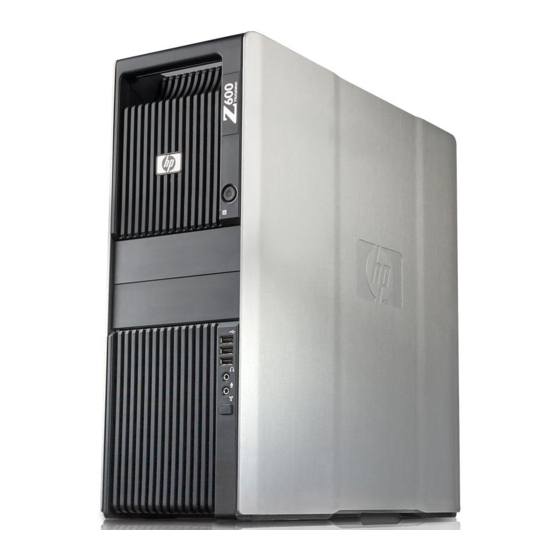
HP Xw4600 - Workstation - 2 GB RAM Installation Instructions
Hp xw and z series workstations - front fan and fan holder installation
Hide thumbs
Also See for Xw4600 - Workstation - 2 GB RAM:
- Technical reference manual (181 pages) ,
- Service and technical reference manual (176 pages) ,
- Specification (73 pages)
Table of Contents
Advertisement
Quick Links
Front fan and fan holder installation
Introduction
This document describes how to install a front card guide and front fan in the HP xw and HP
Workstation series.
Kit contents
●
Warranty information
●
Fan
●
Fan holder for HP xw9300 Workstations
●
Combination card guide/fan holder for the HP xw6000 Workstation series
●
Combination card guide/fan holder for the HP xw4000 Workstation series and HP
Workstations
Before you begin
To view QuickSpecs and determine the compatibility of this product with your HP workstation, see
http://www.hp.com/go/productbulletin.
NOTE:
Only workstations having non-factory-integrated, high power PCI cards require the additional
cooling provided by the optional front chassis fan included in this kit. The optional front chassis fan is
not recommended for use on workstations that have hard drives mounted in the optical bays because
this might reduce long term reliability of these hard drives. HP recommends that your environmental
temperature not exceed 27°C (80°F) if this fan is installed in your workstation and you have hard drives
installed in the optical bay area.
ENWW
© 2004–2009 Hewlett-Packard Development Company, L.P. Printed in the U.S.
400
Introduction
1
Advertisement
Table of Contents

Summary of Contents for HP Xw4600 - Workstation - 2 GB RAM
-
Page 1: Kit Contents
HP recommends that your environmental temperature not exceed 27°C (80°F) if this fan is installed in your workstation and you have hard drives installed in the optical bay area. © 2004–2009 Hewlett-Packard Development Company, L.P. Printed in the U.S. ENWW Introduction... -
Page 2: Warnings And Cautions
Warnings and cautions WARNING! Any surface or area of the equipment marked with this symbol indicates the presence of an electrical shock hazard. To reduce the risk of injury from electrical shock, do not open any enclosed area marked with this symbol. WARNING! To reduce the risk of electric shock or damage to your equipment: —... -
Page 3: Removing Components
Step 1—Preparing for component installation NOTE: Workstation models vary. All illustrations are examples only. Accessing the internal components of the workstation If you need help preparing the workstation for this installation, consult the removal and replacement procedures in the service guide for your workstation at http://www.hp.com/support/ workstation_manuals. - Page 4 Lower the front fan holder and fan assembly into the chassis and snap it into place. Ensure cables are routed properly to avoid damage to the cables. CAUTION: Clamping a cable between the card guide and the chassis might damage the cable. Figure 1 Routing the cables Plug the front fan connector into the front chassis fan header on the system board.
- Page 5 Step 3—Reassembling the workstation Reinstall the side access panel. Reconnect external devices and power cord. Restore power to the workstation and all external devices. Japanese 日本語 This document is available in Japanese. See http://www.hp.com/support/workstation_manuals, then select your workstation product and select Japanese from the drop down Manual Language menu. このドキュメントは日本語版が用意されています。http://www.hp.com/support/workstation_manuals にアクセスし、ご使用のワークステーション製品を選択し、Manual Language ドロップダウン...


Need help?
Do you have a question about the Xw4600 - Workstation - 2 GB RAM and is the answer not in the manual?
Questions and answers