
Subscribe to Our Youtube Channel
Related Manuals for AMX 8450-03


Summary of Contents for AMX 8450-03
- Page 1 IP Control Units 8450-03 (3 port version) 8455-03 (1 port version) 8460-03 (3 port version with real-time clock) 8465-03 (1 port version with real-time clock) 8701 control system with IP interface Installation Guide...
-
Page 2: Table Of Contents
IP Control Unit Installation Guide V1.1 February 2008 Contents 1. Introduction to the AMX IP Control Unit......................2 1.1 General Description ..........................2 1.2 Electrical Specifications ........................... 2 2. Getting Started............................... 3 2.1 Physical Connections..........................3 2.2 Using the loop through facility........................4 2.3 Example installation .......................... -
Page 3: Introduction To The Amx Ip Control Unit
AMX Site Manager software. There are five variants of the AMX IP Control Unit available, all of which have the following features. See table 1.1 for a comparison chart of the differences between the variants. -
Page 4: Getting Started
Bi-directional connection to the 2nd RS232 controlled device. Connect the ‘TX’ to the ‘RX’ of the device to control and the ‘RX’ to the ‘TX’ of the device to control with the ground connections commoned together www.amx.com - 3 -... -
Page 5: Using The Loop Through Facility
You will see that the way the setup is connected, the control panel makes use of both loop through paths in order to allow local control of the projector and switcher with the IP Control Unit still having full access to the devices for remote control. Figure 2.3 Example installation correctly wired to maximise system potential www.amx.com - 4 -... -
Page 6: Connecting Your Ip Control Unit To A Network
Automatic Private Address (169.254.x.x), please note this may take several minutes. As there is no DHCP server present in the connection, the IP Control Unit will also have assigned itself a 169.254.x.x address. www.amx.com - 5 -... - Page 7 Double Click the Interface Click - Done The IP Control Unit is now ready for use symbolised by the green ticks. For more information on using the Site Manager software please refer to the instruction manual. www.amx.com - 6 -...
-
Page 8: Connecting The Control Unit To A Network With A Dhcp Server
Click – Add from the IP Device menu at the bottom of the Site List The IP device will be present in the list. Double Click the Control Unit Click - Done The IP Control Unit is now ready for use symbolised by the green ticks. www.amx.com - 7 -... -
Page 9: Connecting The Control Unit Using A Static Ip Address (Single Subnet Network)
The second method is probably the easier of the two as the address only needs to be entered once hence eliminating the possibility of conflicting settings being entered. Although the first can be performed over the network. www.amx.com - 8 -... -
Page 10: Connecting To A Network With Multiple Subnets
Click – Manual and enter the IP address and MAC address of the IP Control Unit Click – Add The software will then attempt to connect to the Control Unit and assuming that all the network routes are correct a green tick will appear besides the unit. www.amx.com - 9 -... -
Page 11: Appendix A - Troubleshooting
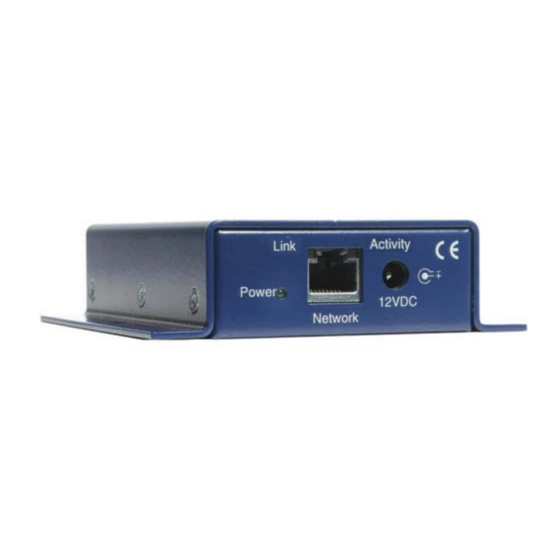
• The link light’s colour signifies the connection speed, a 100Mbs full duplex connection will show as green whilst a 10Mbs connection or a half duplex connection will show as red. www.amx.com - 10 -... -
Page 12: Appendix B - Revision History
IP Control Unit Installation Guide V1.1 February 2008 Appendix B – Revision History Date Revision Notes 20.06.05 First release 12.02.08 Updated for V3 interfaces www.amx.com - 11 -...
Need help?
Do you have a question about the 8450-03 and is the answer not in the manual?
Questions and answers