Advertisement
Quick Installation Guide
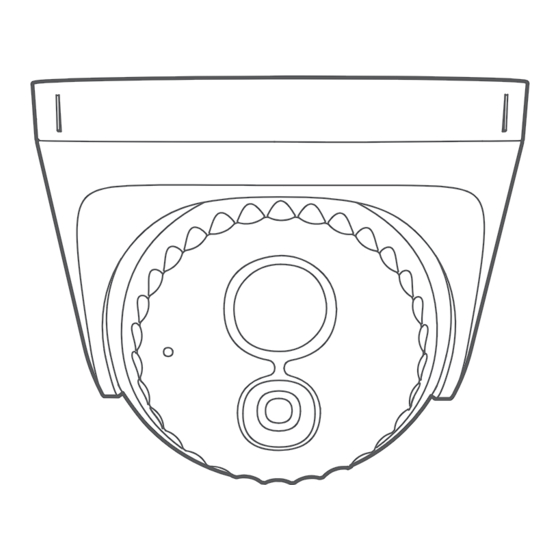
4MP Conch Security Camera
IC Series
Please read this guide before you start with the quick setup for this camera upon the first use.
For product or function details, please go to www.tendacn.com to download the user guide.
IC7-LRS-4 is used for illustrations here unless otherwise specified. The actual product prevails.
Advertisement
Table of Contents

Related Manuals for Tenda IC6-LRS


Summarization of Contents
Device Appearance and Ports
Power Jack
Use the power adapter to power on the camera. Power-related parameters are on the device label.
Ethernet Port (10/100 Mbps Auto-Negotiation)
Connects to PoE port or routers/switches for network and power supply.
Device Installation
Base Removal
Rotate the camera body, align the housing slot with a base notch, and use a screwdriver to pry the housing.
Camera Mounting
Supports ceiling/wall mounting. Ensure ceiling strength. Follow illustrated steps for installation.
Network Management and Topology
Ordinary Camera Network Topology
Diagram illustrating the connection of ordinary cameras to an NVR via router and switch.
PoE Camera Network Topology
Diagrams for connecting PoE cameras to NVRs, with or without PoE functionality.
Login to Web UI
Accessing the Camera's Web Interface
Connect to the camera's network, set computer IP, and access the login page via a browser.
Login Credentials and Security Tips
Use default credentials (admin/admin123456) and change them for security. Be cautious if camera is managed by NVR.
Need help?
Do you have a question about the IC6-LRS and is the answer not in the manual?
Questions and answers