
Related Manuals for IBM 2078-24G


Summarization of Contents
Safety and environmental notices
General safety guidelines
General rules for safe operation and handling of equipment.
Handling static-sensitive devices
Precautions for preventing damage from static electricity.
Danger notices for the system
Critical warnings about hazards that can cause death or serious injury.
Chapter 1. Before you begin the installation
Reviewing your packing slip
Verify contents against the packing slip to ensure all items are present.
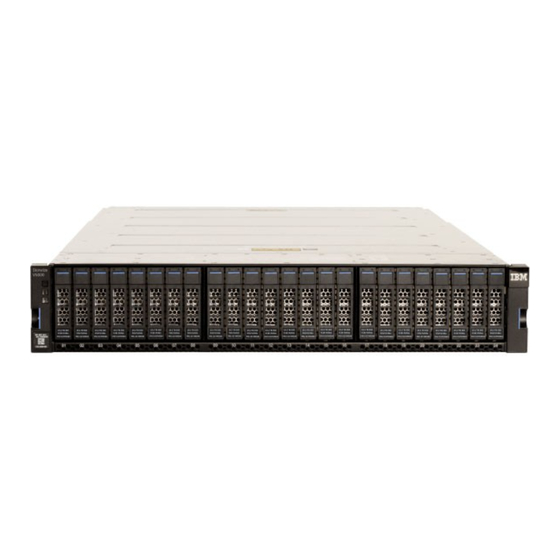
Identifying the hardware components
Learn to identify control and expansion enclosure hardware and port locations.
Verify environmental requirements
Ensure the physical site meets requirements for reliable system operation.
Review enclosure location guidelines
Follow guidelines for positioning enclosures in the rack for stability and access.
Chapter 2. Installing the system hardware
Hardware installation tasks that you must complete
Steps to unpack and install control and expansion enclosures in the rack.
Unpacking the control enclosure
Detailed steps for safely unpacking the main system enclosure.
Installing support rails for the control enclosure
Procedures for installing rack-mount support rails for the enclosure.
Installing a control enclosure
Step-by-step guide to physically install the enclosure into the rack.
Unpacking an optional 5U expansion enclosure
Instructions for unpacking 5U expansion units before installation.
Installing an optional 5U SAS expansion enclosure
Steps to install a 5U SAS expansion enclosure into the rack.
Connecting optional 5U expansion enclosures
Procedures to connect expansion enclosures to the control enclosure.
Powering on the 5U expansion enclosure
Steps to connect power and verify the operation of the expansion enclosure.
5U expansion enclosure LEDs and indicators
Understanding the status indicators on the enclosure for troubleshooting.
Chapter 3. Installing a 2U expansion enclosure
Unpacking a 2U expansion enclosure
Guide to unpacking the 2U expansion enclosure and its components.
Installing support rails for 2U expansion enclosures
Procedures for installing rack rails for 2U expansion units.
Installing an optional 2U SAS expansion enclosure
Steps to install a 2U SAS expansion enclosure into the rack.
Powering on the optional 2U SAS expansion enclosures
Connect power and check status of 2U SAS expansion enclosures.
Chapter 4. Configuring the system
Checking your web browser settings for the management GUI
Ensure browser compatibility for accessing the system management interface.
Initializing the system with the technician port
Steps to connect to the system via technician port for initial setup.
Completing the initial system setup (customer task)
Perform final system configuration using the management GUI.
Chapter 5. Adding an expansion enclosure to an existing system
Procedure
Step-by-step guide to add an expansion enclosure to a live system.
Chapter 6. Adding a control enclosure to an existing system
Procedure
Steps to install and configure a new control enclosure in an existing system.
Appendix C. Control enclosure requirements
Safety notices
General safety precautions for rack-mounted devices.
Environmental requirements
Ensuring the environment meets temperature, humidity, and airflow needs.
Dimensions and weight requirements for rack installation
Physical space and load-bearing needs for installing enclosures in racks.
Appendix D. SAS expansion enclosure requirements
Environmental requirements
Ensuring the environment meets temperature, humidity, and airflow needs.
Dimensions and weight requirements for rack installation
Physical space and load-bearing needs for installing expansion enclosures.
Need help?
Do you have a question about the 2078-24G and is the answer not in the manual?
Questions and answers