Advertisement
Advertisement
Table of Contents

Summary of Contents for Wisenet HRD-842
- Page 1 4/8/16 CHANNEL DVR Quick Manual HRD-440/442/840/841/842/1641/1642...
-
Page 2: Before Starting
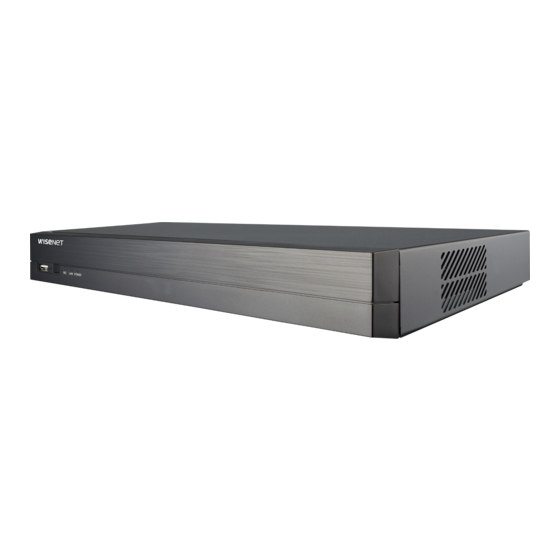
Remote Control / Bracket Fixing Screw User Manual CD (For models having no installed HDD) Remote Control Battery (AAA) Changes for each model Appearance HRD-440 / HRD-840 HRD-442 HRD-841 / HRD-1641 HRD-842 / HRD-1642 DIGITAL VIDEO RECORDER DV25 LAN POWER... -
Page 3: Wiring Diagram For External Devices
Appearance HRD-440 / HRD-840 HRD-442 HRD-841 / HRD-1641 HRD-842 / HRD-1642 Bracket Rack 8 Pin 2EA 15 Pin 1EA 6 Pin 2EA 10 Pin 2EA 10 Pin 2EA 20 Pin 1EA Terminal Block HRD-842 : A, C A, C HRD-1642 : A, D... -
Page 4: Video Quality
Video Quality In order to get better picture quality, it is necessary to choose different EQ value when connecting different distance cable. 1. Press the [MENU] button on the remote control or front panel. 2. Use the left/right button (◄ ►) to select <Device>. Device setting menu is selected. -
Page 5: Event Record Duration
Event Record Duration 1. Use the up/down buttons (▲▼) in <Record> window to move to <Event Record Duration>, and press [ENTER] button. Event Record Duration 2. Use direction buttons (▲▼_ +) to move to a desired item, and Pre Event POST Event ... -
Page 6: Network Connection
2. Click < > to set the current time to the start time of backup; Backup Range you can specify a backup area using the mouse (yellow triangle). Start 2015-01-01 00:01:06 End 2015-01-01 01:10:25 3. Click < > again to set the current time to the end time of the backup and the “Backup Range”... -
Page 7: Connecting To The Web Viewer
4. Enter the gateway address found in step 1 into the browser’s address field to display the router settings. 5. Select the “Advanced” tab in the “Virtual Server” menu, enter the IP address and port and click the <Apply> button. HRD-1642 Above instructions are based on D-LINK DI-624 router. - Page 8 3. Click <Install ActiveX Control…>. 4. When the installation confirm message appear, click [Yes] button. All windows will be closed(IE). 5. When a program installation wizard window appears, press the [Install] button to install the program. 6. When the program is installed, open the web viewer again to login. Live Viewer’s main screen appears when you log in successfully after installing the program.
-
Page 9: Correct Disposal Of Batteries In This Product
Any changes or modifications in construction of this device which are not expressly approved by the party responsible for compliance could void the user’s authority to operate the equipment. This device complies with part 15 of the FCC Rules. Operation is subject to the following two conditions: (1) This device may not cause harmful interference, and (2) this device must accept any interference received, including interference that may cause undesired operation. - Page 10 Head Office 6, Pangyo-ro 319 beon-gil, Bundang-gu, Seongnam-si, Gyeonggi-do, 463-400 Rep. of KOREA Tel : +82.70.7147.8753 Fax : +82.31.8018.3740 www.hanwha-security.com Hanwha Techwin America 500 Frank W. Burr Blvd. Suite 43 Teaneck, NJ 07666 Toll Free +1.877.213.1222 Direct +1.201.325.6920 Fax +1.201.373.0124 www.hanwhasecurity.com Hanwha Techwin Europe Heriot House, Heriot Road, Chertsey, Surrey, KT16 9DT, United Kingdom...


Need help?
Do you have a question about the HRD-842 and is the answer not in the manual?
Questions and answers