Advertisement
Quick Links
2020-11-09 21:12
Scenario
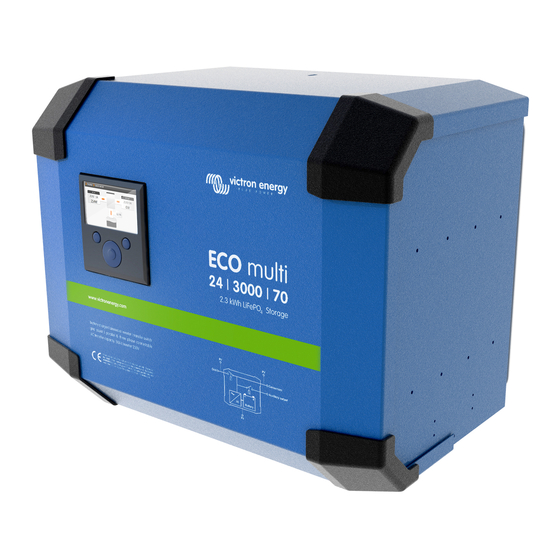
ECOmulti installation Hub-2
A new photovoltaic system with storage has to be installed on a house. There is not plenty of room on
the roof, so a maximum of 12 solar modules could be installed. A few trees, the chimney and a
—
Andreas Kriwanek
dormer window creates partial shadows on the modules. The shading will degrade the overall
COMMENT!</font>
performance when a normal string inverter for all modules is used. For this solution 12 micro inverters
<font 9pt/arial;;#FF0000;;#ffffff>The installation guide is ready now. Please change it like
(Sunny Boy 240) are installed to enable individual MPPT tracking for each module. The micro inverters
you want. You can correct my English too. If the document is ready, you can use the text
generates 230VAC on their <font 14px line-height:
and pictures for free for Victron .</font>
13.0666666030884px;/arial;;#000000;;#ffffff>paralleled</font> output, which is fed into one phase
of the houses mains supply. For self-consumption and storage a Victron ECOmulti is used on the same
This document shows my practical experience in installing my first ECOmulti as a Hub2 system. The
phase. It is designed as a Hub2 installation, where the photovoltaic energy is applied on the
following program and firmware versions are used:
ECOmulti's AC output.
ECOmulti firmware 2610304
ColorControl GX rev. 1.14
VEConfigure 3 Rev. 90.04.169
The design regards the golden rule that generated solar energy has to be equal to the storage
batteries and the power of the ECOmulti:
Victron Energy - https://www.victronenergy.com/live/
1/40
2014/11/09 10:44— <font 9pt/arial;;#FF0000;;#ffffff>REQUEST FOR
ECOmulti installation Hub-2
Advertisement

Summarization of Contents
System Overview and Components
Bill of Material (BOM)
Lists all necessary parts for the solar plant installation.
ECOmulti Internal Components
Details the Victron components integrated within the ECOmulti.
Physical Installation Steps
Cabling and Mains Connection
Guidance on wiring components and connecting to the mains supply.
Mounting the ECOmulti and Batteries
Instructions for physically installing the ECOmulti unit and batteries.
AC Sensor Installation
Steps for installing the AC sensor for energy measurement.
Firmware Update and Configuration
Laptop Preparation and Firmware Download
Lists required hardware and software for setup and firmware updates.
Flashing ECOmulti Firmware
Detailed procedure for updating the ECOmulti device firmware.
VEConfigure3 Parameter Settings
Configuring general, inverter, charger, and battery settings using VEConfigure3.
CCGX Configuration and Monitoring
CCGX Network and VRM Portal Setup
Configuring Ethernet and VRM portal for remote monitoring.
CCGX System Setup and Status Check
Adjusting system profiles and checking measurement values.
Final Verification and Conclusion
ECOmulti Functional Checks
Performing essential tests to ensure proper operation of the ECOmulti.
System Performance Summary
Concludes with a review of the system's energy saving performance.


Need help?
Do you have a question about the BMS and is the answer not in the manual?
Questions and answers