Table of Contents
Advertisement
Quick Links
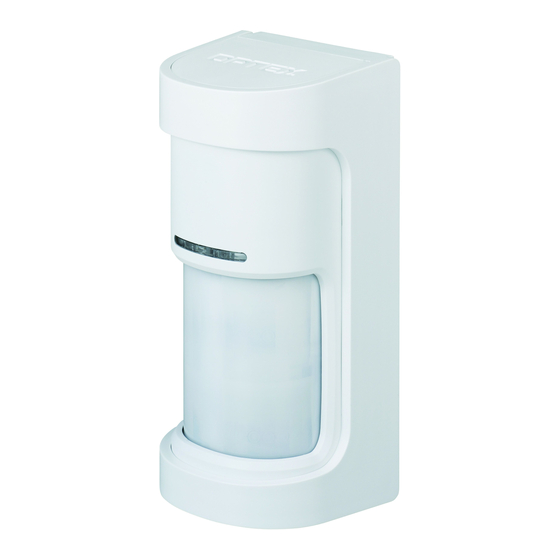
180°WIDE ANGLE OUTDOOR DETECTOR
180°WIDE ANGLE OUTDOOR DETECTOR
WX Shield series
WX Shield series
BATTERY OPERATED MODEL
1
Introduction
FR
Full information, with multilanguage, available in;
http://navi.optex.net/manual/50278
• Cette "Quick Reference" est la partie des instructions
FR
d'installation entières qui guide les procédures d'installation pour
les installateurs.
• Obtenez les informations complètes avec multi-langue des
instructions d'installation dans le site Web.
• Si vous avez besoin d'un guide pour le fonctionnement du
système dans son ensemble, s'il vous plaît consulter votre
installateur de l'ensemble du système.
• Questa "Guida rapida" è la parte di tutto il istruzioni di
IT
installazione che guida le procedure di installazione per gli
installatori.
• Ottenere le informazioni complete con il multi-linguaggio delle
istruzioni di installazione nel sito web.
• Se occorre una guida per il funzionamento del sistema nel suo
complesso, consultare l'installatore dell'intero sistema.
• Este "Referência Rápida" é parte de toda as instruções de
PT
instalação que orienta os procedimentos de instalação para os
instaladores.
• Obter as informações completas com multi-idioma das
instruções de instalação no web site.
• Se você precisa de um guia para a operação do sistema como
um todo, por favor consulte o seu instalador de todo o sistema.
2
Manufacturer's statement
Warning
FR
Avertissement
DE
Warnung
IT
Avvertenza
ES
Aviso
PT
Aviso
NL
Waarschuwing
Caution
FR
Attention
DE
Vorsicht
IT
Attenzione
ES
Precaución
PT
Cuidado
NL
Voorzichtig
Introduction
Einleitung
Introduzione
DE
IT
Déclaration du fabricant
FR
Declaração do fabricante
PT
High mount
2.0 m
(6'8")
Low mount
0.8 - 1.2 m
(2'7"-4')
Parallel
INSTALLATION INSTRUCTIONS
WXS-RAM:
WXS-RDAM-X5: +Microwave detection (10.525 GHz)
Introducción
Introdução
Inleiding
ES
PT
NL
• This "Quick Reference" is the part of the entire installation
EN
instructions that guides the installation procedures for installers.
•
Get the full information with multi-language of the installation
instructions in the web site.
•
If you need a guide to the operation of the whole system,
please consult your installer of the entire system.
• Dieses "Quick Reference" ist der Teil der gesamten
DE
Installationsanweisungen, die die Installationsverfahren für
Installateure führt.
• Holen Sie sich die vollständige Information mit mehrsprachiger
der Installationshinweise in der Website.
• Wenn Sie einen Leitfaden für den Betrieb des Systems als
Ganzes benötigen, wenden Sie sich bitte an Ihren Installateur
des gesamten Systems.
• Este "Referencia rápida" es la parte de la totalidad de las
ES
instrucciones de instalación que guía los procedimientos de
instalación para los instaladores.
• Obtener la información completa con multi-idioma de las
instrucciones de instalación en el sitio web.
• Si necesita una guía para el funcionamiento del sistema en su
conjunto, por favor consulte a su instalador de todo el sistema.
• Deze "Snelle referentie" maakt deel uit van de totale
NL
installatieaanwijzingen die de installateur door de
installatieprocedures leiden.
• Krijg de volledige meertalige informatie van de
installatieaanwijzingen van de website.
• Als u richtlijnen nodig hebt over de werking van het gehele
systeem, raadpleeg dan de installateur van het gehele systeem.
Herstellererklärung
Dichiarazione del costruttore
DE
IT
Mededeling van de fabrikant
NL
<WXS-RDAM only>
Do not overlap the detection area of
each when two or more WXS-RDAMs
are installed close together.
Tilt
Quick Reference
Anti-masking battery operated model
Declaración del fabricante
ES
Prohibition
EN
Interdiction
FR
Verbot
DE
Divieto
IT
Prohibición
ES
Proibição
PT
Verbod
NL
No.59-2689-1 1809-27
Recommendation
Recommandation
Empfehlung
Raccomandazione
Recomendación
Recomendação
Aanbeveling
Advertisement
Table of Contents

Summarization of Contents
3 Installation
3-1. Parts identifications
Lists and illustrates all components, accessories, and optional parts of the detector.
3-2. Before mounting
Details preparatory steps, including unlocking the unit and avoiding sensor damage.
3-3. Battery Life
Provides estimated battery life based on model, interval settings, and battery type.
3-4. Wireless transmitter connection
Explains the connection procedures for wireless transmitters with different input configurations.
3-5. Wireless transmitter and battery
Guides on how to position the battery correctly within the holder and connect the transmitter.
3-6. Mounting
Illustrates the physical mounting process, including height selection and tamper switch.
3-7. Assembling and wiring
Details the steps for assembling the detector unit and performing the necessary wiring connections.
4 Settings
4-1. PIR detection area
Explains how to adjust the PIR detection range and coverage patterns for left and right sides.
4-2. PIR area masking
Details methods for masking specific detection zones using shutters or optional masking plates.
4-3 Switch setting
Guides on configuring various device functions (LED, alarm, timer, range, etc.) using DIP switches.
4-4. PIR sensitivity
Explains how to adjust the sensitivity level for the PIR sensor for optimal detection.
5 Checking
5-1. Walk test
Describes the procedure for performing a walk test to verify detection functionality and LED behavior.
5-2. LED indication
Explains the meaning of LED indicators for warm-up, masking detection, alarm, and tamper activation.


Need help?
Do you have a question about the WXS-RAM and is the answer not in the manual?
Questions and answers